EN
EN

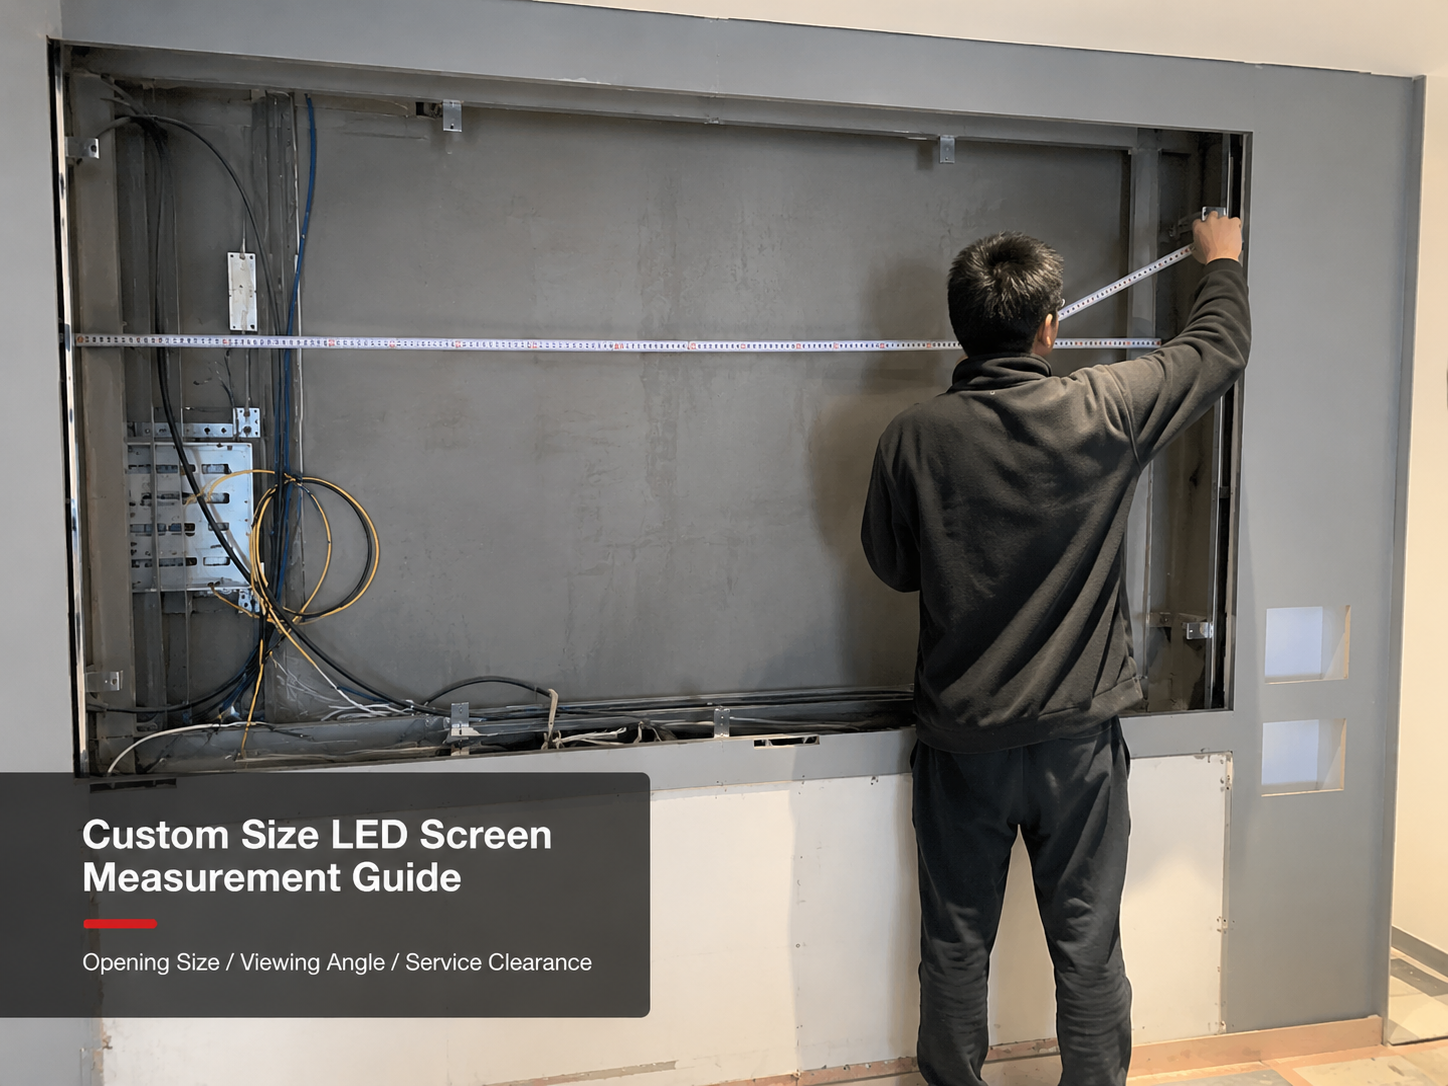
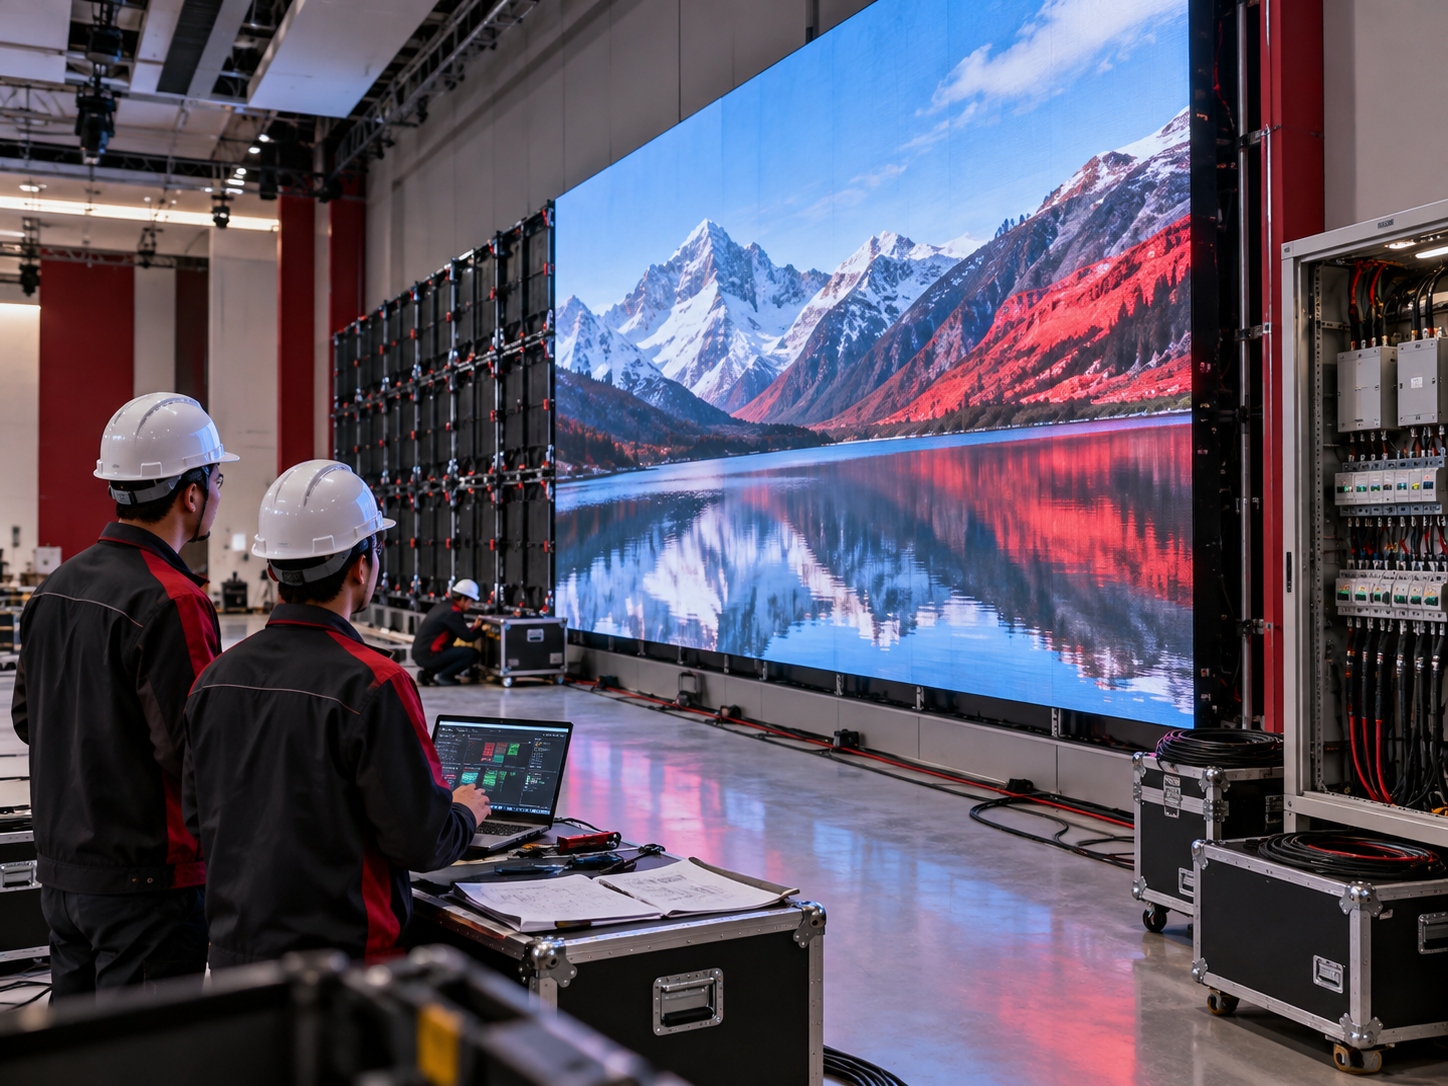
Accurate measurement is the first step toward a practical LED display quotation. For a custom size LED screen project, the factory team needs more than a simple width and height. Opening size, viewing angle, service clearance, cabinet depth, power route, signal route, and installation photos all affect the final screen plan.
Instead of starting with broad product definitions, this guide focuses on real project preparation. It explains what dimensions to mark, what photos to take, which product direction may fit the site, and what details to send before requesting a factory quotation.
Why Measurement Accuracy Matters
First, LED display measurement controls the whole project path. It affects cabinet layout, module quantity, steel structure, power distribution, control equipment, packaging size, and installation labor.
However, a wall opening can look simple from the front while hiding several limits. Columns, ceiling beams, glass frames, door swings, air outlets, sprinkler lines, and old sign boxes can reduce the usable installation space.
In addition, LED screens are built from cabinets and modules. A practical display size should match cabinet combinations, not only a desired drawing size. This is why real site data matters before a fixed quotation.
As a result, accurate measurements reduce design changes, prevent unsuitable cabinet depth, and help the factory choose a service method that will still work after installation.
Opening Size and Installation Photos
Opening size means the real usable space where the LED display can fit. It should be measured from the hard installation boundary, not from a decorative edge, old lightbox surface, or temporary trim line.
For better accuracy, measure width at the top, middle, and bottom. Then measure height at the left, center, and right. If the values differ, the smallest clear size usually becomes the safer reference.
Photos to Prepare Before Quotation
- Wide front photo showing the whole wall, floor line, ceiling edge, and nearby obstacles.
- Close-up photo of the opening edge, frame, old sign box, or fixing surface.
- Left and right side photos showing depth, walkway space, and cabinet projection limits.
- Rear access photo when rear service may be possible.
- Power cabinet, cable tray, conduit, and signal route photos.
Meanwhile, a clear photo set reduces repeated communication. A drawing may show dimensions, but site photos show ceiling restrictions, wall condition, old structures, and cable access.
Therefore, every photo should include either a measuring tape, laser reading, or simple dimension note. A photo with scale is more useful than a clean image with no reference.
Viewing Angle and Service Clearance
Next, viewing angle should be checked from real traffic points. A screen in a lobby may face people directly, while a storefront screen may be noticed from the left or right side.
In addition, viewing distance guides pixel pitch selection. Close indoor viewing often needs finer pitch, while outdoor or long-distance advertising can use a larger pitch with higher brightness.
| Site Check | Why It Matters | What to Record |
|---|---|---|
| Nearest viewing point | Helps choose suitable pixel pitch. | Distance from screen face to normal viewing area. |
| Side viewing path | Affects readability and content size. | Photos from left, right, and main traffic direction. |
| Service clearance | Decides front service, rear service, or mixed service. | Available space for tools, removed modules, and maintenance work. |
Front service is often practical when the display sits against a wall. Modules, power supplies, and system cards can be accessed from the front, so no full rear corridor is needed.
However, front service still needs reachable working space. A counter, glass railing, fixed shelf, or narrow corridor may block service tools. For this reason, service clearance should be measured before the display size is fixed.
For projects with rear maintenance platforms or service corridors, local safety rules should also be checked. The U.S. OSHA walking-working surfaces standard notes that surfaces should be kept safe for workers, including clear access and load capacity suitable for the intended work. OSHA 1910.22
Suitable for These Projects
This measurement guide is most useful when the screen size depends on real site limits. It fits projects where the opening, service access, viewing path, or installation structure must be checked before a quotation can be accurate.
- Retail storefront LED displays: useful when the screen must fit inside a fixed shopfront frame or old lightbox opening.
- Shopping mall LED screens: suitable for entrance walls, corridor displays, atrium advertising, and brand promotion spaces with side viewing traffic.
- Embedded wall LED displays: useful when cabinet depth, trim line, front service, and clean edge finish must be planned together.
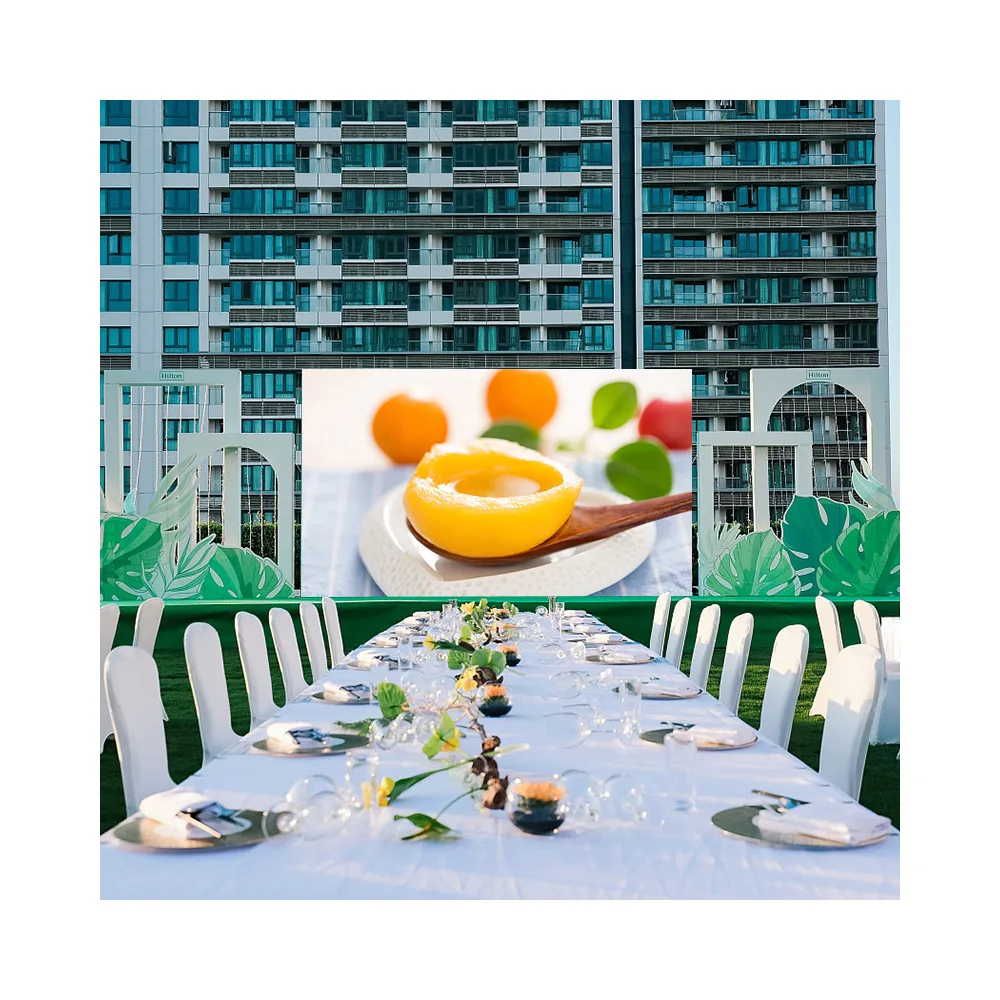
- Outdoor advertising LED walls: suitable when brightness, waterproofing, structure, wind exposure, access equipment, and service platforms must be reviewed early.
- Renovation LED display projects: important when old frames, hidden structures, shallow sign boxes, or changed decoration drawings may affect the final screen size.
- Multi-location commercial display projects: useful when repeated cabinet sizes, spare parts, packaging labels, and installation standards need better control.
How to Share Dimensions with Factory
First, dimensions should use one unit system. Millimeters are usually clearer for cabinet layout, module arrangement, and frame depth. Mixing inches, centimeters, and meters can create avoidable mistakes.
Also, a simple sketch is enough when CAD drawings are not ready. The sketch should mark screen position, opening size, depth limit, fixed walls, removable decoration, power route, signal route, and service direction.
1. Visible Display Size
Record the target active screen area. Then separate it from the maximum installation opening.
2. Depth Limit
Measure cabinet depth, bracket space, cable bend space, airflow space, and front projection limit.
3. Service Method
State whether front access, rear access, or side access is possible after final decoration.
Furthermore, photos and sketches should use matching labels. If a photo is named “left side,” the drawing should define the same left side from the same viewing direction.
Finally, each revised measurement file should include a date. Renovation sites change quickly, so dated drawings help avoid confusion between old and new versions.
Practical Purchasing Advice Before Confirming Size
First, avoid locking the final display size too early. A factory review can often adjust the visible size slightly to match cabinet and module combinations, which may reduce cost, shorten lead time, and simplify spare parts.
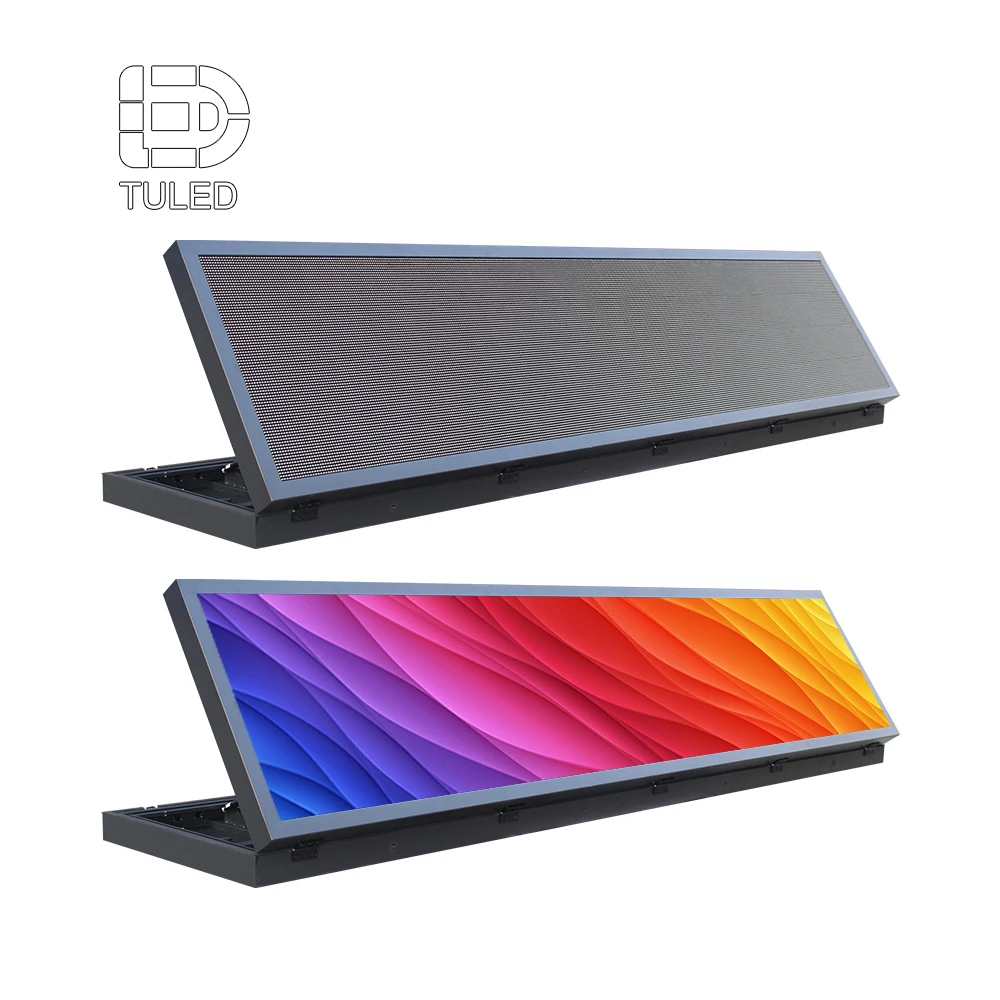
For tight wall openings with no rear access, front service LED screen panels are usually the safer direction. In this situation, the project should focus on cabinet depth, module removal space, cable bend room, and clean edge finish.
For outdoor wall advertising or roadside display projects, outdoor LED wall options should be reviewed first. Brightness, waterproof grade, heat control, structure, wind exposure, power distribution, and safe service access matter more than size alone.
For projects that need module replacement planning or repeated screen sizes, LED module and cabinet standardization should be considered early. A consistent module format can make future maintenance and spare part management easier.
Which Product Direction Fits the Site?
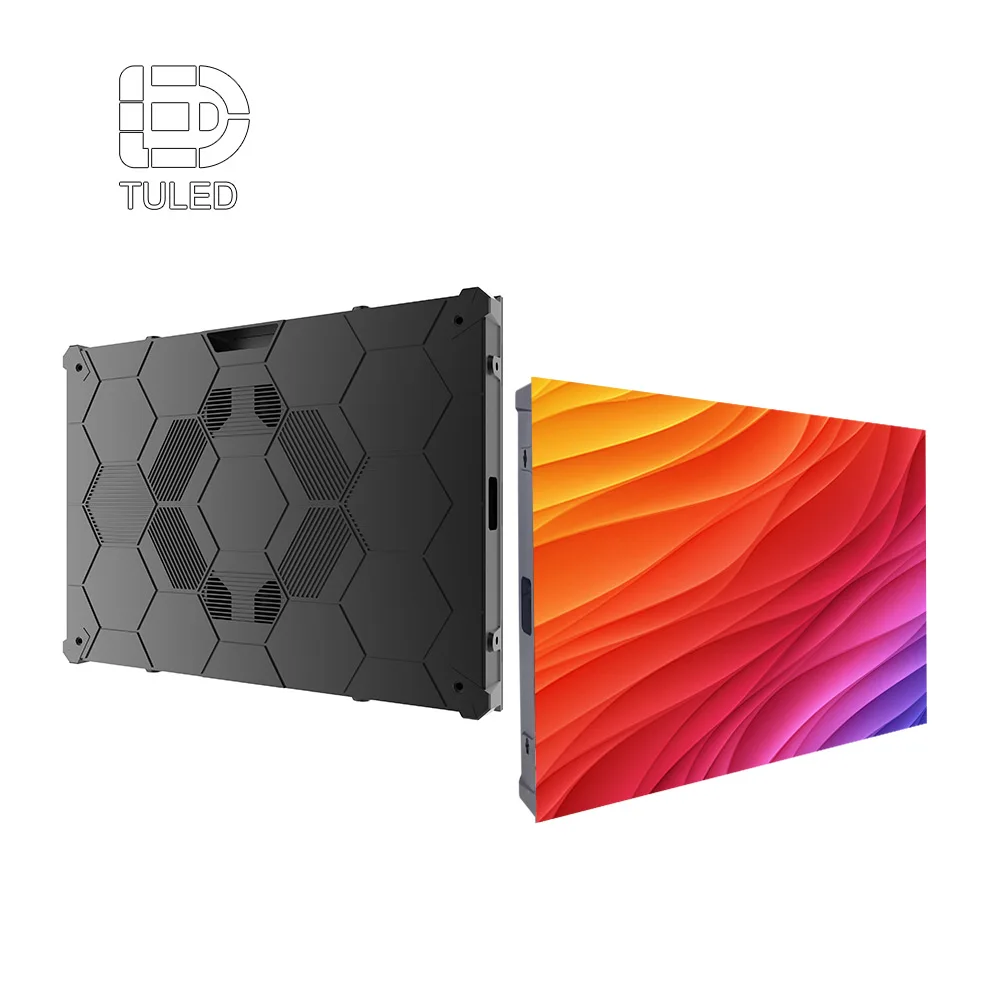
- Fixed wall opening with limited depth: start with LED Screen Panels and front service cabinet review.
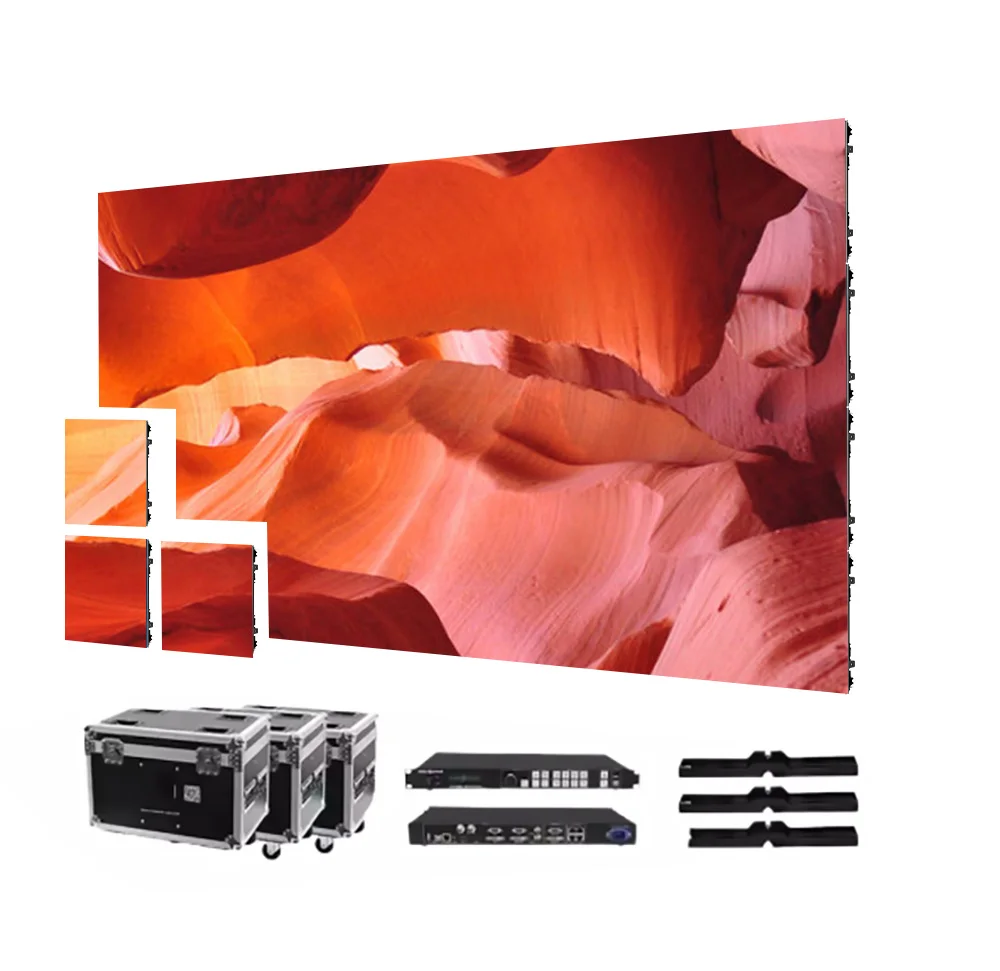
- Outdoor building wall or roadside advertising: review Outdoor Advertising LED Wall options before confirming structure and brightness.
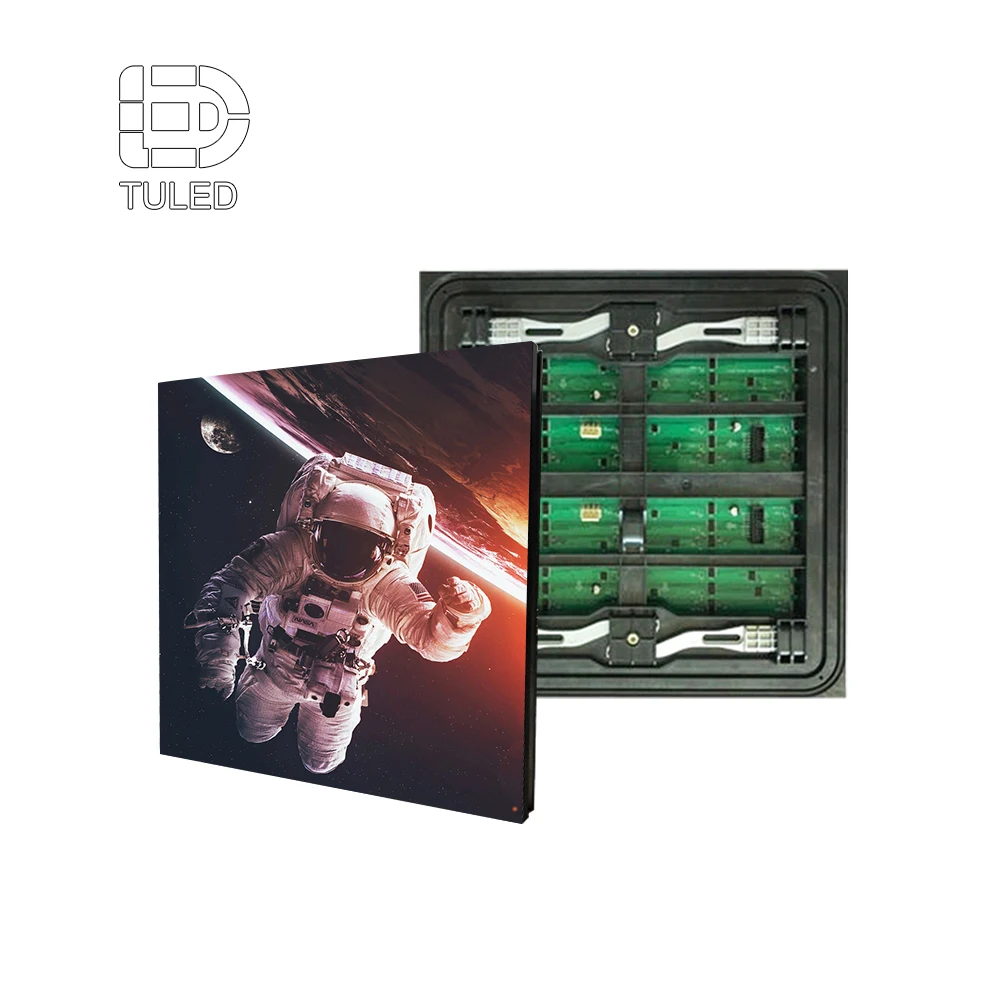
- Module layout or spare parts planning: check 250*250mm LED Module details for cabinet and maintenance planning.
- Unclear product type or mixed project conditions: begin from the LED Display Products page, then send site details for engineering review.
Also, price comparison should not rely only on square-meter cost. A useful quotation should state cabinet layout, pixel pitch, control system, receiving cards, power supplies, spare modules, packaging, technical support, and the service method included in the scope.
Project Details to Send Before Quotation
Before asking for a formal quotation, the project file should connect measurement, installation, environment, operation, and delivery. This gives the factory team enough context to suggest a realistic screen path.
- Basic project data: country, city, application scene, quantity, target schedule, and indoor or outdoor environment.
- Site dimensions: visible size, maximum opening, depth limit, installation height, and service clearance.
- Installation method: wall-mounted, embedded, hanging, standing, steel frame, pole, or cabinet frame.
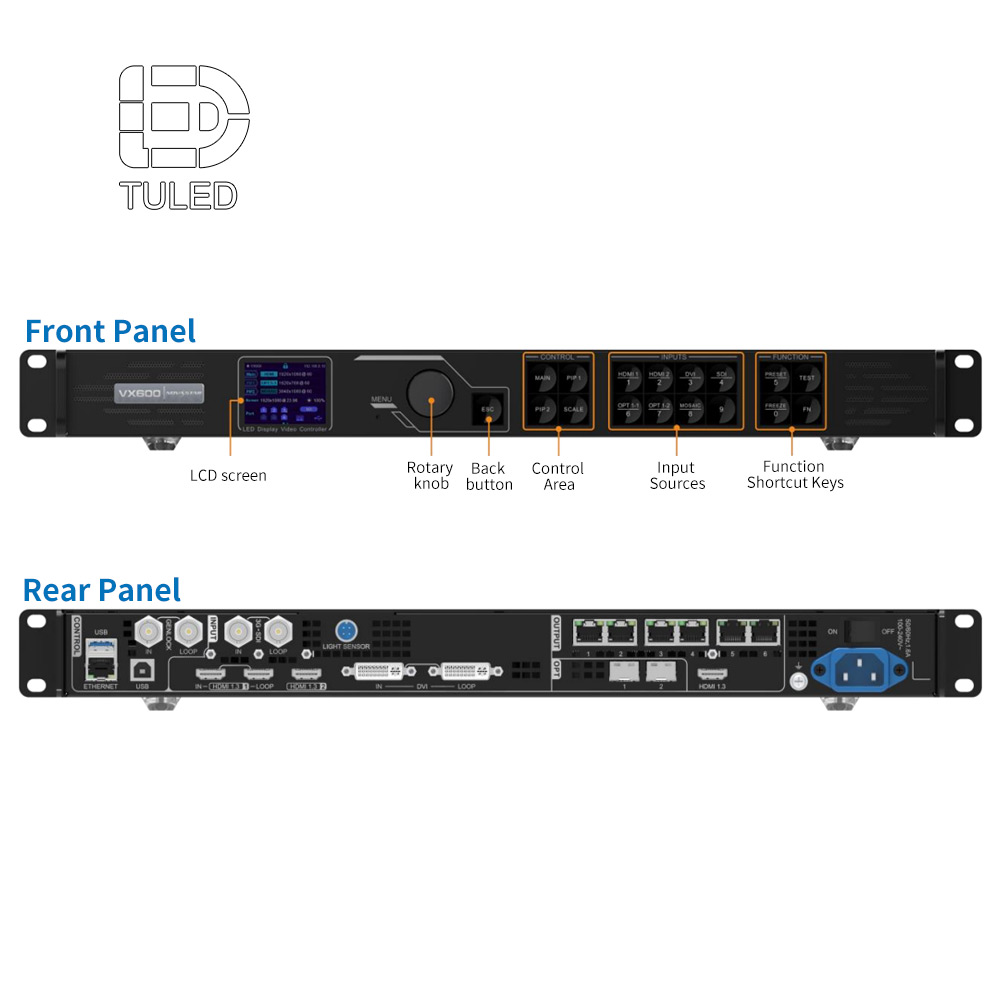
- Power and control: voltage, power cabinet position, cable route, CMS, HDMI, media player, or video processor.
- Project photos: front view, side view, rear access, ceiling area, cable route, and close-up frame details.
Product and Factory Support for the Next Step
After measurement details are ready, the next step is product path review. The factory team can compare cabinet size, module type, pixel pitch, service method, brightness, control system, and spare parts.
For outdoor or long-distance advertising projects, structural access, weather resistance, brightness, and service platform details become especially important. Therefore, outdoor product references can help clarify the discussion.
View Outdoor Advertising LED Wall
At the same time, standard panel combinations should be reviewed before special sizing is locked. Standardization can reduce production risk, shorten lead time, simplify spare parts, and improve long-term service.
However, fixed openings, shallow wall depth, clean architectural finish, or multi-site rollout plans may still need a customized layout. In that case, the measurement file becomes the base for technical drawings and quotation scope.
Common Measurement Mistakes That Delay LED Projects
First, many project files only include the visible front area. However, the installation space also needs room for cabinets, frames, brackets, cables, ventilation, and future maintenance.
Second, old decoration drawings may not match the real site. Renovation work often leaves hidden frames, old sign boxes, and unexpected cable routes behind the visible surface.
Third, depth is often ignored. Yet cabinet thickness and bracket depth can decide whether a display fits. Therefore, side measurements should always be included with the front opening size.
Finally, service access should never be assumed. A narrow rear gap may look acceptable in a drawing, but it may not allow safe replacement of modules, power supplies, or control parts.
Indoor and Outdoor Measurement Notes
For indoor retail, office, showroom, and public spaces, viewing distance is often short. Therefore, pixel pitch, screen flatness, brightness comfort, and content readability should be reviewed together.
Meanwhile, indoor screens often need clean edges and tight visual alignment. The opening size should include trim panels, frame thickness, wall finish, and any planned decorative cover.
For outdoor displays, the project file should include sunlight direction, rain exposure, wind exposure, cable entry position, steel structure condition, and access equipment space.
In addition, outdoor service planning should consider safe platforms, lift truck access, waterproof cable routing, drainage direction, and heat control around the cabinet area.
FAQ
What dimensions should be measured before an LED display quotation?
The project file should include visible display size, maximum opening size, depth limit, installation height, viewing distance, viewing angle, wall material, power route, signal route, and service clearance.
How many installation photos are useful for a wall-mounted LED screen?
Usually, six to ten photos are useful. A strong set includes front view, side view, rear access, ceiling area, close-up frame, power cabinet, cable route, and fixed obstacles.
Is front service better when service clearance is limited?
Front service is often practical for tight wall-mounted projects. Even so, the front area must remain reachable for tools, module removal, and safe maintenance work.
How does viewing angle affect pixel pitch selection?
Viewing angle affects readability because people may see the screen from the side. Pixel pitch, brightness, content size, and screen position should match the main viewing zone.
Can a factory quote with only width and height?
A rough estimate may be possible, but a reliable quotation needs more data. Opening size, depth limit, service access, power route, signal source, installation method, quantity, and photos make the quote more accurate.
Summary and Quotation Next Step
A precise measurement file helps the factory review screen size, cabinet layout, pixel pitch, service clearance, installation method, and control equipment with fewer assumptions. For a smoother custom size LED screen quotation, prepare a complete project file before final sizing.
- Measure opening width, opening height, cabinet depth limit, viewing distance, and service clearance.
- Prepare front, side, rear, ceiling, power route, and close-up installation photos with marked dimensions.
- Send application scene, quantity, country, installation method, control needs, and spare part expectations.