EN
EN

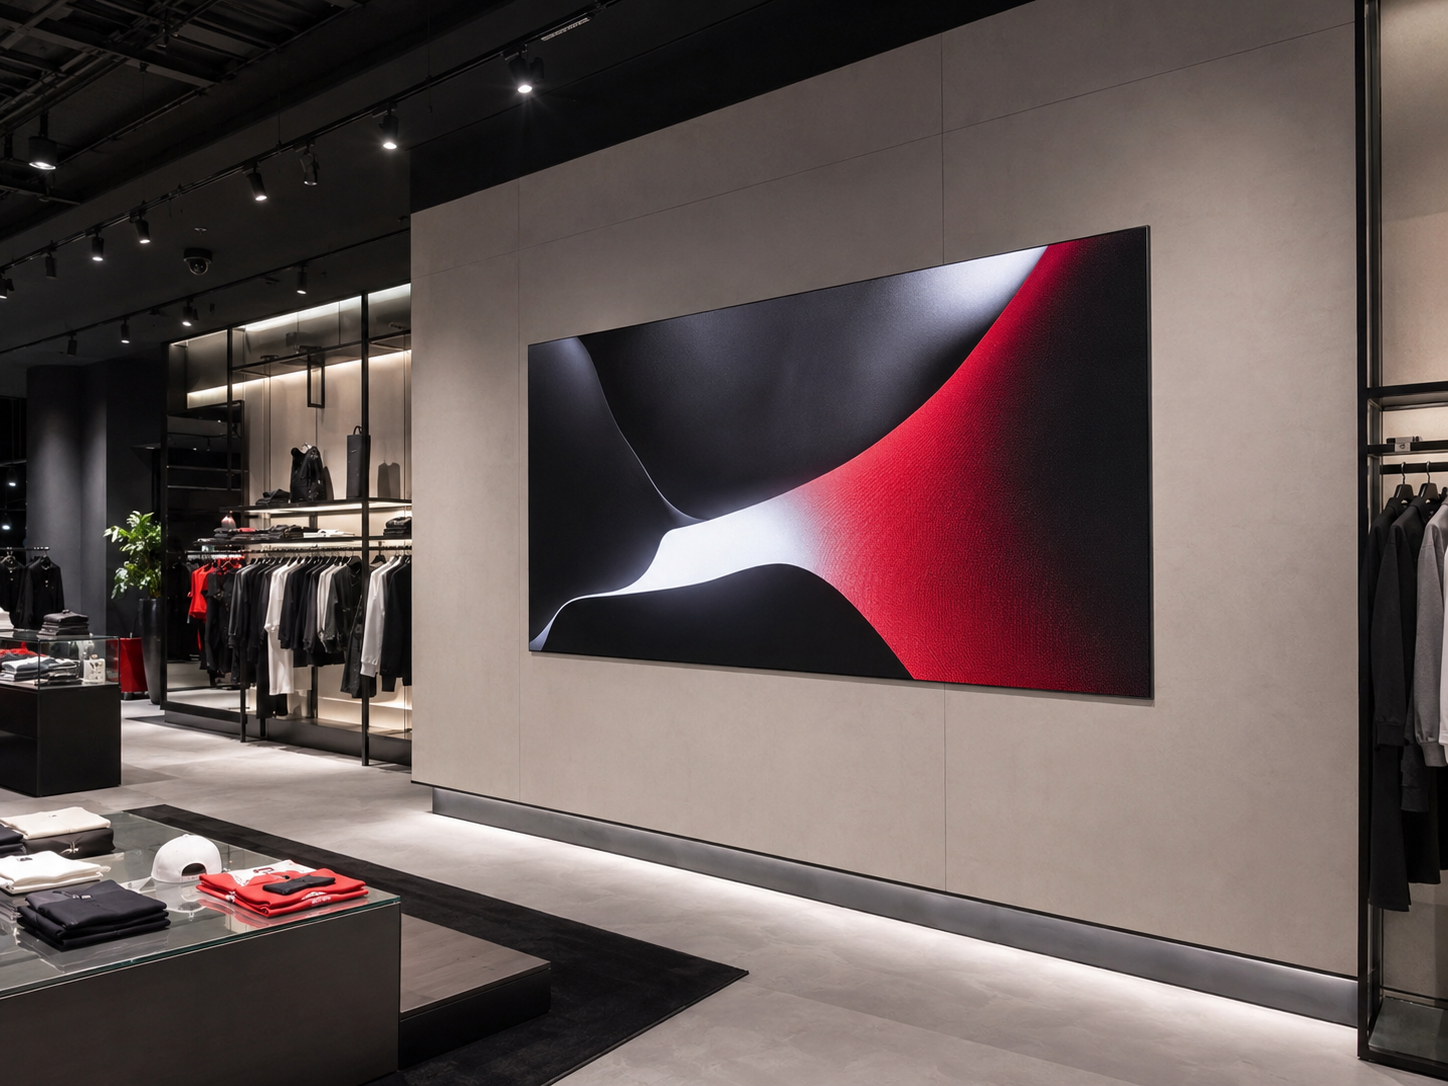
A brand store wall display should look like part of the interior, not a late decoration. Therefore, a custom LED wall sign project needs early checks around wall surface, electrical routing, cabinet access, content ratio, and brand approval. When these details are confirmed before production, the final screen can support logo storytelling, campaign updates, and store opening schedules with fewer site changes.
Instead of starting with a simple screen size, this guide focuses on practical project decisions. It explains where a wall display fits, how the mounting surface should be checked, how cables should be routed, what content files need approval, and which project details should be sent before a factory quotation.

Brand Store LED Wall Sign Scenario
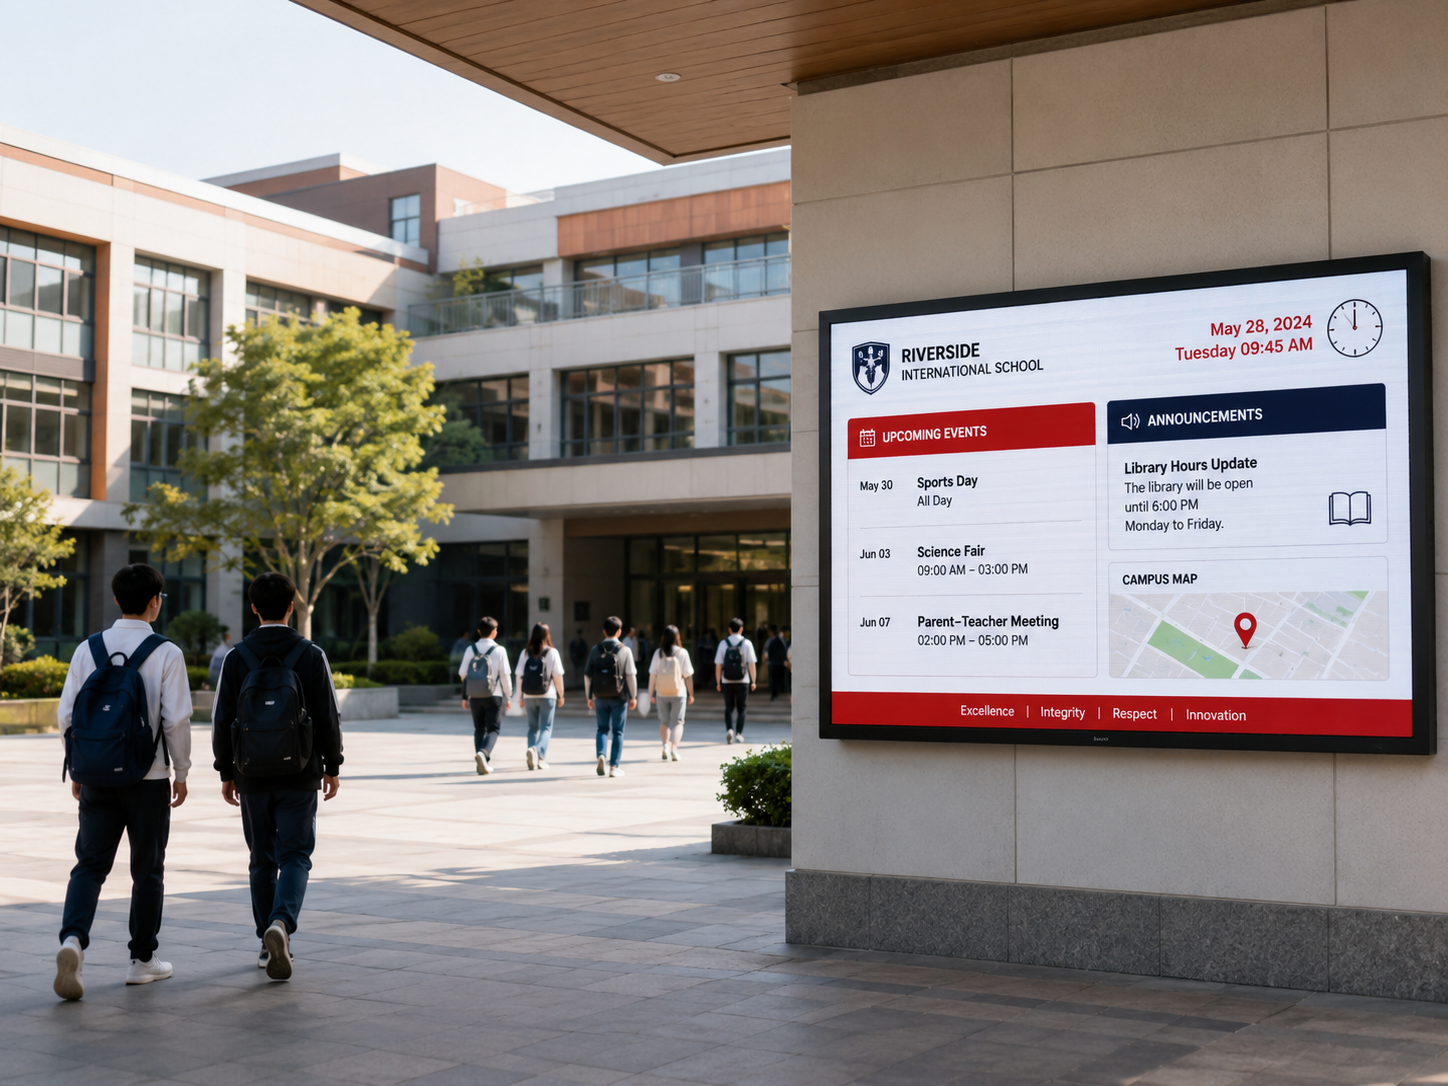
First, the screen position should follow the retail scene. A wall display may sit behind a reception counter, beside a product island, above a shelving zone, or inside a launch area. Therefore, the visual role should be clear before cabinet size is confirmed.
Meanwhile, indoor viewing distance is usually short. Logo edges, model faces, product textures, and motion speed are easy to notice. As a result, the LED wall should support the store mood instead of overpowering shelves, lighting, mirrors, and printed brand graphics.
For example, a fashion store may use a wide campaign wall behind a seasonal collection. A beauty store may prefer a soft logo loop behind a product display. In contrast, a sports store may use stronger contrast and faster motion near a feature wall.
However, a good position on a design drawing may not match the actual site. Wall material, hidden structure, cable route, shelf depth, nearby mirrors, and ceiling lights can all affect the final result. Because of this, early site photos and installation notes are essential.
Typical Brand Store Applications
- Logo background display for reception, checkout, and entrance walls.
- Campaign video wall for product launches, seasonal stories, and hero products.
- Shelf-back display for fashion, beauty, electronics, and sports retail spaces.
- Showroom LED display for demos, brand galleries, and corporate retail areas.
- Pop-up store digital wall for temporary launches and event retail spaces.
Suitable Projects for This Planning Method
This planning method fits retail spaces where the screen is part of the brand environment. In other words, the LED wall is not only a digital poster. It becomes a visual surface that supports store identity, seasonal campaigns, and product storytelling.
It is especially useful for flagship stores, shopping mall retail units, cosmetics stores, fashion stores, electronics stores, sportswear stores, jewelry showrooms, hotel retail corners, airport retail zones, and chain-store renovation programs. These spaces often require a clean installation and a controlled content approval process.
However, the same approach may not be necessary for a basic static sign or a short-term display with no content update plan. If the wall cannot support a screen safely, or if cable access cannot be arranged, the project should be reviewed again before product selection.
Best Fit
- Indoor brand wall displays that need close-view image quality.
- Retail projects that need regular campaign content updates.
- Store renovation projects where the LED screen must match interior finishes.
- Multi-store programs that need repeatable mounting and content standards.
- Showrooms that need a clean, premium wall display for product storytelling.
Mounting Surface and Load Check
First, the wall surface must be identified. Concrete, brick, steel frame, gypsum board, wood veneer, stone finish, tile, and aluminum composite panels all need different fixing methods. Therefore, the project file should name the wall material clearly.
In addition, the hidden backing structure matters. A decorative surface may look solid, yet the support behind it may not be ready for a modular LED display. For that reason, both the visible finish and the hidden wall structure should be reviewed.
A load check should answer one practical question. Can the wall hold the display safely, keep it level, and still allow later service access? If the display is wide, recessed, heavy, or installed on a light partition, local structural review may be needed.
Meanwhile, wall flatness affects the final look. Even a strong wall can create uneven seams if the surface is not straight. As a result, a laser line, level check, or straight-edge check can prevent visible cabinet steps and edge gaps.

Mounting Details That Should Be Confirmed
Also, the edge detail should be decided early. A flush wall pocket, side trim, narrow border, or shadow gap creates a different brand feeling. Therefore, the drawing should show both the front view and the side section.
Next, the display centerline should match the real viewing path. A wall may be centered in the drawing, but the visual center may be the entrance, product island, counter, or main walking direction. Because of this, site photos from normal viewing angles are useful.
Finally, nearby objects should be marked. Shelves, mirrors, light boxes, door frames, counters, and ceiling features can limit installation access. Therefore, clearance around the display should be checked before the cabinet layout is approved.
Mounting Review Checklist
- Wall material and hidden support structure.
- Finished surface, including paint, stone, veneer, tile, or metal panel.
- Installation style: surface-mounted, recessed, wall-hung, or frame-supported.
- Edge finish: trim cover, shadow gap, flush opening, or visible border.
- Working clearance around the screen for installation and service.
Electrical Routing and Content Approval
Electrical routing should be planned before the wall finish is closed. A visible cable across a logo wall can weaken the whole store image. Therefore, the cable entry point, conduit route, and control equipment position should be marked early.
In many retail interiors, the route may come from a ceiling tray, nearby electrical box, back office, service cabinet, or hidden wall channel. However, each site has its own rules. A mall store may need approved cable paths, while a showroom may allow more flexible routing.
At the same time, hidden should not mean unreachable. A control box sealed behind a decorative wall can create problems during updates or service checks. As a result, the equipment should sit in a practical location, such as a service cabinet or accessible back-office area.
For electrical routing and sign installation, licensed local electrical work should follow applicable regional codes. In the United States, NFPA 70 / National Electrical Code is a widely used reference for safe electrical design, installation, and inspection.
Content approval deserves the same early attention. Logo size, brand color, animation speed, language version, campaign date, and content ratio may all require review. Therefore, the content path should move with the hardware plan, not after installation.
Content Approval Items
- Final screen ratio and pixel canvas for the content team.
- Logo spacing, brand color, motion speed, and background style.
- Opening video, seasonal campaign file, product loop, and fallback still image.
- Local language, date-sensitive text, public-facing notices, and campaign version.
- Update method: local playback, scheduled playlist, remote update, or central management.
For example, a flagship opening may need one logo loop, one launch video, one campaign playlist, and one backup still image. The backup image keeps the wall clean during quiet periods. In addition, it prevents unfinished or outdated material from appearing on the display.
Also, screen ratio affects creative production. A long horizontal wall cannot use a standard 16:9 video without cropping or empty areas. Therefore, the final display size and pixel canvas should be shared before the content files are approved.
Recommended Product Direction for Brand Store Walls
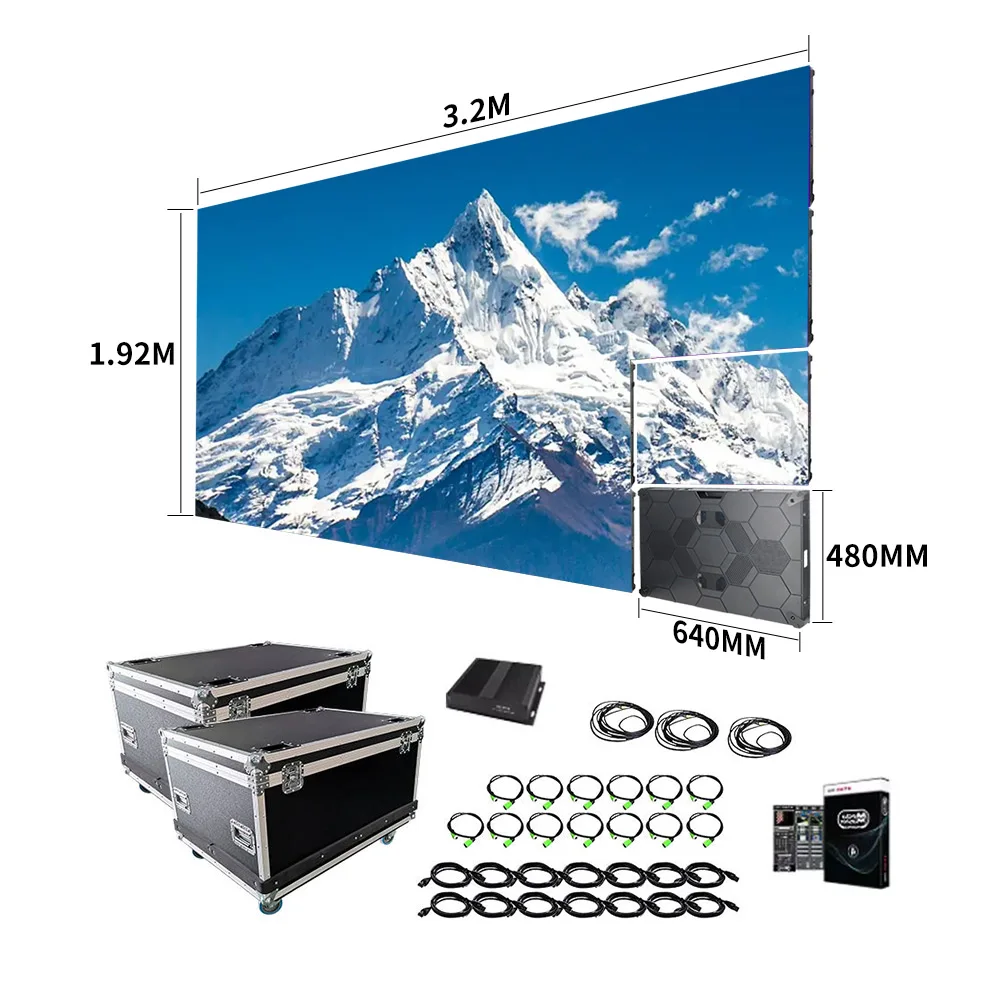
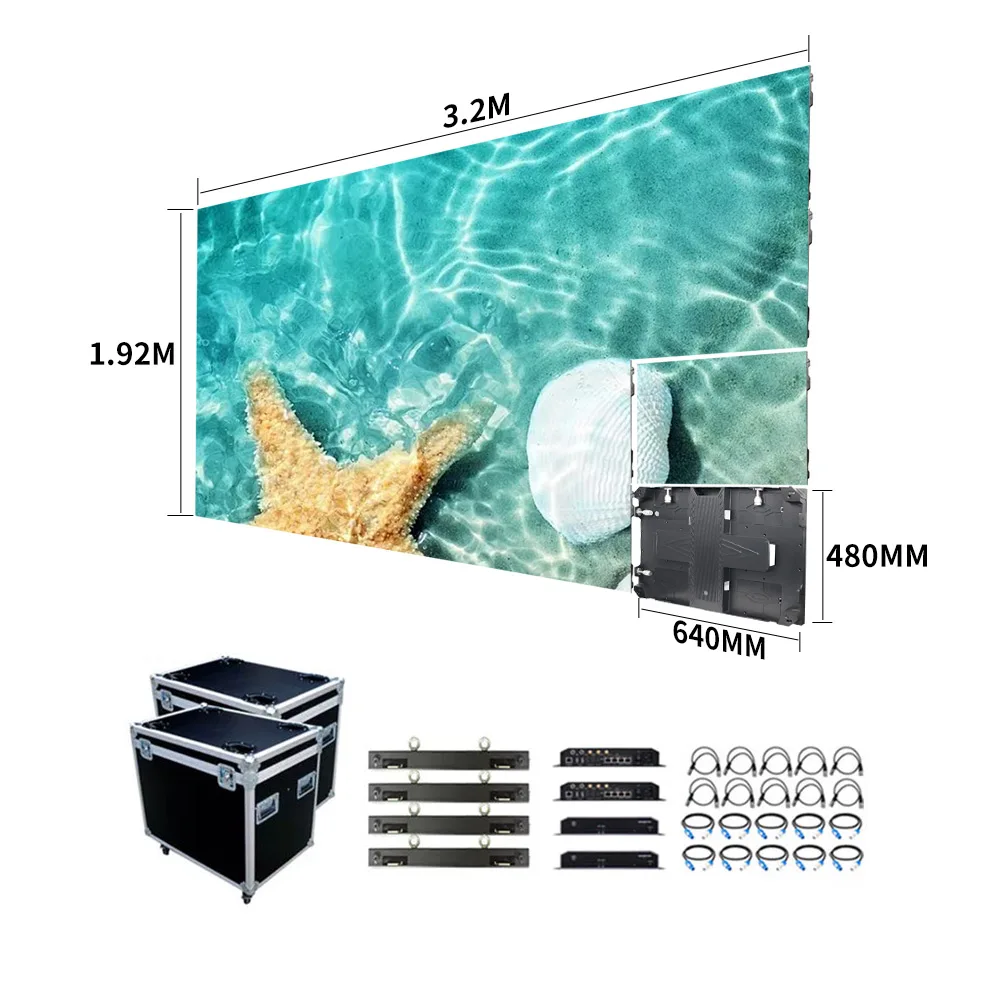
A store wall project usually needs a product direction before a detailed quotation. For close-view logo walls, reception backgrounds, and premium retail interiors, an Indoor LED Display or fine-pitch wall panel is usually reviewed first because the viewing distance is short and image detail matters.
For larger showroom walls, event-style retail backdrops, and scalable feature areas, Video Wall Panels can support a wider modular layout. Meanwhile, entrance logo signs, illuminated signboards, and repeated retail signage programs may also connect with the LED Sign Board category.
Therefore, the best selection path is not one fixed model for every store. It should match viewing distance, wall size, service access, content type, store opening schedule, and whether the same layout will repeat across more locations.
| Project Scene | Practical Direction |
| Close-view logo wall | Review indoor fine-pitch LED wall panels with clean cabinet edges and front service. |
| Retail campaign wall | Confirm screen ratio, content update method, and wall access before cabinet layout. |
| Large showroom feature | Use modular video wall planning for wider displays and scalable layouts. |
| Entrance sign program | Compare LED wall display needs with LED sign board requirements. |
Service Access and Project Details to Send
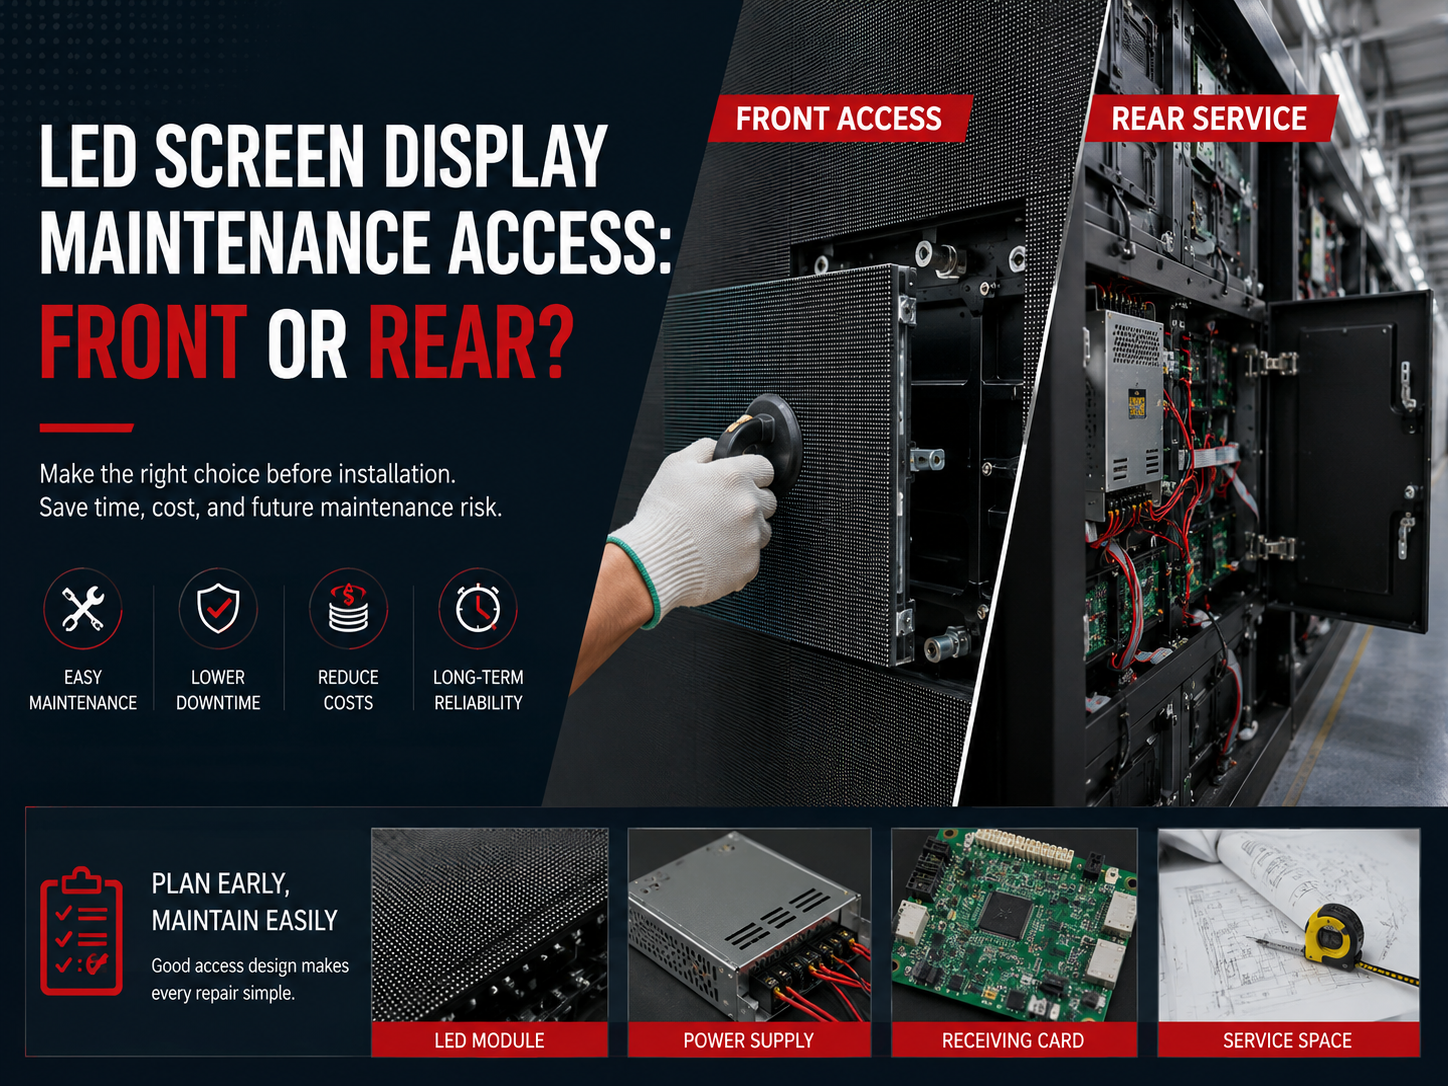
Service access should be planned before installation. A wall display may look seamless, but modules, control parts, cables, and connection points still need a maintenance path. Therefore, the drawing should show how service work can happen after opening day.
Front service often works well for retail walls because rear access is not always available. However, front service still needs working space in front of the screen. A product table, glass rail, counter, or shelf can block access if the layout is not checked.
Rear service can work when the display backs onto a service room or open structure. However, many brand walls sit against fixed interior walls. As a result, rear service should only be selected when the site drawing confirms real access behind the display.
Side access may also help in a framed or recessed installation. Still, the side opening must remain reachable after shelves and decorative elements are installed. Otherwise, the access point only works on paper.
Project Details to Send
A clear project file makes quotation faster and more accurate. Instead of a rough request, the file should include size, wall photos, wall material, mounting method, content type, quantity, country, and timeline. Therefore, the factory can review cabinet layout and accessories with fewer revisions.
| Item | Details to Prepare |
| Size | Display width, height, wall area, viewing distance, and preferred ratio. |
| Environment | Brand store, showroom, shopping mall unit, airport retail zone, or pop-up space. |
| Quantity | Single store, repeated layout, multi-city rollout, or phased delivery plan. |
| Country | Project country, delivery destination, opening date, and local installation limits. |
| Mounting | Surface-mounted, recessed, wall-hung, frame-supported, or integrated into a niche. |
| Content | Logo loop, product video, campaign playlist, scheduled updates, or remote content control. |
| Photos | Front wall photo, side-angle photo, ceiling area, cable route, and nearby shelves or counters. |
Factory Support for Brand Store LED Wall Projects
A brand store wall display sits between interior design and LED engineering. Therefore, product selection should not focus only on price and size. Cabinet layout, module arrangement, service method, mounting depth, and content format should be reviewed together.
The LED Wall Panel page is a practical next step for this type of project. It supports modular wall display planning for retail interiors, showrooms, and brand feature walls.
Meanwhile, marked drawings, content samples, and installation notes help the factory review whether a fine-pitch indoor wall, a larger video wall layout, or another sign solution fits the project better. This keeps the discussion focused on the real installation condition, not only a product list.
Also, factory review can connect cabinet structure with shipment, spare parts, testing content, and installation support. As a result, the quotation can show a more complete project scope before approval.
FAQ
What wall surface works best for a brand store LED wall display?
A strong, flat, and accessible wall works best. Concrete or reinforced structural walls often make installation easier. However, decorative walls may need a support frame behind the finished surface.
How should electrical routing be planned for a wall-mounted LED screen?
The routing plan should show cable entry, conduit path, control equipment location, and access point. Also, the route should be confirmed before wall finishing so the final installation stays clean.
Which content files should be approved before shipment?
Logo loops, campaign videos, fallback images, product visuals, and language versions should be approved early. In addition, the final screen ratio and pixel canvas should be shared before content production finishes.
Is front service better for retail wall LED displays?
Front service is often useful when rear access is not available. However, enough working space must remain in front of the display. Shelves, counters, and product tables should be checked before this method is selected.
What project details help create a clearer quotation?
A clearer quotation needs size, wall photos, mounting method, quantity, country, content type, control method, and timeline. A simple drawing or marked photo can also reduce misunderstanding.
Summary: Plan the Wall, Route, Content, and Access Together
A brand store LED wall project should not start with screen size alone. Instead, the wall condition, mounting detail, electrical route, content approval, and service access should move together from the first planning stage.
Finally, a custom LED wall sign should support more than one campaign. It should carry logo content, seasonal visuals, product stories, and long-term brand atmosphere with a clear operating path.
Three Practical Action Steps
- First, prepare wall photos, measurements, mounting notes, store layout, and service access conditions.
- Next, confirm content ratio, logo approval, update method, fallback image, and launch schedule.
- Finally, send quantity, country, installation method, project photos, and equipment needs for factory review.