
A screen can look perfect on the first day, yet become difficult to repair after the wall is sealed, cables are hidden, and the decoration is finished. Therefore, service access should be decided before cabinet depth, steel frame, and cable entry direction are approved. For a led screen display project, front or rear maintenance is not a small option. It affects wall thickness, repair speed, spare parts planning, power supply access, receiving card testing, and long-term operating cost.
In practical projects, the best access method is not always the cheapest cabinet style. Instead, it is the method that allows a technician to replace modules, check power, and test signal safely after installation. This guide explains how to choose front access, rear service, or a mixed service path before requesting a quotation.
Quick Navigation
Why maintenance access becomes a real site problem
At the planning stage, most attention goes to screen size, pixel pitch, brightness, and quotation price. However, the repair path often decides whether a future fault takes ten minutes or several hours. For example, a dark square on the screen may only need one module replacement. Still, the work becomes slow if the module cannot be reached from the planned service side.
Moreover, the finished wall is often different from the early drawing. A rear space that looked open during construction may later be blocked by decoration panels, cable trays, air ducts, or a fixed cabinet. As a result, a rear service cabinet can become almost impossible to open after handover.
Therefore, access planning should happen before production. A clear service plan helps the factory recommend the right cabinet, the right module structure, and the right spare parts. It also helps the installation team avoid extra cutting, drilling, repainting, or removing wall panels later.
Repair speed affects more than labor cost
First, repair speed affects screen uptime. A shopping mall wall, meeting room video wall, church background, control room display, or outdoor billboard often needs stable daily operation. When a small fault stays visible for too long, the screen loses value even if the hardware cost was low.
Second, repair access affects safety. A technician should not work in a narrow gap, behind hot cabinets, or on an unsafe ladder just because the early quotation did not reserve enough space. In addition, tight service conditions can create cable mistakes during repair.
Finally, the maintenance method affects future appearance. Indoor decorative walls, luxury retail spaces, and office lobbies cannot be opened repeatedly without visible damage. Therefore, a front service plan often protects the surrounding finish.
| Site condition | Access issue | Better early decision | Reason it matters |
|---|---|---|---|
| Screen embedded into a finished wall | No rear corridor after decoration | Front access cabinet | Prevents wall removal during module service |
| Outdoor billboard with steel catwalk | Rear side is safe and reachable | Rear service or mixed service | Makes power and signal checks easier |
| Narrow lobby or corridor | Limited installation depth | Front access structure | Reduces total wall thickness |
| Facade screen without rear route | Rear service is only theoretical | Front or mixed access | Improves future repair feasibility |
| Rental or stage screen | Frequent handling and transport | Rear or dual service cabinet | Supports fast assembly and field repair |
Site checklist before choosing a cabinet
- Confirm the finished wall depth, not only the construction opening.
- Measure the real rear service space after beams, cable trays, and decoration.
- Mark the cable entry direction before cabinet drawing approval.
- Confirm whether future repairs must happen from the front, rear, or both sides.
- Ask for a service path for LED module, power supply, and receiving card separately.
What front and rear access change in the structure
Front access and rear service are not only two different repair methods. They also change the wall depth, cabinet frame, cable route, cooling space, spare parts plan, and maintenance workflow. Therefore, choosing access style after installation usually creates extra cost.
For indoor projects, front access helps the display sit closer to the wall. In contrast, rear service normally needs enough depth behind the cabinet for a technician to stand, open covers, handle tools, and inspect wiring. As a result, the cabinet price alone does not show the real project cost.
For outdoor projects, rear service can be practical when a steel frame, catwalk, and safety railing already exist. However, rear service becomes risky when the screen is attached directly to a facade with no safe service route. In that situation, a front service design may reduce future repair difficulty.
| Comparison item | Front access | Rear service | Best use case |
|---|---|---|---|
| Wall depth | Keeps the screen closer to the finished wall | Needs a working space behind the cabinet | Front access for shallow indoor walls |
| Module replacement | Usually removed from the viewing side | Removed from the back or inside the cabinet | Front access for fast surface repair |
| Power supply service | Must be confirmed by cabinet drawing | Often easier if rear door opens fully | Rear service for large outdoor structures |
| Receiving card service | Possible in full front service cabinets | Often easier for cable and signal checks | Mixed service for large systems |
| Decoration impact | Protects finished wall surfaces | Requires rear opening or corridor | Front access for retail and lobby walls |
| Total cost | Cabinet may cost more | Structure and service platform may cost more | Compare full installation cost, not only cabinet cost |
CTA:Send installation wall photos and service-space size for maintenance advice
Send Site DetailsWhen front access should be selected early
Front access should be selected early when the rear side will not be reachable after installation. This is common in meeting rooms, retail display walls, hotel lobbies, airport counters, command centers, school halls, and other indoor spaces with finished walls. In these spaces, maintenance from the front prevents later wall damage.
In addition, front access helps when screen depth must stay slim. A rear corridor takes space, and that space may not exist in a narrow hallway or a built-in wall niche. Therefore, front service can protect both visual design and usable floor area.
However, front access must be checked carefully. Some cabinets only allow front module removal. Others allow full front service for modules, power supplies, and receiving cards. Therefore, a quotation should state exactly which parts can be replaced from the front.
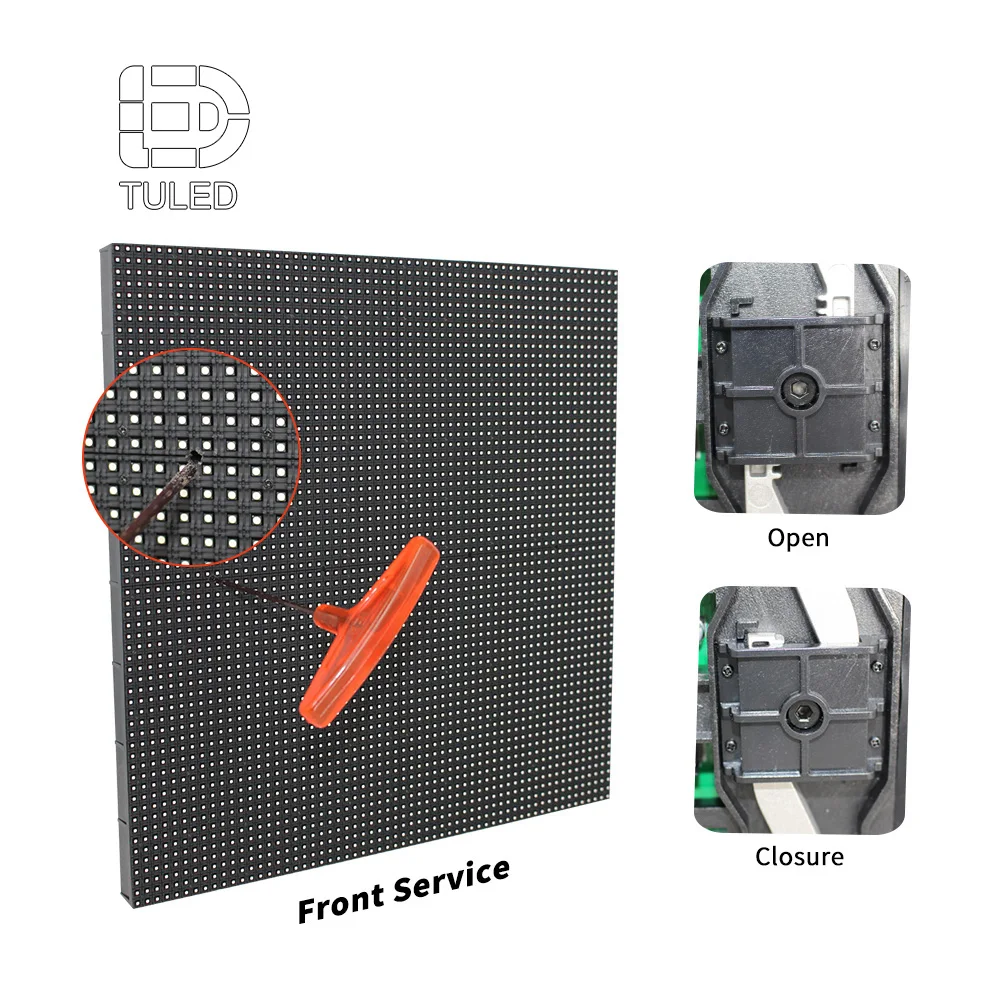
Front service module design: suitable for finished walls, shallow installation depth, and fast module replacement from the viewing side.
View LED ModuleFront access is useful for shallow wall projects
First, front access reduces the need for a rear service corridor. This can simplify the steel frame and protect the interior design. At the same time, it helps the screen stay closer to the wall, which is important for offices, showrooms, and narrow public spaces.
Second, front access makes visible module repair faster. A technician can remove the affected module from the front, disconnect the connector, replace the spare part, and test the image. As a result, the surrounding cabinet does not need major disassembly.
Still, front module removal needs the correct tool. Magnetic modules, suction tools, screw-fixed structures, and quick-lock systems work differently. Therefore, the installation package should include the correct service tool and a simple repair guide.
Full front service should be confirmed part by part
Module access is only one part of maintenance. Power supplies and receiving cards may also need future replacement. Therefore, a front service claim should not stop at the module. It should explain how each internal part can be reached.
For example, one cabinet may require removing two modules to reach a power supply. Another cabinet may require removing six modules. That difference affects repair time, handling risk, and future labor cost. Therefore, this detail belongs in the quotation review.
Meanwhile, receiving card service needs both physical access and configuration records. If a card can be reached from the front but the mapping file is missing, the repair still becomes slow. So, hardware access and control-system documentation should be prepared together.
| Front access question | Good answer to request | Why it matters |
|---|---|---|
| Can modules be removed from the front? | Yes, with tool type clearly stated | Prevents damage during future replacement |
| Can power supplies be replaced from the front? | Yes, with module removal quantity shown | Shows real repair time |
| Can receiving cards be reached from the front? | Yes, with control-box position marked | Supports faster signal troubleshooting |
| Is ventilation still planned? | Yes, airflow route is reserved | Protects power and electronics stability |
| Are spare modules prepared? | Yes, from matching batch where possible | Improves color consistency after repair |
How much rear service space is needed
Rear service works well when the back of the screen remains open, safe, and easy to reach. For example, large outdoor billboards, stage structures, stadium displays, warehouse signs, and freestanding frames often provide rear access. In these cases, rear service can make power and signal inspection easier.
However, rear service needs real working depth. A small gap behind the cabinet does not count as a service corridor. A technician must be able to stand, open the rear cover, move tools, check cables, and replace parts safely.
As a practical rule, 600 mm can support basic access in some installations. However, 800 mm is more comfortable. For large outdoor structures, 900–1200 mm often provides a safer working route, especially when power boxes, control boxes, and waterproof covers need space.

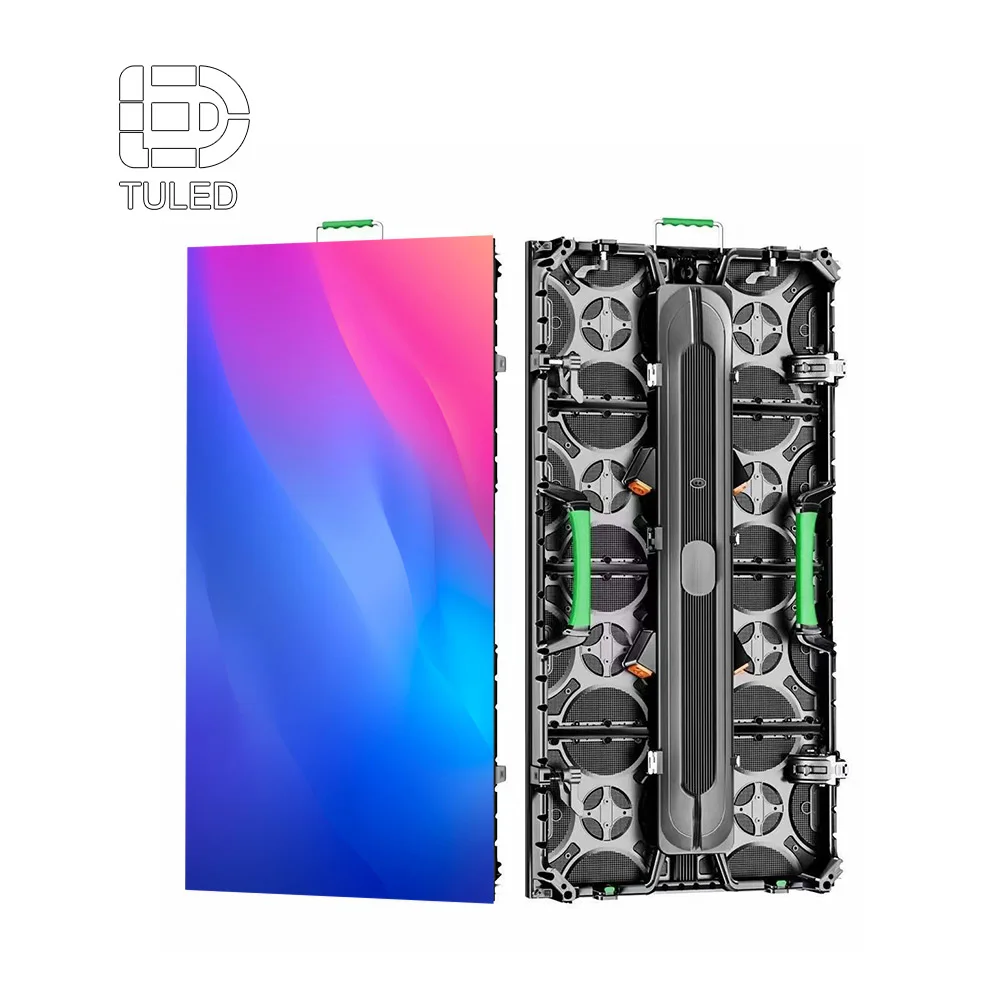
Rear service cabinet structure: useful when a safe back corridor, catwalk, or service frame already exists behind the screen.
Compare Outdoor LED DisplayRear access must be measured after all obstacles
First, rear depth should be measured after steel beams, cable trays, power boxes, ventilation ducts, and wall finishes are included. A drawing may show 800 mm, but real hand space can become much smaller after installation.
Second, rear covers need opening clearance. If a cover hits a beam, pipe, or wall surface, the cabinet may not be serviceable even when the corridor looks wide. Therefore, door swing and control-box position should be shown on the drawing.
Third, safe access matters. A screen installed high on a building needs ladders, platforms, guardrails, and lighting. Without these items, rear service may create safety risk even when the cabinet itself supports it.
| Rear space available | Practical service level | Recommended decision | Quotation note |
|---|---|---|---|
| Less than 300 mm | Not suitable for normal rear service | Choose front access or redesign structure | Hand movement and door opening are limited |
| 300–500 mm | Risky and uncomfortable | Use only after detailed drawing review | Cable inspection may be difficult |
| 600 mm | Basic service possible | Accept for smaller fixed projects if safe | Confirm door swing and power-box position |
| 800 mm | Comfortable service for many fixed screens | Suitable for regular rear service | Allows tool movement and cable checking |
| 900–1200 mm | Strong rear maintenance route | Recommended for large outdoor structures | Add catwalk, lighting, and safety rail if needed |
Rear service checklist
- Measure clear rear depth after all structure and cables are included.
- Confirm rear cover opening direction and full swing space.
- Check whether power supply units can be removed without cabinet disassembly.
- Confirm signal cable route and receiving card position.
- Reserve safe access for work at height, especially on outdoor structures.
CTA:Send installation wall photos and service-space size for maintenance advice
Request Maintenance AdviceModule, power supply, and receiving card service
A practical maintenance plan should not only say “front service” or “rear service.” Instead, it should show how each key part can be reached. The three most important service items are the LED module, the power supply, and the receiving card.
Moreover, each fault has a different symptom. A module issue may appear as dead pixels or a dark square. A power supply issue may create a larger dark area or unstable brightness. A receiving card issue may cause wrong colors, missing cabinet areas, or scrambled content.
Therefore, a clear service route helps the technician diagnose the problem faster. It also reduces unnecessary part replacement and protects the screen from extra handling damage.
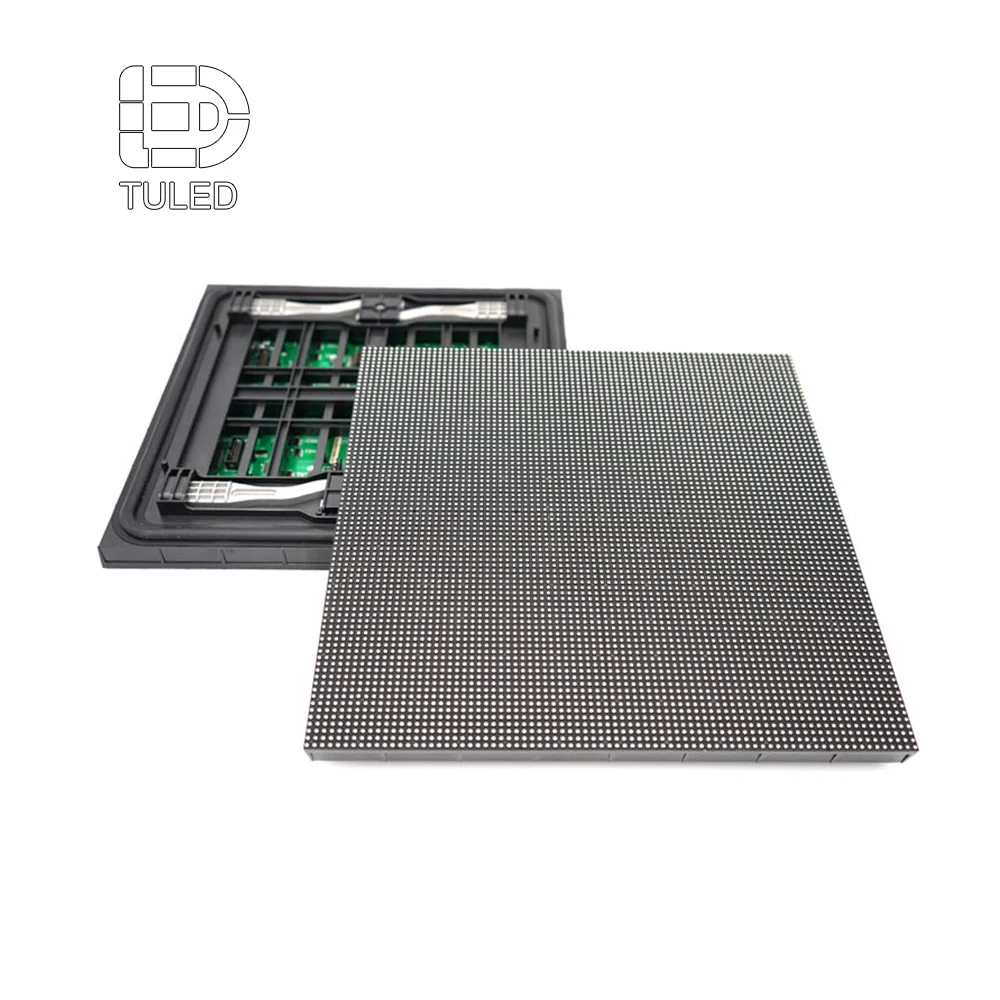
Module-level service planning: module structure, connector position, and spare batch planning affect future replacement speed and visual consistency.
Check 320×320 LED ModuleLED module replacement
First, the technician identifies whether the fault stays with one module, one cabinet, or one signal chain. This step matters because a dark area does not always mean the module has failed. Sometimes the cause is a loose connector, a weak power supply, or a signal setting issue.
Next, the module is removed by the approved method. Front service may use a magnetic or suction tool. Rear service may use screws, locks, or internal support parts. In both cases, careful handling protects the LEDs and connectors.
Finally, the spare module is installed and tested with red, green, blue, white, black, and gray images. If the spare module comes from the same batch, the color match is usually easier to control.
Power supply replacement
Power supply issues often cause unstable sections, random restart, or larger dark areas. However, the power supply should not be replaced before voltage and cable contact are checked. A loose terminal can create similar symptoms.
For rear service cabinets, the power unit is often easier to reach from the back. The technician can open the rear cover, check input and output voltage, replace the unit, and test the cabinet under load. Therefore, rear access can be efficient for large outdoor screens.
For full front service cabinets, several modules may need removal before the power supply can be reached. Therefore, the quotation should state how many modules must be removed. This small detail shows the real future repair time.
Receiving card replacement
A receiving card controls data distribution inside the cabinet. When the card or its cable path has a problem, one cabinet may show wrong colors, flicker, scrambled content, or no image. However, the replacement is not only physical. It also needs correct configuration.
Therefore, the project package should include the card model, configuration file, cabinet mapping, signal chain drawing, and software version notes. Without these records, a simple card replacement may take much longer than expected.
In addition, receiving card position affects diagnosis. Rear access often makes cable and indicator-light checks easier. Full front access can also work if the control area is clearly reachable from the front.
Receiving card service: card model, mapping file, cable labels, and access direction should be recorded before final handover.
View Receiving Card| Fault sign | Possible cause | Access needed | Repair note |
|---|---|---|---|
| Small dark square | LED module, connector, or ribbon fault | Module access from front or rear | Test the spare module before final lock-in |
| Larger dark section | Power supply or power cable issue | Power box access | Check voltage before replacing hardware |
| One cabinet offline | Receiving card, network cable, or power issue | Control box and signal cable access | Check indicator lights and mapping file |
| Wrong color or scrambled image | Configuration, scan mode, or signal issue | Receiving card and software records | Load correct card file and cabinet map |
| Repeated random flicker | Loose cable, heat, or weak power | Power and signal path access | Inspect cable labels and cabinet ventilation |
Product path by application
The product path should follow the site access condition. For indoor fixed walls, Indoor LED Display solutions often focus on fine pitch, flatness, quiet operation, and front maintenance. Therefore, module handling and wall depth should be checked carefully.
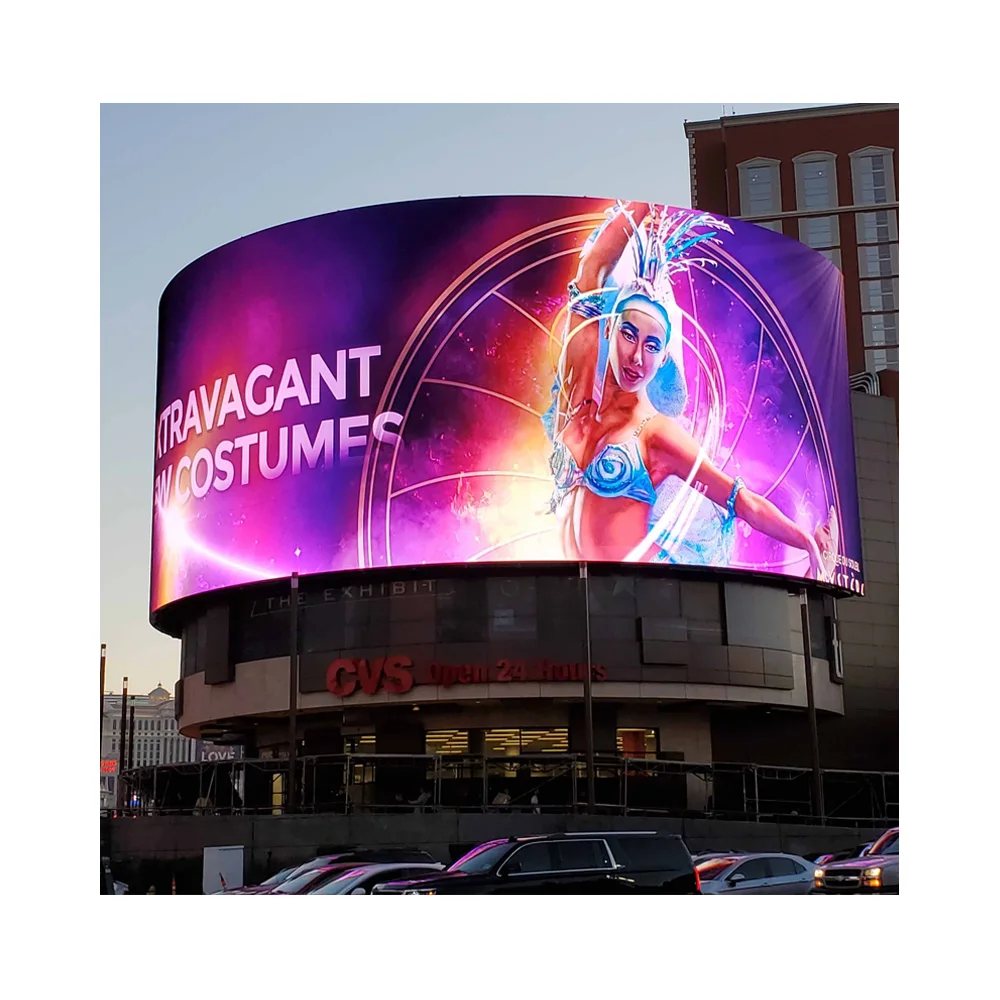
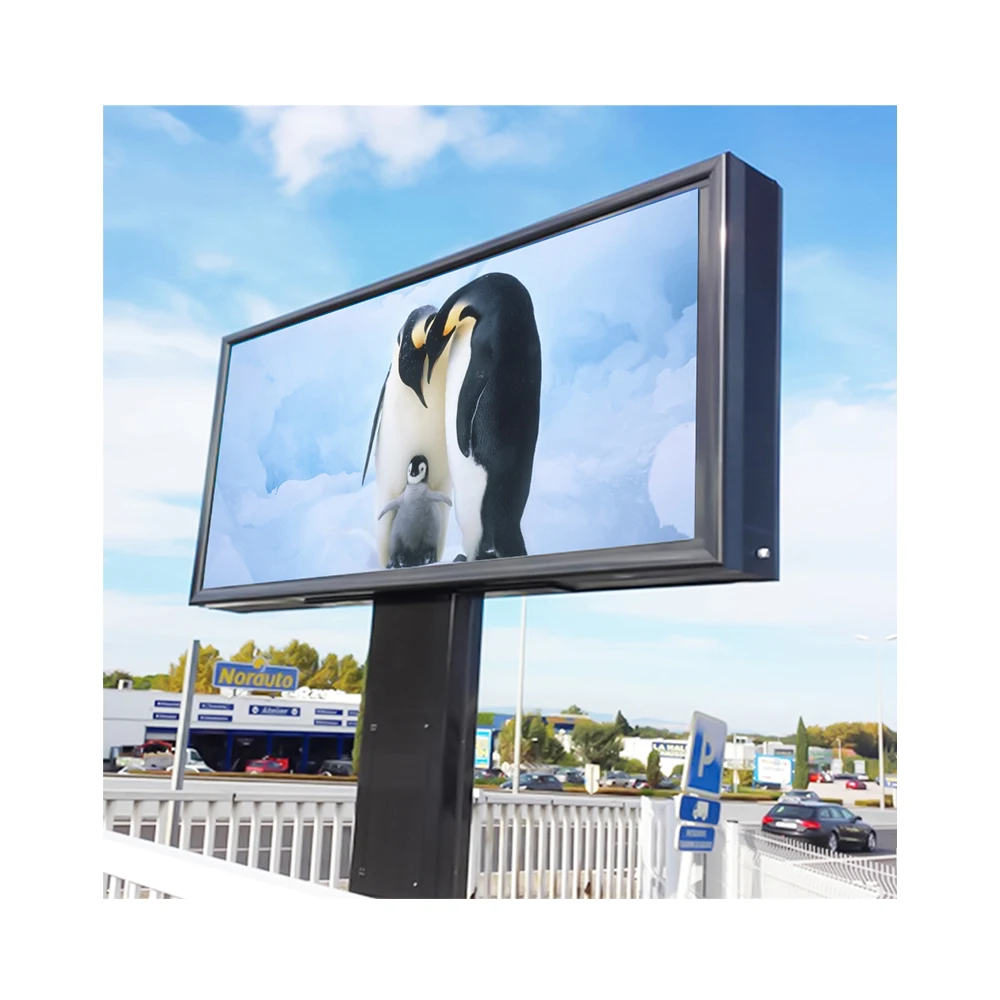
For outdoor signs, Outdoor LED Display solutions often need waterproof cabinet design, high brightness, power zoning, and safe maintenance routes. If a rear catwalk exists, rear service can be convenient. If the screen sits against a facade, front or mixed access may be better.
At the component level, the LED Module path should be reviewed early. Module size, fastening method, connector position, and spare batch planning all affect future replacement speed. Therefore, module choice should not depend only on pixel pitch.

Front maintenance cabinet example: suitable for projects where the screen face remains accessible but the rear side is limited or closed.
Check Front Maintenance Cabinet| Application | Access direction to review first | Product path | Key maintenance concern |
|---|---|---|---|
| Meeting room wall | Front access | Indoor fixed display | Fine pitch module handling and clean wall finish |
| Retail window or brand wall | Front access | Indoor commercial display | Fast module replacement without damaging decoration |
| Control room | Full front or mixed access | Indoor fine pitch display | Low downtime and stable spare module supply |
| Outdoor billboard | Rear or mixed service | Outdoor fixed display | Catwalk, waterproofing, power zoning, and cable labels |
| Building facade | Front or mixed service | Outdoor facade display | No rear corridor and weather-sealed service points |
| Stage or rental use | Rear or dual service | Rental LED cabinet | Fast assembly, transport protection, and modular repair |
Practical selection note: if the rear side is blocked after installation, front service should be reviewed before cabinet price comparison. If the rear side has a safe platform, rear service may simplify power and signal work. If both conditions exist, mixed maintenance can give a better balance.
Quotation details to send before production
A good quotation needs more than screen size and pixel pitch. It should include real site photos, finished wall depth, cable route, rear service space, and maintenance expectations. With these details, the factory can avoid recommending the wrong cabinet type.
Additionally, drawings should show the finished condition. Construction-stage photos may be misleading because decoration panels, air ducts, beams, and cable trays are often added later. Therefore, final access should be reviewed before cabinet production.
Finally, the quotation request should separate module access, power supply access, and receiving card access. This makes the service plan measurable and prevents vague wording.
Information to prepare
First, prepare screen width, height, installation height, indoor or outdoor environment, target viewing distance, and pixel pitch range. Then, add wall material, rear depth, cable entry direction, and any decoration limits.
Moreover, attach photos from the front, side, rear, and cable room if available. A simple phone photo with a tape measure often helps more than a clean drawing without depth information.
Service questions to ask
First, ask whether modules are front service, rear service, or dual service. Next, ask whether power supplies and receiving cards follow the same access direction.
In addition, request a simple service path drawing. This drawing should mark modules, power boxes, receiving cards, signal cables, and power entry points.
| Quotation item | Why it matters | Suggested note |
|---|---|---|
| Finished wall depth | Decides whether front access is needed | Measure after decoration and frame design |
| Rear service space | Confirms whether rear service is real | Measure clear working depth, not empty structural depth |
| Installation height | Affects tool choice and safety planning | Provide bottom and top height from finished floor |
| Cable entry direction | Affects cabinet layout and maintenance route | Mark top, bottom, left, right, or rear entry |
| Module access method | Shows future repair speed | Confirm magnetic, suction, screw, or rear removal |
| Power supply access | Prevents slow electrical repair | Ask how many modules must be removed if front service |
| Receiving card access | Supports faster signal troubleshooting | Request card model, cable labels, and configuration file |
| Spare parts list | Reduces downtime after handover | Include spare modules, power supplies, and receiving cards |
Copy-ready quotation template
- Project location and indoor/outdoor environment:
- Screen width and height:
- Pixel pitch target or viewing distance:
- Finished wall depth:
- Available rear service space:
- Installation height from floor or ground:
- Cable entry direction:
- Front service required: yes / no / unsure
- Rear service route available: yes / no / unsure
- Power supply access preference:
- Receiving card access preference:
- Need spare LED modules:
- Need spare power supplies:
- Need spare receiving cards:
- Photos and drawings available:
CTA:Send installation wall photos and service-space size for maintenance advice
Contact UsExtended reading and product paths
For a clearer quotation, the following pages help match cabinet structure, module access, and application environment before production.
-
LED Module
Review module size, front service method, connector layout, and spare module planning.
-
Indoor LED Display
Useful for meeting rooms, retail walls, control rooms, showrooms, and shallow wall projects.
-
Outdoor LED Display
Useful for billboards, facade signs, high-brightness advertising screens, and weather-exposed structures.
FAQ
Does front maintenance mean every part can be replaced from the front?
Not always. In some cabinets, front maintenance only means the LED modules can be removed from the viewing side. However, power supplies and receiving cards may still need rear access unless the cabinet supports full front service. Therefore, the quotation should separate module access, power supply access, and receiving card access.
How much rear access space should be reserved for a rear service screen?
As a practical starting point, 600 mm can support basic rear service in some installations. However, 800 mm is more comfortable for tool movement and cable checking. For large outdoor structures, 900–1200 mm is often better, especially when a catwalk, rear door, power box, and safety railing are involved.
Can LED modules be replaced without removing the whole cabinet?
Yes, if the cabinet and module structure are designed for independent module service. Front access modules can usually be removed from the viewing side with the correct tool. Rear service modules are reached from the back. In both cases, spare module compatibility and color consistency should be planned before shipment.
Why does receiving card access matter during maintenance?
The receiving card controls data distribution inside the cabinet. If a cabinet shows wrong colors, scrambled content, or signal loss, the receiving card and its cable path may need inspection. Therefore, the service plan should include card access, card model, cable labels, configuration file, and cabinet mapping records.
When is mixed front and rear service a better choice?
Mixed service can make sense when the module should be replaced quickly from the front, while power supply and signal checks are easier from the rear. This is common in larger screens where a rear corridor exists but the front surface also needs fast module access. The final choice should follow the finished wall condition and repair route.
Conclusion: choose the repair path before the cabinet
Maintenance access should be confirmed before the cabinet model, steel frame, wall depth, and cable route are finalized. Otherwise, a clean installation may become difficult to repair later. Therefore, front access, rear service, and mixed service should be compared according to the finished site condition.
For shallow indoor walls, front access usually protects space and decoration. For outdoor structures with a safe rear corridor, rear service can make power and signal work easier. However, mixed service may provide the best balance when module replacement needs to be fast and electrical inspection remains easier from the back.
Before final quotation, measure real service space, confirm component access separately, and prepare site photos with dimensions. For a new led screen display project, this early work helps reduce installation risk, repair time, and long-term maintenance pressure.
Three practical actions before quotation
- Measure the finished rear service space after frame, decoration, beams, and cable trays.
- Confirm LED module, power supply, and receiving card access separately in the drawing.
- Send wall photos, side-view depth, installation height, and cable route before production approval.
CTA:Send installation wall photos and service-space size for maintenance advice
Send Project Details