EN
EN

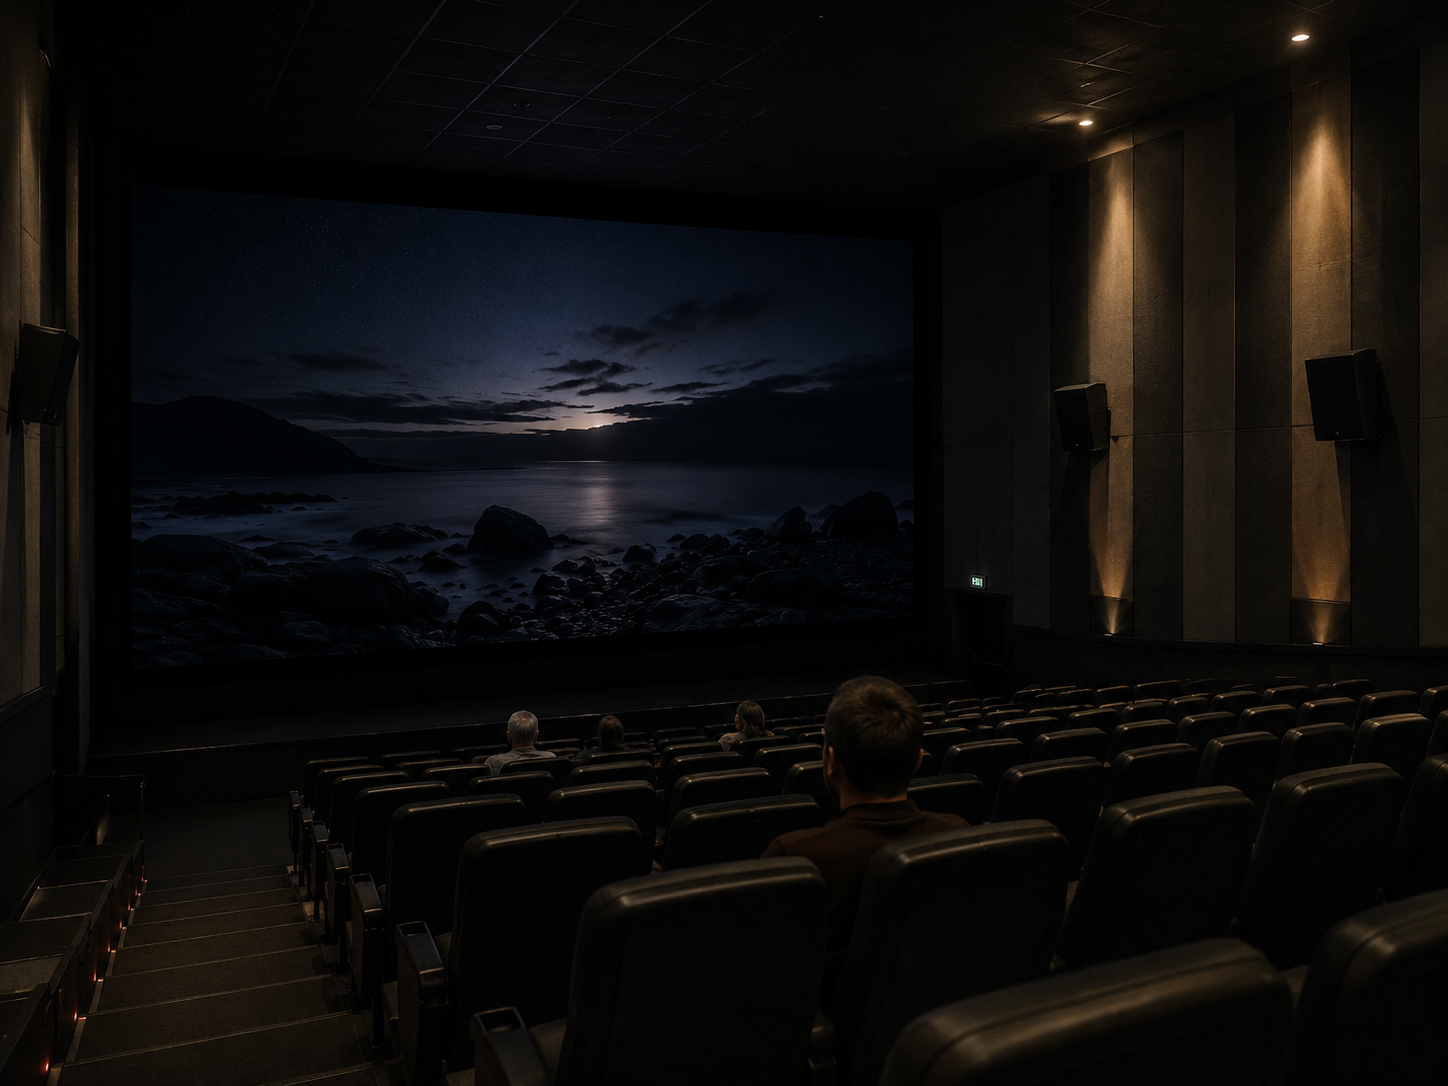
A cinema LED screen display should not be selected from peak brightness or pixel pitch alone. In a dark room, black consistency, low-gray detail, image uniformity, cooling noise and the position of the first occupied row can have a greater effect on viewing comfort than a headline specification.
The right starting point is the room: screen opening, seating distances, source resolution, loudspeaker layout, ventilation and maintenance access. This guide explains how to turn those details into a practical shortlist for private screening rooms, immersive spaces, multipurpose auditoriums and commercial cinema projects.
Commercial cinema or private screening room?
These projects should not be treated as identical. A commercial theatrical auditorium may require a cinema-specific playback, security, approval and acceptance workflow. A standard fine-pitch indoor LED system may be considered for private screening rooms, presentation spaces, immersive venues or alternative-content halls, but it should not automatically be described as a compliant commercial cinema system.
Before a product is shortlisted, confirm who controls the playback system, which technical or regulatory requirements apply, and which party is responsible for final approval.
| Project type | First decision | Likely product direction | Do not approve before |
|---|---|---|---|
| Commercial theatrical auditorium | Confirm the required cinema playback, security and project-approval path. | A cinema-specific direct-view system and matched playback chain may be required. | The responsible consultant or authority has approved the complete system, not only the LED wall. |
| Private screening room | Measure the first row and decide how the center loudspeaker will be positioned. | Fine-pitch indoor LED can be shortlisted after a full-scale viewing test. | Pixel texture, dark-scene detail, fan noise and dialogue location have been reviewed from the actual seats. |
| Immersive or specialist AV space | Map the closest moving viewpoint, side angles and active content area. | A custom indoor LED layout may suit the project. | The complete movement route, content mapping and service access have been tested. |
| Multipurpose auditorium | Rank film, presentation, live input and camera use by importance. | Fine-pitch LED with a planned processor and input workflow. | Film scenes, subtitles, small text, live sources and switching have all been demonstrated. |
How to Choose a Cinema LED Screen Display Instead of Projection
Review the room, seating and sound layout before comparing product models.
Projection forms an image through a projector, lens, throw path and reflective screen. Direct-view LED forms the image at the display surface. Removing the projection beam avoids shadow and throw-distance restrictions, but it creates new requirements for structural depth, power, data, ventilation and service access.
The dark-room operating range matters more than the maximum showroom setting. Bright subtitles, rapid transitions and high-output highlights can become tiring during long-form viewing. Ask for an auditorium preset that can be recalled consistently and still preserves visible separation in dark scenes.
Sound needs to be planned at the same time. A projection screen may allow a center loudspeaker behind the picture, while a solid LED wall does not automatically provide the same sound path. Placing the speaker above or below the image can change where dialogue appears to originate, especially near the front row.
Do not begin with a product model. Begin with a dimensioned room brief that shows the image opening, occupied seats, source formats, loudspeakers, structure, ventilation and maintenance route.
Information to prepare before comparing screens
Do not move to product approval while these points are unresolved
- The playback and approval path is unclear. A screen specification cannot resolve cinema-server, security, interoperability or local approval responsibilities.
- The center loudspeaker has no confirmed position. Selecting the screen height first may create detached dialogue or an uncomfortable first-row viewing angle.
- The wall depth only fits the cabinets. Structure, cabling, intake, exhaust, access and safe component replacement need space as well.
- The supplier will only show bright showroom footage. Request black, near-black, ramps, subtitles and representative film scenes at the planned operating level.
- The quotation covers display hardware but not the complete system. Processing, power distribution, mounting, calibration, installation, commissioning and handover can materially change the project scope.
Black Level and Low-Gray Detail in a Dark Auditorium
Bright promotional footage rarely exposes the errors closest to black.
Feature content spends much of its running time below peak white. Night scenes, dark clothing, smoke, slow fades and dim interiors depend on stable separation between the first visible gray levels. A high contrast figure on a specification sheet does not show whether those levels remain distinct after the wall is dimmed.
Perceived black also depends on the room. Module masks, protective surfaces and cabinet angles may reflect aisle lights, exit signs or pale finishes even when the pixels are off. Test the screen with the normal safety lighting active rather than in complete darkness.
Bit depth can support smoother processing, but it does not prove visible low-gray performance. Driver behavior, receiving-card configuration, brightness control and calibration data determine how the assembled wall behaves near black.
Dark-room acceptance points
| Test | Where to view | Acceptable result | Warning signs |
|---|---|---|---|
| Full black frame | Center, first row and side seats with normal safety lighting | One visually consistent surface without distracting bright regions | Colored pixels, raised patches, edge glow or strong reflections |
| Near-black steps | After the wall reaches a stable operating temperature | Early steps separate gradually without a sudden lift | Crushed detail, jumps, shimmer or cabinet-to-cabinet variation |
| Dark neutral ramp | Several signal levels from representative seats | Gray remains neutral and changes smoothly | Red, green, blue or magenta drift; contour lines or banding |
| Dark film scenes | Actual seats through the final source and processor route | Faces, textures and fades remain natural at the planned output | Blocked shadows, washed blacks, harsh subtitles or unstable gradients |
Use calibrated patterns through the final playback route. The first visible levels should separate gradually rather than appearing as one sudden block.
Complete the test with real content: night exteriors, dim interiors, smoke, gradual fades, neutral faces and subtitles. Camera recordings may help when the venue also needs streaming or promotional capture, but they should not replace direct observation from the seats.
Pixel Pitch, First-Row Distance and Total Screen Pixels
Approve pitch with the real screen dimensions and closest occupied seat.
Pixel pitch is the center-to-center distance between neighboring pixels. A smaller pitch increases pixel density, but the finest available option is not automatically the best purchase. It may add cost, processing load and thermal density without creating a visible improvement from the planned seats.
The closest occupied row controls how easily the pixel structure can be seen. Screen width controls the total horizontal pixel count. These two facts must be reviewed together: a wide auditorium wall can produce a very large canvas even when the first row is far enough away for a less aggressive pitch.
Horizontal pixels = screen width in millimeters ÷ pixel pitch in millimeters. Use the same calculation for height, then compare the result with the source resolution and planned processor output.
Scaling is not automatically a failure, but it must preserve faces, subtitles, diagonal edges and fine textures. Also calculate the active image for each aspect ratio. Unused areas above, below or beside the picture should remain visually quiet during dark scenes.
A practical pitch review
- Record the exact screen opening and first occupied row.
- Calculate the full canvas for each shortlisted pitch.
- Mark the real first-row distance in the demonstration area.
- Show faces, subtitles, diagonal lines, slow pans and detailed textures.
- Reduce the screen to the planned dark-room output.
- Repeat the review from the widest occupied side seat.
- Record visible texture, edge artifacts, moiré and viewing comfort before comparing prices.
How the pitch decision changes by use case
| Condition | Main risk | Selection direction | Required demonstration |
|---|---|---|---|
| Very close first row | Pixel structure, hard diagonal edges and module surface texture remain visible. | Begin with the finest practical shortlist, then check whether the extra density creates a visible benefit. | Full-scale sample from the exact first-row distance with faces, subtitles and slow movement. |
| Wide commercial auditorium | The pixel grid may be less visible, but the complete canvas, data load and heat increase. | Balance first-row visibility with total pixels instead of purchasing the finest pitch by default. | Compare shortlisted pitches with identical content, output, scaling and seat positions. |
| Multipurpose auditorium | Film images, presentation text and live inputs create different detail requirements. | Select against the strictest important use, not an average that performs poorly for every use. | Film scenes, small text, windowed layouts, live input and camera capture where required. |
| Immersive space | Viewers move through different distances and angles, and content may use only part of the wall. | Calculate every active segment and review the complete movement route. | Walk-through test with mapped content, transitions, corners and the closest approach point. |

Gamma, White Balance, Viewing Angle and Uniformity
A repeatable, natural preset is more useful than a permanently vivid showroom mode.
Gamma controls how digital levels become visible brightness. If the response rises too quickly, dark scenes look washed out. If it rises too slowly, shadow texture disappears. White balance must also remain neutral at low, middle and higher signal levels; a wall that looks neutral during bright content may still produce colored shadows.
Assign one control point for each signal function. Resolution, frame rate, range, color conversion, scaling, gamma, brightness and calibration should not be adjusted independently in several devices without a documented reason. Duplicate correction makes the final result difficult to repeat.
Mechanical alignment comes before fine calibration. A tilted cabinet, uneven module or inconsistent gap may catch room light and appear as an electrical uniformity problem. Correct the physical surface before attempting to hide it with calibration data.
Center-seat quality is not enough. Dark gray, neutral faces and low-saturation colors should be reviewed from the first row, center seats and widest occupied angles. Side seats may reveal reflection, color shift or visible seams that disappear from the middle.
Calibration sequence to request
- Confirm the final source, processor and display route.
- Warm the complete wall under normal operating conditions.
- Set aisle and architectural lighting to the normal playback state.
- Correct physical alignment, module and connection defects.
- Measure and review black, gray, white balance, gamma and color.
- Inspect edges, corners and side-seat behavior.
- Save the approved operating and test presets.
- Record critical settings and recheck real film material through the final source.
Sound Layout, Cooling Noise and Maintenance Access
A strong picture cannot compensate for detached dialogue, fan noise or inaccessible modules.
The image wall, loudspeakers and room structure should be coordinated as one assembly. Raising the image may create space for a center loudspeaker, but it can also increase the first-row vertical viewing angle. A section drawing should compare screen height, sightlines, speaker positions, acoustic treatment and service depth before the frame is approved.
Cooling noise can become part of the soundtrack. Fans, power supplies, processors, racks, grilles and nearby HVAC equipment may be inaudible in a busy showroom but obvious during a quiet scene. Test only after the wall has reached a stable thermal condition and the room has returned to its normal background-noise state.
Maintenance strategy affects long-term uniformity. Front service reduces rear depth but requires safe access across the screen face. Rear service may simplify some interventions but needs a clear passage and controlled airflow. Replacement modules also need matching calibration data and a process for physical alignment.
Questions for the supplier and integrator
- Where will heat be released at the intended playback level?
- Which fans or power components may change speed as temperature rises?
- How will a module, power unit or receiving component be replaced?
- Can the work be completed without removing nearby acoustic treatment?
- How will a replacement module be matched at black, low gray and normal content levels?
- Who records configuration files, calibration data and spare-part locations after handover?
D-Cinema Playback, Signal Compatibility and Final Acceptance
An input connector does not prove that the complete playback workflow is suitable.
Start by documenting the source path. Record the playback device, signal format, resolution, frame rate, range, color conversion, scaling point, processor output and receiving configuration. The final demonstration should use the same route planned for daily operation.
For a commercial cinema project, confirm the required playback, security, interoperability and approval process with the responsible technical parties. For a private screening room or multipurpose venue, list the actual sources—media server, computer, live input, presentation system or camera feed—and test each required mode rather than assuming that one successful HDMI image proves full compatibility.
Acceptance criteria should be agreed before manufacturing or installation. A subjective promise such as “seamless,” “high contrast” or “quiet” is difficult to enforce after the wall is complete. Define the test content, room condition, viewing positions, operating preset, responsible observer and method for recording defects.
Concise onsite acceptance checklist
Make competing quotations comparable
Two quotations can show the same screen size and pitch while covering very different responsibilities. Ask every bidder to separate the following items instead of presenting one unexplained total:
Do not compare quotations until screen dimensions, pitch, cabinet layout, spare ratio, processor capacity, installation boundary and acceptance scope are aligned. A lower hardware price may become a higher project cost when essential work is excluded.
Three actions before technical approval
- Approve a representative full-scale sample. View it from the real first-row distance, side angle and planned output level.
- Approve the complete signal route. Test the actual source, processor, scaling, frame rate, range and switching workflow.
- Approve written acceptance conditions. Record the room state, test content, tolerances or visual criteria, correction process and final sign-off responsibility.
Prepare a useful cinema LED project brief
Send the screen opening, first-row distance, seating plan, source resolution, aspect ratios, loudspeaker layout, service preference and normal room-light condition. These details allow the supplier and integrator to compare pitch, cabinet layout, processing and cooling without guessing.
Contact the project team