A Jumbotron LED video wall for events changes how a show feels. It turns a plain stage into a visual set and keeps key content readable from far seats. At the center of that impact sits the jumbotron (sometimes written as jumbo tron). “Jumbotron” is often used as a generic term for large event video boards. But “big” is not the goal by itself—an event-ready build needs speed, clean alignment, stable signal flow, and a plan for show-day pressure.
Planning a Jumbotron LED video wall for events
Before choosing cabinets or mapping pixels, it helps to picture the full day. Load-in starts early. The wall needs to build fast, pass checks, and stay steady for hours. Later, it must pack down cleanly, with minimal surprises.
On most shows, the “screen” is only one layer. Rigging, power, signal routing, processing, and content workflows decide whether the wall feels calm. A solid plan also reduces fatigue, which keeps quality consistent.
In practice, the best builds share a few traits. The cabinet grid stays simple. Cable lanes stay predictable. Troubleshooting stays local, not global.
What “event-ready” really looks like on site
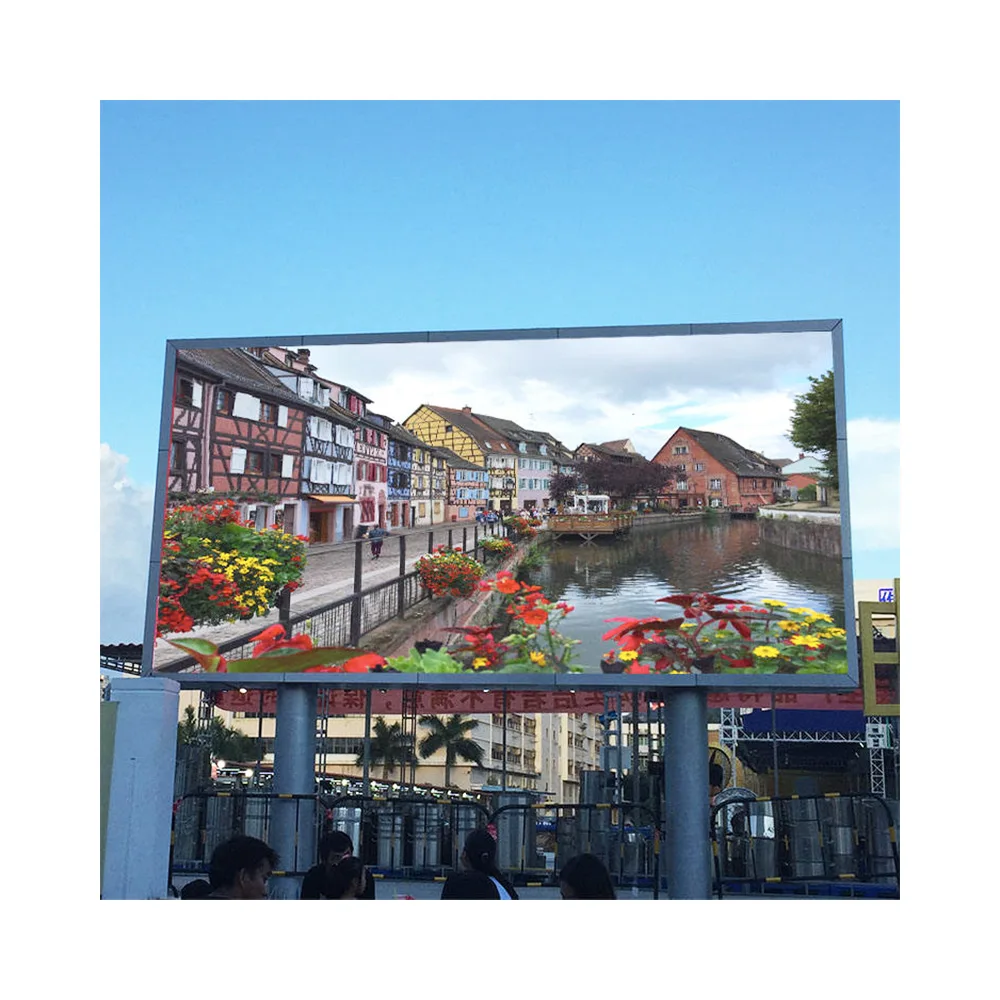
First, readability must hold under real lighting. Stage beams and wash lights can flatten colors. Sun and haze can reduce contrast. A good wall still looks strong in those conditions.
Next, alignment needs to be repeatable. Panels should lock into the same plane every time. Corners should protect modules during handling. That mechanical consistency shows up as cleaner seams.
Finally, the system should be serviceable without drama. Quick access to modules and power supplies matters. Spare strategy matters too, especially when the schedule cannot slip.

Rental cabinets and quick install: what “fast” actually means
“Quick install” sounds like a single feature. On the floor, it is a chain of small decisions. Case packing, cabinet locks, cable discipline, and mapping habits all add up. When each step is predictable, speed follows naturally.
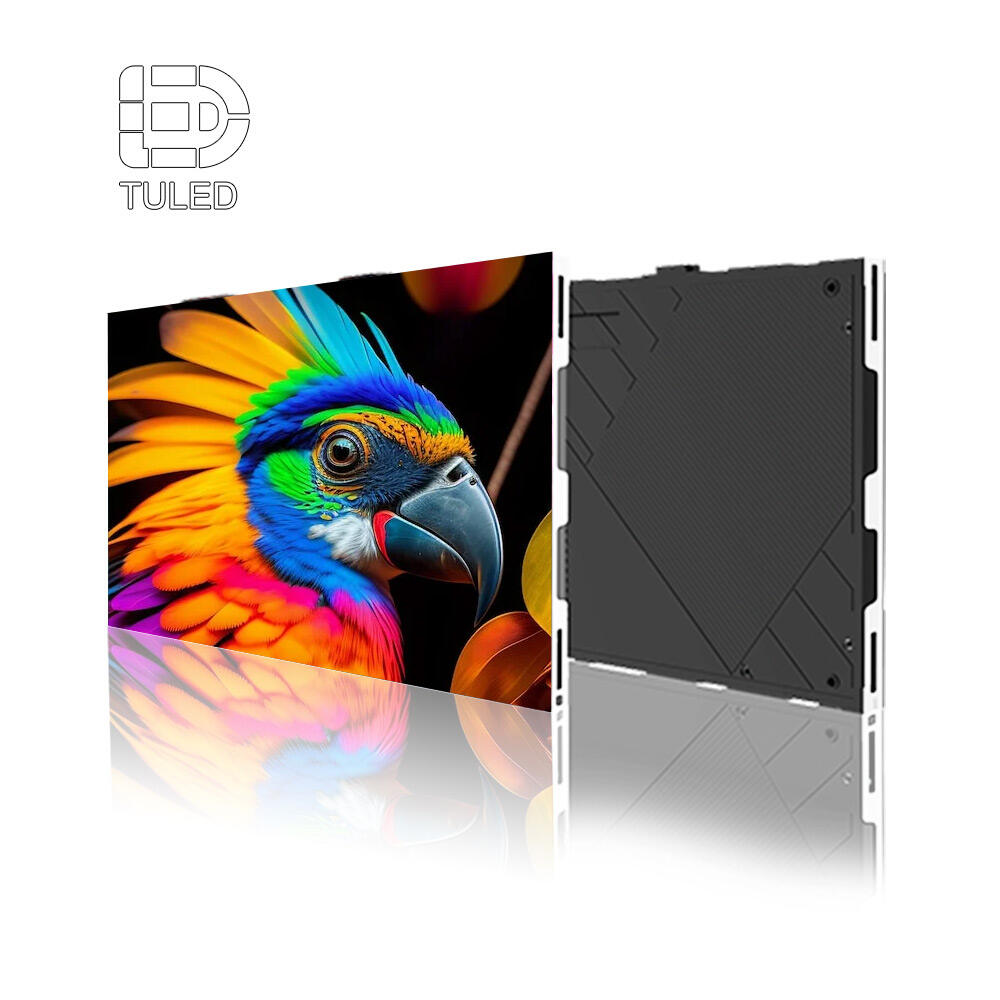
Most rental systems revolve around two cabinet footprints. Common formats are 500×500 mm and 500×1000 mm. The smaller size fits creative shapes and tighter spaces. The taller size reduces cabinet count, which often reduces labor time.
A mixed inventory is also common. Many builds use 500×1000 for the main surface, then add 500×500 for edges and side wings. That hybrid approach keeps speed without losing flexibility.
For product browsing, it helps to compare cabinet formats inside the LED wall catalog, using this internal reference: Products.
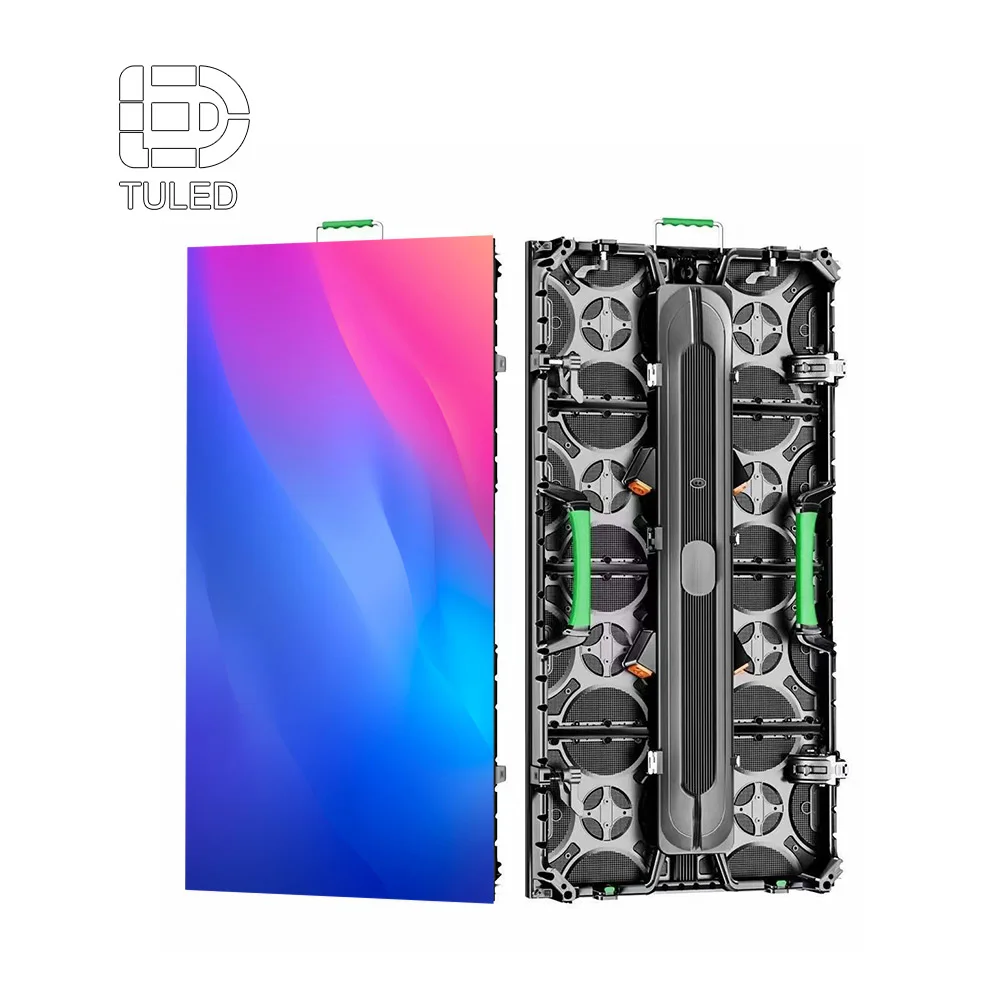
Cabinet hardware that sets the build tempo
On a real build, locks decide the rhythm. Side locks should pull panels together evenly. Top and bottom connections should feel secure without forcing. Handles should be placed where lifting feels natural.
Protective details matter too. Corner guards reduce impact damage. Strong frames reduce twists during stacking. With those basics in place, the wall tends to stay flatter across repeated builds.
For touring-style layouts that lean on smaller modular steps, a good starting point is the 500×500 rental cabinet category in 500×500 LED Display.
On-site quick checklist (15 minutes that saves the show)
Confirm final wall grid (width × height) before unpacking
Mark footprint + controller position
Build first row, level + square check
Power on one side, data on the other (no messy crossovers)
Map zones = controller ports = power circuits
Run test playlist: gray ramp → solid colors → motion clip → live input switch
A practical quick-install sequence that stays repeatable
Many crews use a consistent order. The order keeps mistakes from spreading. It also makes fixes faster when one section behaves oddly.
Start by marking the footprint and the control position.
Build the first row, then confirm it is level and square.
Add rows by sections, not by scattered single cabinets.
Route power and data along planned lanes, then secure slack.
Run a mapping grid, then check colors and motion content.
Short checklists beat long arguments. A simple pattern playlist usually catches most issues early. That habit protects the show timeline.
Building the wall as a system, not a pile of panels
Even a great cabinet cannot rescue a weak system plan. Power quality affects stability. Signal routing affects reliability. Processing affects how content feels. Treating the wall like a complete system keeps results consistent.
A useful way to think about it is “five layers.” Structure supports the load. Cabinets form the surface. Power distributes cleanly. Signal stays organized. Processing controls the canvas.
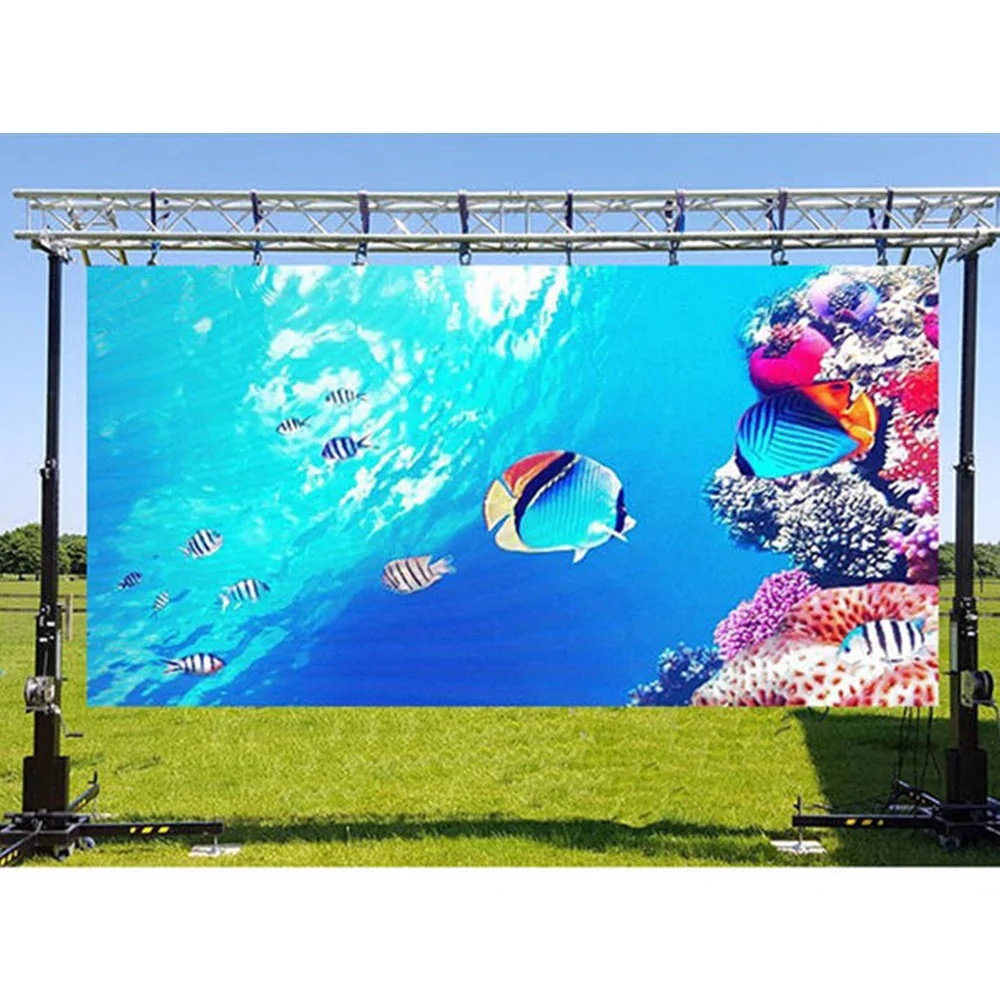
Structure choices: ground support vs flown truss
Ground support keeps the build accessible. Crews can assemble rows at a comfortable height. Repairs stay simple because the wall remains reachable. Outdoor sites often prefer this approach because bracing can be planned from the ground.
Flown walls clear sightlines. They also reduce stage clutter for cameras and performers. Still, flown builds demand strict rigging planning, proper bars, and clear pick points.
On mixed shows, both methods appear. A main wall may fly. Side screens may ground stack. That combination can work well when the schedule is tight.
Power planning: stable supply beats optimistic assumptions
Power planning starts with peak moments. Full white content draws more than most video. Bright outdoor scenes draw more than indoor looks. Planning for peak keeps the wall stable during stress tests.
Distribution should remain tidy. Shorter runs reduce voltage drop. Clear labeling speeds troubleshooting. Zone separation prevents one fault from taking down the whole surface.
It also helps to remember a common pattern. Many “video issues” are power issues in disguise. A stable electrical plan reduces random resets and flicker-like behavior.
Signal planning: clean routing, clear mapping, less guessing
Signal should match the physical grid. One controller output should feed one defined zone. Data paths should follow clear lanes. When routing stays clean, diagnosis stays fast.
Long venue runs may require fiber transport. Short runs may stay on copper. Either way, consistency matters more than cleverness. A repeatable plan is easier to maintain.
Mapping discipline is the final piece. Once the wall is mapped correctly, it should not change every day. Frequent remapping is a slow way to lose time and confidence.
Smart cable layout for fast jumbotron builds (power + data lanes)
Cable layout is where “fast” becomes real. A wall can have great cabinets and still feel chaotic. Smart routing turns the build into a predictable routine. It also makes the wall easier to service mid-show.
Zone design: match physical blocks to ports and circuits
Start by dividing the wall into zones. Each zone should be a physical rectangle that crews can recognize quickly. Then tie each zone to controller ports and power circuits.
A clean rule helps on busy sites. Physical zone = controller port group = power circuit group. When that stays true, fault finding becomes a simple narrowing process. One corner goes dark, one zone is checked, and the rest stays safe.
Cable lanes: power on one side, data on the other
On many builds, crossing cables create the mess. Power lines twist around data lines. Slack loops snag on locks. Fixes take too long because everything overlaps.
A calmer approach uses lanes. Run power trunks along one edge of the wall. Run data trunks along the opposite edge. If a cross-over is needed, keep it short and clearly tied down.
This lane approach also protects signal quality. Separating power from data reduces interference risk. It also improves airflow behind cabinets in tighter builds.
Labeling rules that work in the dark
Labels should be readable without thinking. A simple format is easier than a “creative” naming scheme. Many crews use a basic pattern that matches the physical layout.
ZONE-A / ZONE-B / ZONE-C for wall sections
PWR-01 / PWR-02 for circuit identifiers
DATA-01 / DATA-02 for controller lines
ROW-01 / ROW-02 for row-level bundles
Once the labels match the grid, mistakes drop quickly. New crew members can follow the logic without a long briefing. That is where real time savings appear.
Pre-made looms: bundle by wall section, not by random length
Pre-made looms often save the day. A loom is a bundled set of cables prepared for a defined section. Building looms by section reduces on-site sorting.
A good method is “one loom per zone row.” Each loom contains power jumpers and data jumpers for that row. At load-in, the loom is pulled, routed, and tied down in minutes.
This approach also improves pack-down. Each loom returns to its labeled bag. Missing cables become obvious. The next load-in becomes smoother.
Backup thinking: reserve ports and plan A/B data paths
Redundancy does not need to be complex. Even a simple reserved port plan can help. Keeping spare controller outputs available reduces stress if a port fails.
Some builds plan A and B paths. The B path may not be used on normal days. Still, knowing it exists changes how a crew reacts when something breaks.
In short, smart cable layout reduces panic. It keeps fixes small. It also makes the wall feel professional, not improvised.

Pixel pitch and viewing distance without endless debate
Pixel pitch selection can turn into a spreadsheet battle. On show sites, it is simpler. Match the wall to typical viewing distance and content style. Then confirm the choice supports the venue plan.
Close viewing wants tighter pitch. Far viewing can use a wider pitch and still look sharp. Live camera content often tolerates larger pitch better than tiny text does.
Content style matters as much as distance. If the show uses large scenic visuals and live IMAG, the pitch can be slightly wider. If the show relies on schedules, lyrics, and small logos, tighter pitch becomes more helpful.
It also helps to think in “real scale.” A wall that looks great at three meters can look busy at fifty meters. The goal is not maximum detail. The goal is clear impact at the distance that matters.
Content workflow: making the wall feel intentional
A bright wall can still feel messy. The difference often comes from workflow. Clear roles keep the wall readable. They also make changes safer under time pressure.
IMAG, scenic visuals, and information layers
IMAG is about visibility. It brings faces and action to distant seats. Scenic content is about atmosphere and pacing. It works with lighting and music cues.
Information layers sit on top. Timers, sponsor bugs, and titles belong there. Keeping layers separate reduces clutter. It also makes last-minute edits less risky.
Many productions split responsibilities. A switcher handles cameras. A media server handles scenic playback. A processor maps the output to the cabinet grid. That chain is simple to test and easier to keep stable.
Presets for rehearsal, doors, and show moments
Most show days have multiple “looks.” Rehearsal often runs brighter for clarity. Doors may run softer for comfort. Broadcast moments may tune for cameras.
Presets make those shifts fast. A good preset includes brightness and gamma targets. It may also store color temperature choices. Once the presets stabilize, the wall feels consistent across venues.
Uniformity checks still matter. A quick gray ramp can reveal module differences. Catching that early keeps the surface clean under camera close-ups.
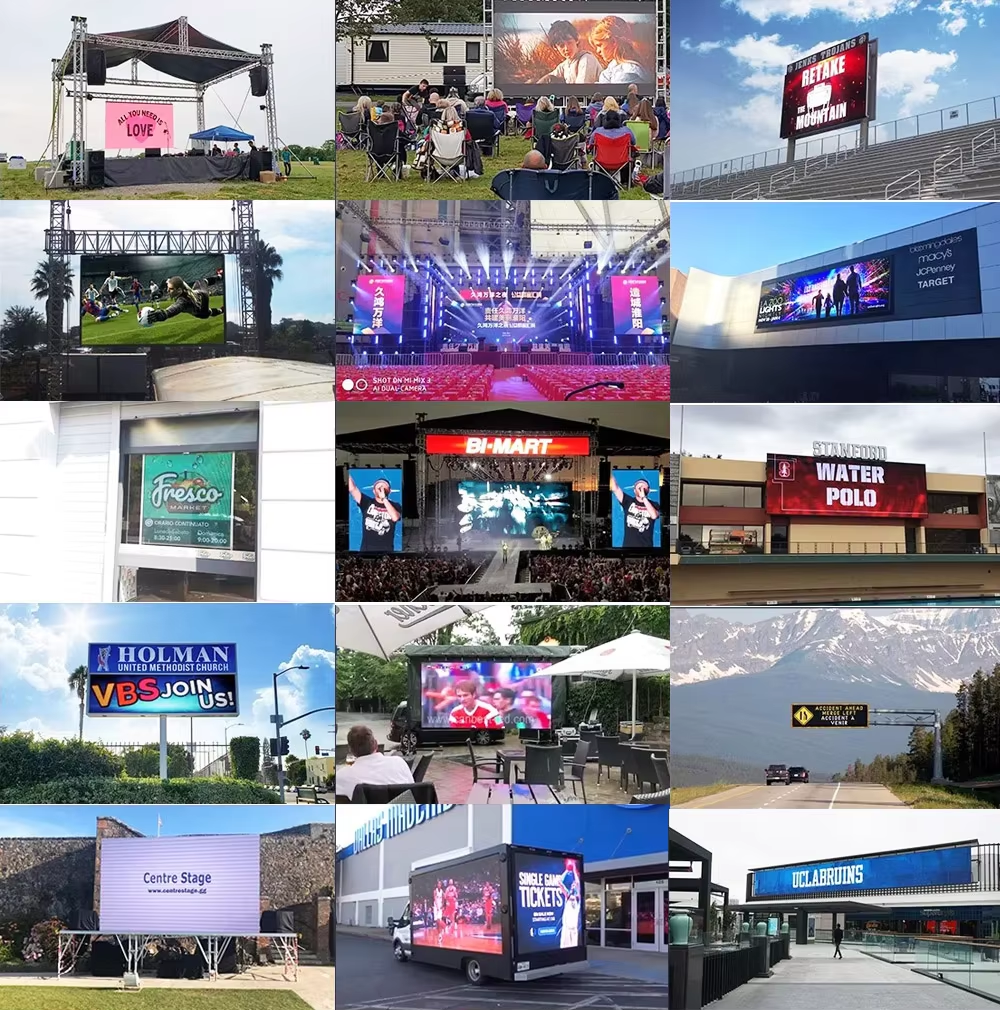
Where a jumbotron works best in event production
A jumbotron is not just a screen. It becomes part of the set. It can replace printed scenic elements. It can also create transitions without physical scene changes.
Concerts use big walls for energy and timing. Close-ups build connection. Wide scenic loops build scale. When cues are tight, the wall supports the music rather than fighting it.
Festivals rely on speed and visibility. Load-in windows can be short. Weather can change quickly. A robust wall plan keeps the day stable.
Corporate stages focus on clarity. Slides must be readable. Brand colors must stay steady. A clean layout supports a polished feel without distraction.
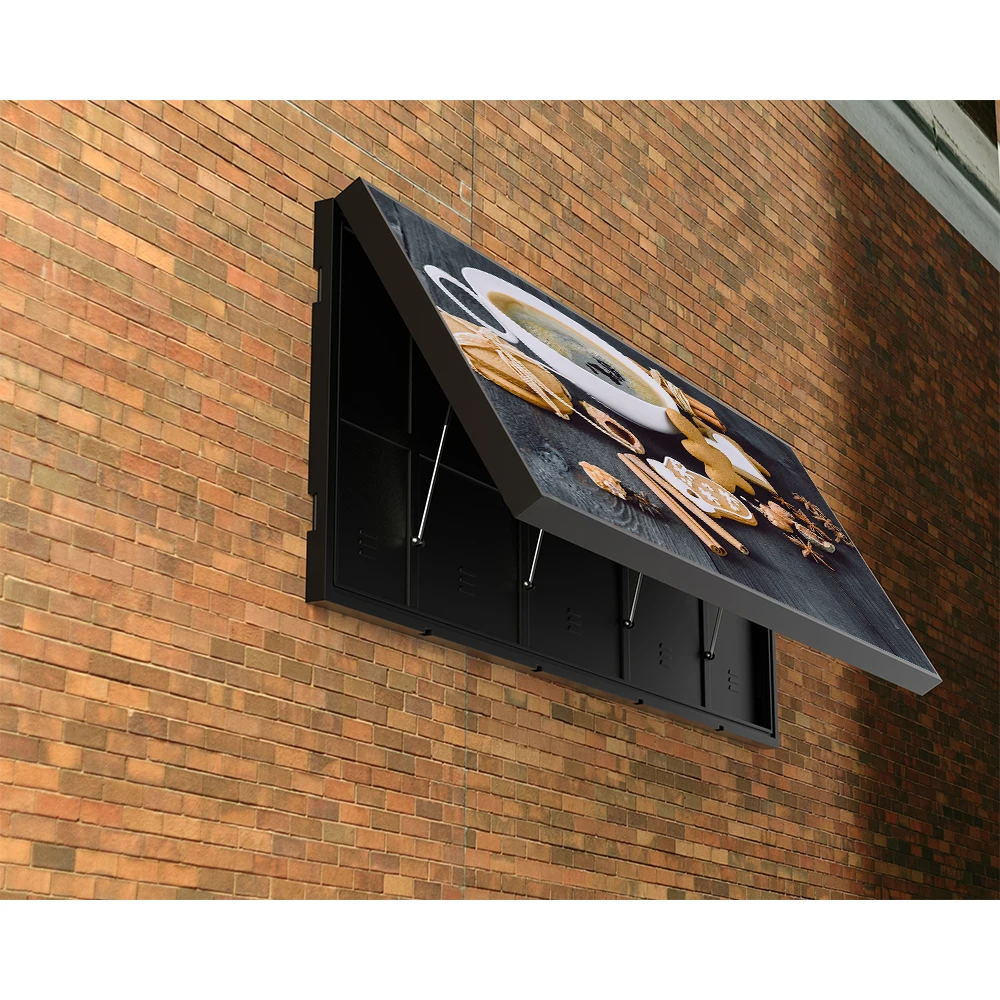
Exhibitions and activations often need shape freedom. Wrap corners, step edges, and portal layouts show up often. Smaller cabinet formats make those shapes easier.

Reliability habits that keep the wall looking premium
Reliability is part hardware, part discipline. Good habits keep issues small. They also protect the show from “mystery” failures.
A short verification routine helps. Start with power checks. Then run a mapping grid. After that, test solid colors and a motion clip. Finally, confirm live inputs behave as expected.
Thermal and brightness control matter too. Indoor walls should not blast at maximum brightness. Outdoor walls should scale brightness to sunlight conditions. That approach reduces stress on modules and power systems.
Repairs need their own habit. After a module swap, run a quick uniformity check. That prevents tint mismatches from slipping into the show.
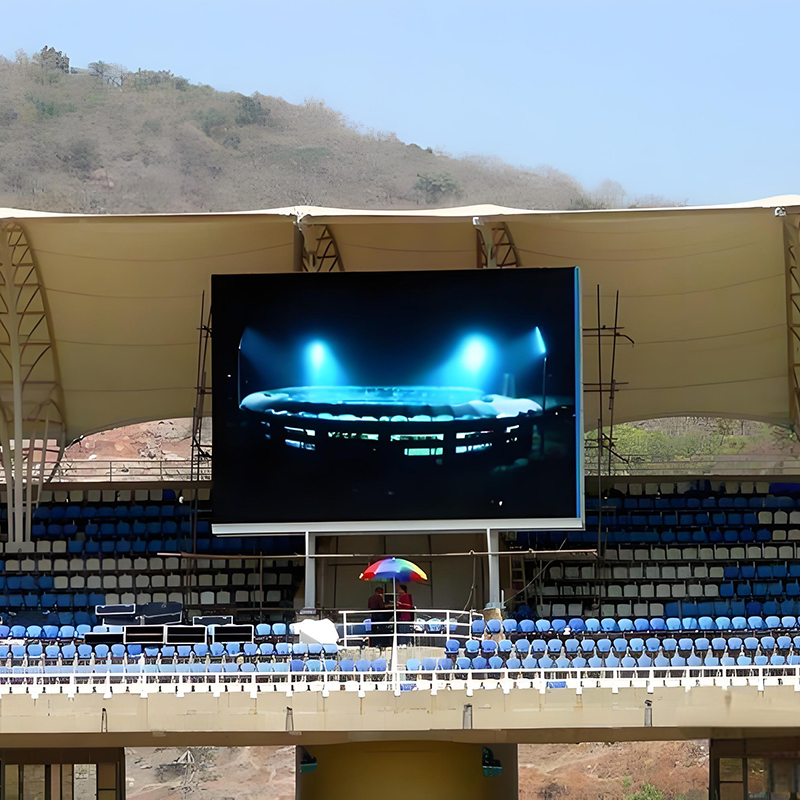
Stadium and venue module: scaling a jumbotron to sports environments
Stadium work changes the rules. Viewing distances stretch far. Sunlight and weather hit harder. Duty cycles often run longer than touring shows. For that reason, a jumbotron plan for venues needs a different mindset.
A stadium often runs multiple display surfaces. A main board shows replay and hero moments. Ribbon lines handle sponsor loops and prompts. Concourse displays support wayfinding and schedule content. In that layout, led stadium screens behave like a coordinated system, not a single panel wall.
When multiple surfaces work together, sync matters. Timing should feel consistent across the building. Content rules should match across zones. In that case, a set of jumbotrons can share the same visual language without repeating the same content everywhere.
A clear design also respects sightlines. The primary stadium screen should serve the broadest seating angles. Secondary surfaces can support corner seats and angled views. That placement keeps information visible without forcing extreme brightness.
Environmental planning matters as well. A stadium led display must handle wind, moisture, dust, and heat swings. Cabinet sealing and airflow become practical concerns. Service access planning matters too because repairs happen under strict time windows.
Content strategy shifts at stadium scale. A stadium jumbotron favors bold shapes, big numbers, and clean contrast. Fine text fades quickly at distance. Live camera shots also need careful framing, especially for fast action.
The term “biggest” shows up often in early concepts. Still, the largest jumbotron idea must match structure limits and wind planning. A slightly smaller board can outperform a larger one if it stays brighter, cleaner, and easier to maintain.
Finally, venue systems often mix roles. A jumbotron screen can be both entertainment and information. Score data, replay moments, sponsor rotations, and safety prompts all share the same surface at different times. That reality drives the need for stable processing and predictable show control.

Choosing the right configuration: a calm checklist
Selection gets easier when it follows a structure. Start with environment. Then confirm viewing and content needs. After that, match build method and logistics.
A practical checklist for event builds
Environment: indoor, outdoor, or mixed days
Viewing: closest likely viewers and typical seat depth
Content: live camera, graphics, or mixed layers
Structure: ground support, flown truss, or hybrid
Logistics: case handling, storage space, truck pack plan
Control: input types, processing headroom, mapping stability
Service: access constraints and spare strategy
This list keeps decisions grounded. It also reduces “feature chasing” that does not help the day-to-day build.
Cabinet size and wall geometry
Smaller cabinets support curves and stepped edges. They also make repairs easier because each unit is lighter. Taller cabinets reduce cabinet count and can speed the build.
Many walls use both. Core sections can use taller cabinets for pace. Edge work can use smaller ones for fit. That blend often creates the cleanest result for touring.
Geometry should also match content formats. A 16:9 canvas works well for cameras and standard media. Wide canvases work well for scenic panoramas. Both can succeed when the workflow matches the layout.
Common mistakes that slow installs and reduce quality
Most problems are not dramatic. They are small habits that stack up. Fixing them usually improves both speed and image quality.
One common issue is changing the cabinet grid too late. Last-minute resizing forces remapping and cable rerouting. That creates stress and mistakes. A locked grid plan prevents that.
Another issue is cable chaos. Random-length cables twist and snag. Crossing lanes slow both build and service. Smart cable lanes and labeled looms solve this quickly.
Mapping confusion is also common. Ports get swapped during a rush. Zones get mislabeled. A printed port map at the control position often fixes this more than any tool does.
Finally, skipping verification hurts later. A five-minute pattern check can prevent a forty-minute emergency. That trade is always worth it on show day.
FAQ
What makes a jumbotron screen readable at stadium distance?
Bold contrast and simple layouts matter most. Large numbers and clear camera framing also help. At venue scale, a jumbotron screen behaves more like signage than like a small display.
How do led stadium screens differ from a single main wall?
A main wall is one surface. Led stadium screens often include ribbon lines, end boards, and concourse displays. Those surfaces work together as a network across the venue.
How is a stadium screen plan built without guesswork?
Sightlines come first, then viewing angles, then service access. After that, processing capacity and routing plans get matched to the grid. A stadium screen plan also needs structural and wind considerations.
When does the term stadium jumbotron fit best?
It fits when the main board carries replay, score moments, and broadcast-style cues. A stadium jumbotron also shapes the venue identity in photos and video coverage.
What makes a stadium led display more demanding than indoor touring walls?
Weather and duty cycle add pressure. A stadium led display needs sealing, stable thermal behavior, and practical maintenance access. It also needs predictable brightness control across long game days.
Is the largest jumbotron always the best choice?
Not always. The largest jumbotron must still fit structural limits and processing constraints. A slightly smaller build can look better if it stays clean and bright.
How do multiple jumbotrons stay visually consistent?
Shared calibration targets and consistent presets help. Unified content rules also help, especially for fonts and contrast. In larger venues, zones often follow the same mapping logic.
Where do the six stadium terms belong in a content plan?
They fit best in the venue module and operational documentation. For example, “jumbotron screen” and “stadium led display” belong in maintenance and control notes. “led stadium screens” and “stadium screen” belong in layout planning documents.
Wrap-up: what a good jumbotron does on show day
A jumbotron works best when it feels effortless. The build stays fast. The surface stays flat. The signal chain stays stable. Content stays readable, whether it is a concert close-up or a venue-scale replay moment.
Three practical recommendations are worth putting on the call sheet:
Lock the cabinet grid early, then keep mapping stable across venues.
Build smart looms by zone, and keep power and data lanes separated.
Run a short pattern checklist before rehearsal, then store reliable presets.
With that approach, the jumbotron becomes a dependable show tool, not a daily puzzle.