Understanding LED Display Repairability: When and Why Repairs Make Sense
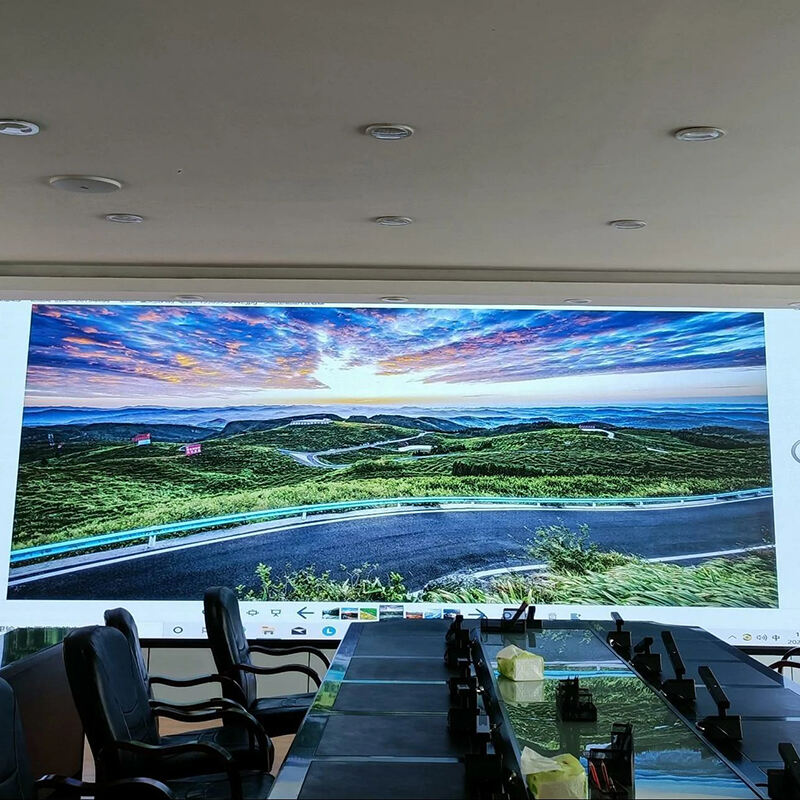
Module-Level vs. Integrated Design: Assessing Repair Feasibility
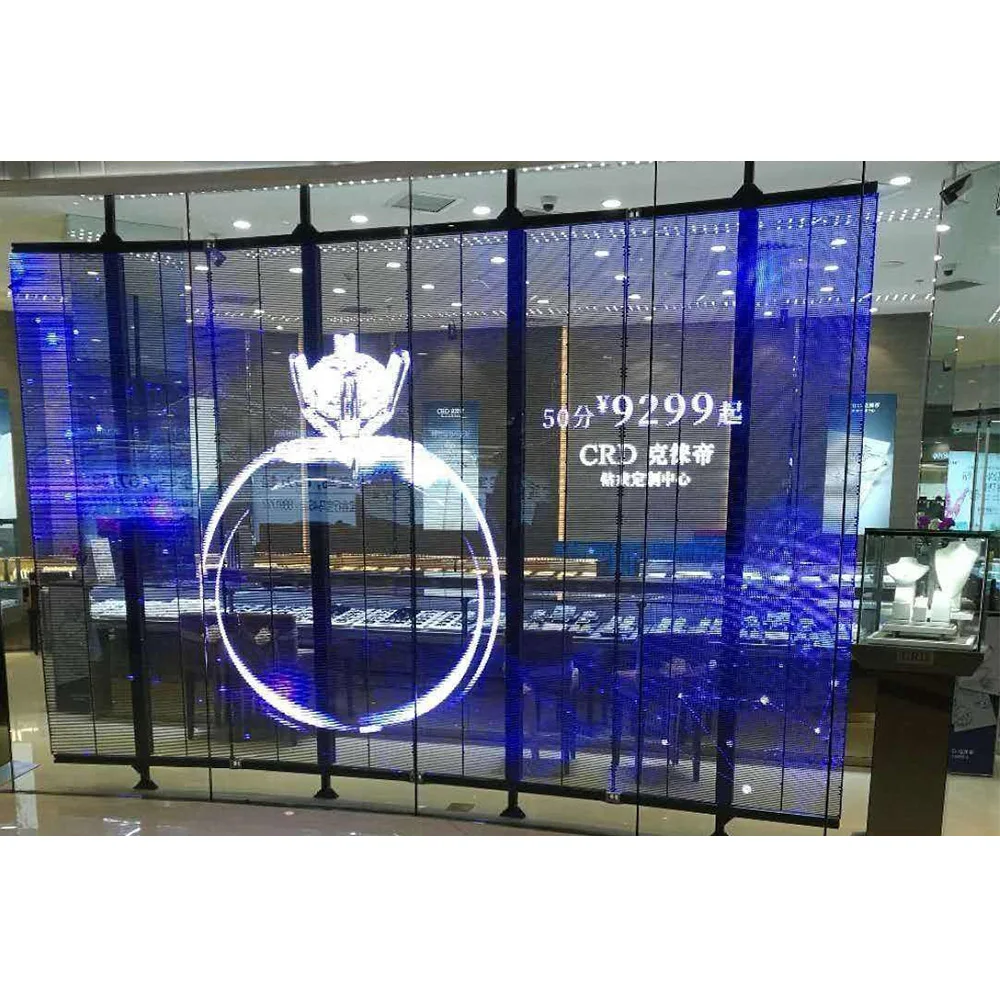
There are basically two different ways LED displays are built, and this has a big impact on whether they can be fixed easily. With modular designs, each panel is separate so techs can just pull out the broken part without taking apart the whole screen. That makes things much simpler for maintenance work. On the flip side, integrated designs have all those important parts soldered right onto the main board. When something goes wrong, figuring out what's broken becomes a headache, and fixing it usually costs more than replacing the whole unit. Outdoors where weather takes its toll, modular setups save companies about 62% in maintenance over time according to Digital Signage Federation data from last year. So if businesses want to minimize downtime when pixels die or signals cut out, going with these compartmentalized systems makes good business sense.
Common Repairable Issues: Dead Pixels, Flickering, and Power Supply Failures
Around 80 percent of problems with LED displays can actually be fixed at a reasonable cost if we know what to look for. Those annoying dead pixels that show up as little black dots? They usually happen because the tiny circuits behind them are wearing out, not the actual LED lights themselves. When screens start flickering, it's often down to power issues. Most folks fix this by swapping out old capacitors or voltage regulators that have gotten tired over time. According to the AVIXA Technical Report from 2024, just replacing whole power modules takes care of about three quarters of all sudden shutdown problems without needing outside help. The best part? Fixing these smaller parts costs under 15% of what a complete module replacement would set someone back. So catching these issues early makes sense both from a technical standpoint and when looking at wallet impact.
Component Replacement: Driver ICs, Power Supplies, and Hot-Swappable Modules
Contemporary LED displays increasingly support front-access servicing to avoid panel removal and system-wide shutdowns:
| Repair Tier | Typical Components | Downtime Reduction |
|---|---|---|
| Level 1 | Power supplies, driver boards | 40% less vs. complete replacement |
| Level 2 | Hot-swappable LED modules | 92% faster repair cycle |
| Level 3 | SMD LEDs, connectors | Requires specialized equipment |
Hot-swappable modules represent the optimal balance of accessibility and impact—allowing field technicians to replace malfunctioning sections during operational hours using standard tools. This capability extends display lifespan by 5–7 years over non-serviceable counterparts.
The Business Case for In-House Repairs: Cost Savings and Downtime Reduction
Investing in internal repair capabilities pays off in real dollars. Venues that fix components themselves instead of sending them out typically save around $100,000 each year according to recent industry data, plus they get problems fixed about 3 times quicker than places stuck waiting for outside help. When businesses buy modular display systems and train their own staff properly, they cut costs in two major ways. First, they avoid spending money on brand new equipment when old ones could just be repaired. Second, they keep losing money during long equipment downtimes. What happens is pretty straightforward actually – LED screens stop being things people throw away after a few years and start acting more like regular building fixtures that can last much longer with proper care and maintenance.
Diagnosing LED Display Problems: From Visual Checks to Technical Testing
Step 1: Visual Inspection for Physical Damage and Pixel Anomalies
Start checking things out visually first. Check modules for any obvious damage like cracks, dents, or water getting in between the seams. When looking at the screen, watch out for those pesky dead pixels that stay dark no matter what, and if parts of the display keep flickering together, that usually means there's something wrong with either the driver ICs or how power is being regulated. Take a close look at capacitors too - they should be flat and dry, not swollen or leaking anything. Make sure all cables are properly connected where they plug in. Also check how much dust has built up around the vents. If it gets over about 1mm thick, the cooling system starts working way less efficiently, maybe dropping performance by 15 to 20 percent. Don't forget to note any strange colors or scorch marks near the power supply area either. Those kinds of signs can be early warnings before something really bad happens down the road.
Step 2: Using Multimeters and Diagnostic Tools for Electrical Faults
When visual inspection yields inconclusive results, deploy electrical diagnostics. Use a multimeter to:
- Confirm voltage stability (±5% tolerance) at power supply terminals
- Test continuity across signal cables between modules
- Measure forward resistance of LED clusters to identify incipient failures
For intermittent or protocol-related issues—such as data loss or erratic flickering—leverage controller-level diagnostics:
| Diagnostic Method | Purpose | Ideal Reading |
|---|---|---|
| Signal Output Test | Validates data transmission integrity | Consistent waveform pattern |
| Driver IC Scan | Detects output instability in control circuits | Stable 3.3V–5V output |
| Thermal Imaging | Locates overheating components before failure | Surface temp µ 50°C |
Used in combination, these tools reliably isolate faults within 30 minutes—critical for minimizing disruption in mission-critical environments.
Knowing When to Repair vs. Replace: Warranty, Complexity, and ROI
Warranty Implications: Risks of Unauthorized Repairs and Enclosure Tampering
Most manufacturers will void their warranties if someone opens up the display enclosure for do-it-yourself repairs. When those seals get messed with, there's a real risk of getting water inside or causing damage from static electricity, which often leads to bigger problems down the road. Before attempting any kind of repair work, it makes sense to check what exactly is covered by the warranty first. If the device still has valid coverage, sending it to a certified technician rather than trying to fix it yourself helps maintain warranty protection and keeps everything within the bounds of the service agreement terms.
Critical Failures Requiring Professional Service: Controller and Firmware Issues
Controller board subsystems come with their own set of challenges since they combine firmware, timing protocols, and all sorts of calibration data into one package. When things go wrong, fixing them usually means pulling out an oscilloscope, grabbing those special reflashing tools made by the manufacturer, and getting someone who actually knows what they're doing at the factory level. Trying to swap components without proper calibration or messing around with firmware? That's a recipe for disaster most of the time. We've seen plenty of cases where mismatched protocols start causing problems throughout different modules, turning a simple fix into a complete brick situation. Going the professional route makes sense though. It keeps everything working together properly, maintains that critical color and brightness calibration, and stops issues from spreading further down the line.
Cost-Benefit Analysis: Repair Costs vs. Display Lifespan and Downtime
Use this objective framework to guide repair-or-replace decisions:
| Factor | Repair Threshold | Replacement Threshold |
|---|---|---|
| Cost Relative to New | <50% of replacement | ≥70% of replacement |
| Remaining Lifespan | 60% of expected 8 years | <40% of expected lifespan |
| Downtime Impact | <24 hours | 72 hours production loss |
A 2024 industrial automation study found that repair programs extend equipment lifecycle by 5–7 years when parts costs remain below 30% of new unit pricing. Conversely, for displays nearing obsolescence or with recurring failures, replacement reduces annual downtime-related losses by over 40%.
Choosing a Long-Term Reliable LED Display: Key Factors for B2B Buyers
Brightness (Nits) and Viewing Angles: Matching LED Performance to Environment
The brightness level measured in nits needs to match the surrounding light levels. For outdoor signs to be readable in direct sunlight, they generally need at least 5,000 nits. Indoor displays usually work best between 800 and 1,500 nits depending on the specific environment. When it comes to viewing angles, wider angles around 160 degrees both horizontally and vertically help maintain good color quality and contrast even when viewers are looking from the side. This matters a lot in places like sports arenas, office buildings, and stores where people might see screens from all sorts of awkward angles.
Modular and Hot-Swappable Design: Ensuring Future Repairability
When displays are constructed using standard hot swap modules, technicians can replace faulty parts right there on site without having to shut off the whole system. This modular approach really reduces downtime during repairs compared to traditional setups, cutting it down around 70% when dealing with issues like bad pixels or driver IC problems. For anyone looking at long term maintenance costs, making sure these systems have easy access panels that don't require tools plus uniform module sizes makes all the difference. It streamlines stock keeping, speeds up diagnosis of problems, and lets facilities upgrade piece by piece instead of replacing everything at once.
Thermal Management and IP Ratings: Indoor vs. Outdoor Durability Needs
Good temperature control matters a lot when dealing with LED displays in hot environments. Things like aluminum heat sinks, natural air flow paths, and smart fan systems help keep components cool so they don't lose brightness or get damaged over time. For installations outside where weather is a concern, we need those IP65 rated cases that block out dust and water completely. Inside spaces work better with IP30 ratings since these let air circulate properly while still making maintenance easier. According to some recent tests done by DisplayLab last year, just managing heat effectively cuts down on failures by about 42%. That's pretty impressive considering how much money replacement parts can cost.
Future-Proofing: Compatibility with Modern Control Systems
The system needs to work smoothly with today's video processors and control setups, including popular ones from companies like Novastar, Linsn, Brompton, and Christie. Check if it supports HDR10+ out of the box, handles 4K signals properly, and plays nice with standard networking protocols such as sACN and Art-Net. Also important is making sure there are easy ways to update the firmware when needed, along with clear documentation for developers who might want to integrate custom solutions. This helps keep everything compatible as broadcast standards change over time, works well with modern digital signage running in the cloud, and adapts to new content delivery methods powered by artificial intelligence.
Extending LED Display Lifespan: Proactive Maintenance Best Practices
Scheduled Calibration and Firmware Updates Reduce Color Drift by Up to 42%
As LEDs age and get exposed to different environments, they tend to change colors over time and their brightness becomes inconsistent, which really messes with brand image and how people perceive what they see on screen. To fight this issue, many facilities do regular calibrations every three months using those special light measuring tools called spectrophotometers. At the same time, keeping firmware updated is crucial because new software versions often improve how electricity flows through the system and manage heat better too. When both of these maintenance routines are followed consistently, screens stay looking good for much longer periods. Studies show that properly maintained LED displays last around 15 to 20 percent longer than ones that nobody bothers to check or update regularly.
Cleaning, Ventilation, and Environmental Protection to Prevent Premature Failure
Dust accumulation accounts for 68% of preventable LED display failures—primarily by impeding heat dissipation. Implement this disciplined maintenance routine:
- Surface cleaning: Bi-weekly dry microfibre wipe; quarterly deep clean with 90% isopropyl alcohol
- Ventilation management: Maintain 15cm clearance around cabinets; clean air filters monthly
- Environmental hardening: Deploy IP65-rated seals in humid or coastal locations; install whole-unit surge protection
For outdoor installations, add rain hoods and ambient temperature sensors to detect thermal runaway early. Well-maintained displays consistently achieve 100,000+ hours of operation while reducing unscheduled repairs by 40%.
FAQs: Understanding LED Display Repairability
What are the key benefits of modular LED display designs?
Modular designs allow for easier maintenance and replacement of individual panels without dismantling the whole screen, reducing maintenance costs by about 62% over time, especially outdoors.
What common issues can typically be repaired in LED displays?
Common repairable issues include dead pixels, flickering due to power issues, and power supply failures. These can often be fixed cost-effectively without external assistance.
How does in-house repair benefit businesses financially?
In-house repairs save around $100,000 annually by fixing components quickly and avoiding new equipment purchases, reducing downtime significantly.
When should you consider replacing an LED display instead of repairing it?
Consider replacing when repair costs exceed 70% of the new display, remaining lifespan is under 40%, or downtime loss exceeds 72 hours.
How can I prolong the lifespan of my LED display?
Regular calibration, firmware updates, cleaning, and ensuring proper ventilation and IP-rated protection help extend the lifespan and improve performance.