
A serious custom led display project rarely fails because one person forgets one specification. More often, delay starts quietly: an unclear wall size, late site photos, unfinished content format, uncertain power route, or a quotation that looks complete but leaves installation questions unanswered.
Therefore, the first 30 days should not feel like scattered emails and random price comparisons. A better project plan turns the idea into a clear sequence: purpose, site survey, screen layout, structure review, control workflow, quotation scope, production approval, factory testing, and installation readiness.
This guide explains what should happen in each stage. It focuses on real project judgement, not parameter stacking. It also shows what the project team should prepare, what a factory-type supplier should provide, and which early decisions usually create delays if left vague.
Why the First 30 Days Matter More Than the Final Quote
At the start, many project teams look at the price first. However, a quote can only be reliable when the information behind it is reliable. A low number based on guesswork often becomes expensive after structure, access, power, content, and control requirements become clear.
For example, a retail window screen needs strong visibility from the street, but it also needs comfortable night operation. Meanwhile, a corporate lobby wall should feel integrated with the space, not like an afterthought. In both cases, the screen is part of a working environment, not a separate object.
This is why a 30-day project timeline is useful. It does not promise that every LED project can be finished in one month. Instead, it helps the decision team reach a production-ready direction in 30 days, with fewer hidden assumptions.
In addition, early planning keeps parameters in the right place. Pixel pitch affects viewing detail and total cost, so it matters most when the screen will be seen from a short distance. Brightness affects visibility and operating comfort, so it matters most for outdoor, window-facing, or brightly lit spaces. In both cases, the better question is not “what number is highest,” but “what result does this choice protect?”
For a broader view of factory evaluation before quotation, the LED display screen supplier guide can support early communication with more practical questions.
30-Day Timeline Checklist: What Should Happen First
A good first-month plan gives every team a shared map. First, it clarifies the business purpose. Then, it turns the site into measurable information. After that, it connects design, production, testing, and installation into one practical flow.
The table below is not a pure parameter sheet. Instead, it shows which milestone should happen, what information is needed, what the supplier should return, and what delay may appear if the step is ignored.
| Day Range | Milestone | Project Team Prepares | Supplier Provides | Delay Risk If Missed |
|---|---|---|---|---|
| Days 1–3 | Purpose and use case | Scene, audience, content goal, launch target | Application direction and early feasibility advice | Wrong product direction |
| Days 4–7 | Site survey | Photos, measurements, viewing distance, access notes | Survey checklist and risk questions | Quote changes after approval |
| Days 8–12 | Size and content fit | Design references, content type, wall limits | Layout logic, aspect ratio advice, drawing direction | Poor display effect or content cropping |
| Days 13–17 | Structure and operation review | Power route, frame condition, maintenance access | Cabinet plan, service method, control workflow | Installation cost increase |
| Days 18–22 | Quote and drawing approval | Decision criteria, final size, scope review | Clear quotation, exclusions, shop drawings | Production hold |
| Days 23–27 | Production and testing plan | Final artwork, acceptance expectations | Production schedule, test plan, packing plan | Shipment or acceptance dispute |
| Days 28–30 | Installation readiness | Access window, crew plan, tools, power readiness | Installation guide and support path | On-site delay |
Days 1–3: Start With the Real Scene, Not the Product List
At the very beginning, the project should answer one practical question: what should the screen change in the real environment? A storefront may need stronger attention from people walking past. A showroom may need a refined visual wall that supports product launches. A transport space may need public information that stays readable under pressure.
Therefore, the first stage should describe the scene in plain language. The project file should mention where the screen will sit, who will see it, when it will operate, what kind of content will play, and what launch date matters. This sounds simple, yet it prevents many wrong recommendations.
For example, a screen used for menu updates has a different rhythm from a brand film wall. A menu board needs fast content replacement, readable text, and stable daily operation. A brand film wall needs stronger visual atmosphere, smooth motion, and a cleaner installation finish.
In this phase, the project should not begin with a long list of technical terms. Instead, it should begin with a short project brief. The brief can include application, rough size, viewing distance, content format, installation method, operating hours, approval deadline, and expected support level.
This is also the right moment to link the project goal with the main solution page. The custom LED display page can support projects where size, structure, content use, and installation conditions need to be considered together.
Days 4–7: Use the Site Survey to Remove Guesswork
Once the scene is clear, the project should move from intention to real site conditions. A site survey does not always require a formal visit during the first week. However, it does require useful photos, accurate dimensions, and honest notes about access limitations.
For indoor spaces, the survey should show the wall, ceiling height, floor distance, viewing area, power box, cable route, and service access. For outdoor or semi-outdoor spaces, it should also show sunlight direction, weather exposure, wall material, nearby traffic, drainage, and public safety conditions.
Here, IP rating may enter the conversation, but only when the environment requires it. It affects resistance to water and dust, so it matters most for exposed outdoor screens, building façades, roadside media, and transport spaces. The useful follow-up question is: which side of the system needs protection, and how will cable entry, drainage, and service access remain safe?
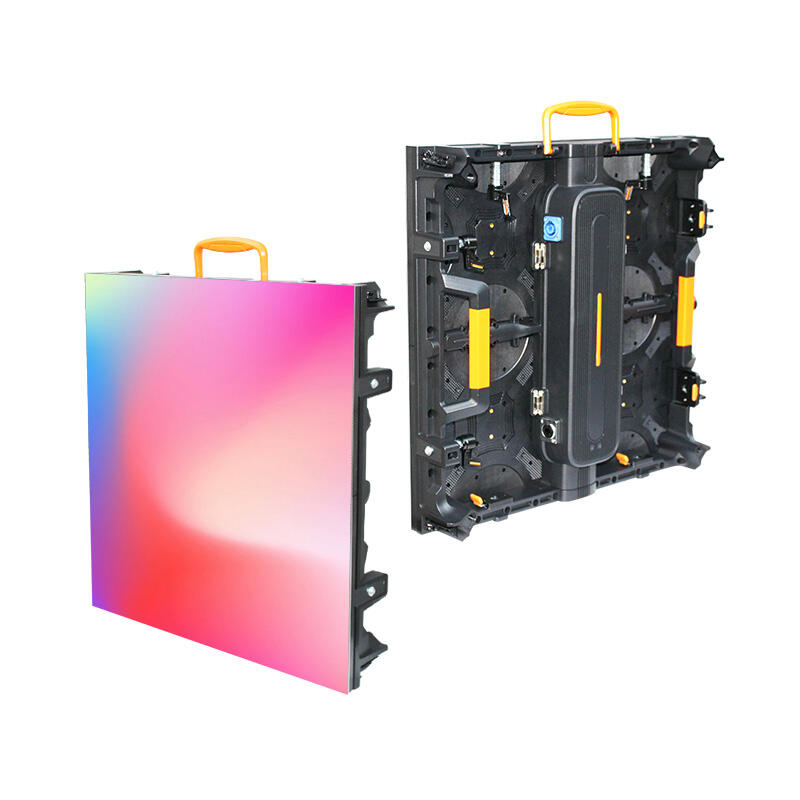
At the same time, cabinet direction should be checked. The cabinet affects weight, depth, service method, flatness, and installation workload. It matters most when the rear side is blocked, the screen is embedded, or the project sits in a high-traffic public area. The supplier should provide a service direction and basic drawing before the proposal becomes final.
A practical site file usually includes front photos, side photos, wall measurements, floor-to-screen height, viewing distance, power location, access path, lift conditions, and installation restrictions. With those details, the quotation starts to reflect the project instead of a generic product category.
 View LED Screen for Conference Room
 Days 8–12: Confirm Size, Content Fit, and Viewing Logic
After the site file is usable, the next decision is not simply “how large can the screen be.” A better question is whether the display size, content format, and audience distance work together. If those three elements do not match, even an expensive screen can feel awkward.
In a retail window, the display may need bold campaign visuals and short messages. In a lobby, the screen may need calm motion, brand storytelling, and a clean edge with the wall finish. In a meeting space, the content may include text, charts, and presentation material that must remain readable at a closer distance.
Pixel pitch affects image detail and perceived smoothness. It matters most when viewers stand close or when content includes small text, faces, product details, dashboards, or camera-facing scenes. A useful supplier response should explain the viewing distance and content reason behind the recommendation, not only give a pitch label.
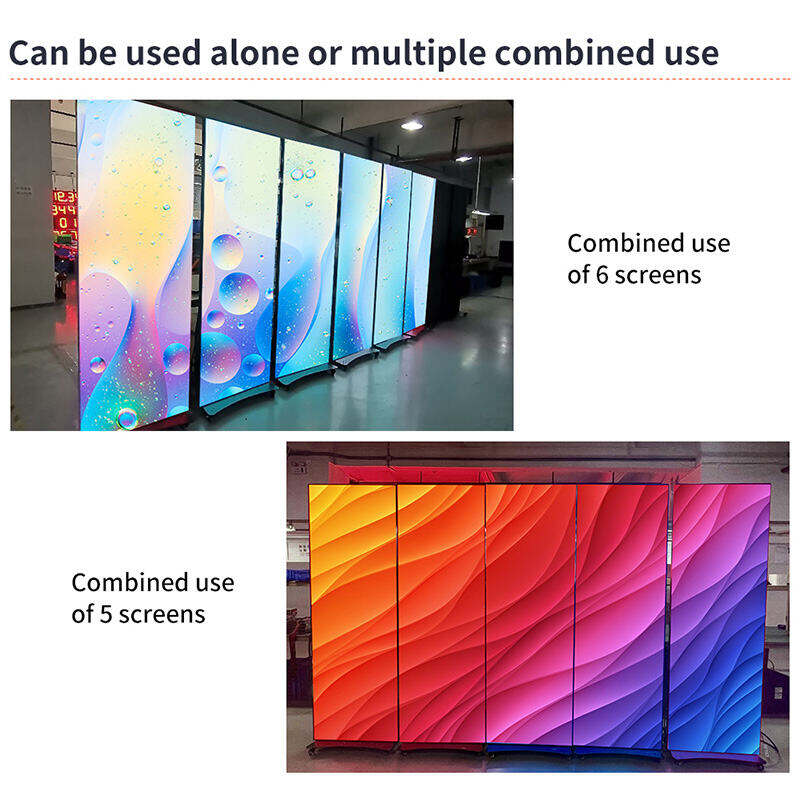
Aspect ratio also needs early attention. Long ribbon screens, corner displays, tall columns, and creative shapes can look impressive, but content teams need safe areas and output sizes before production. Otherwise, video may stretch, text may crop, and the final screen may not serve the original communication goal.
For projects where size, shape, and content format require custom planning, the custom LED screen page is a suitable related solution to review during the design and dimension stage.
 View Indoor LED Screen Solution
 Simple Viewing Logic Before Drawing Approval
- For close-viewing indoor scenes, prioritize readable detail and smooth content playback.
- For outdoor or long-distance viewing, prioritize message size, visibility, structure, and operating stability.
- For creative shapes, confirm the content production workflow before approving cabinet layout.
- For brand spaces, check screen edge finish, wall integration, and normal viewing comfort.
Days 13–17: Review Structure, Power, Heat, and Daily Operation
By the second half of the first month, the project should move from visual decisions to practical operation. This part may feel less exciting than screen size or creative content. Nevertheless, it often decides whether the display stays easy to maintain after launch.
Power planning affects electrical preparation, operating cost, heat load, and installation schedule. It matters most for large outdoor screens, long-hour retail displays, transport signage, and public media walls. The supplier should explain average and maximum power demand, power distribution direction, and how this connects to the real site.
Heat control affects long-term stability. It matters most for high-brightness outdoor displays, glass-front retail spaces, enclosed indoor walls, and warm climates. A useful answer should explain how heat leaves the installation area, not just whether the screen has a cooling design.
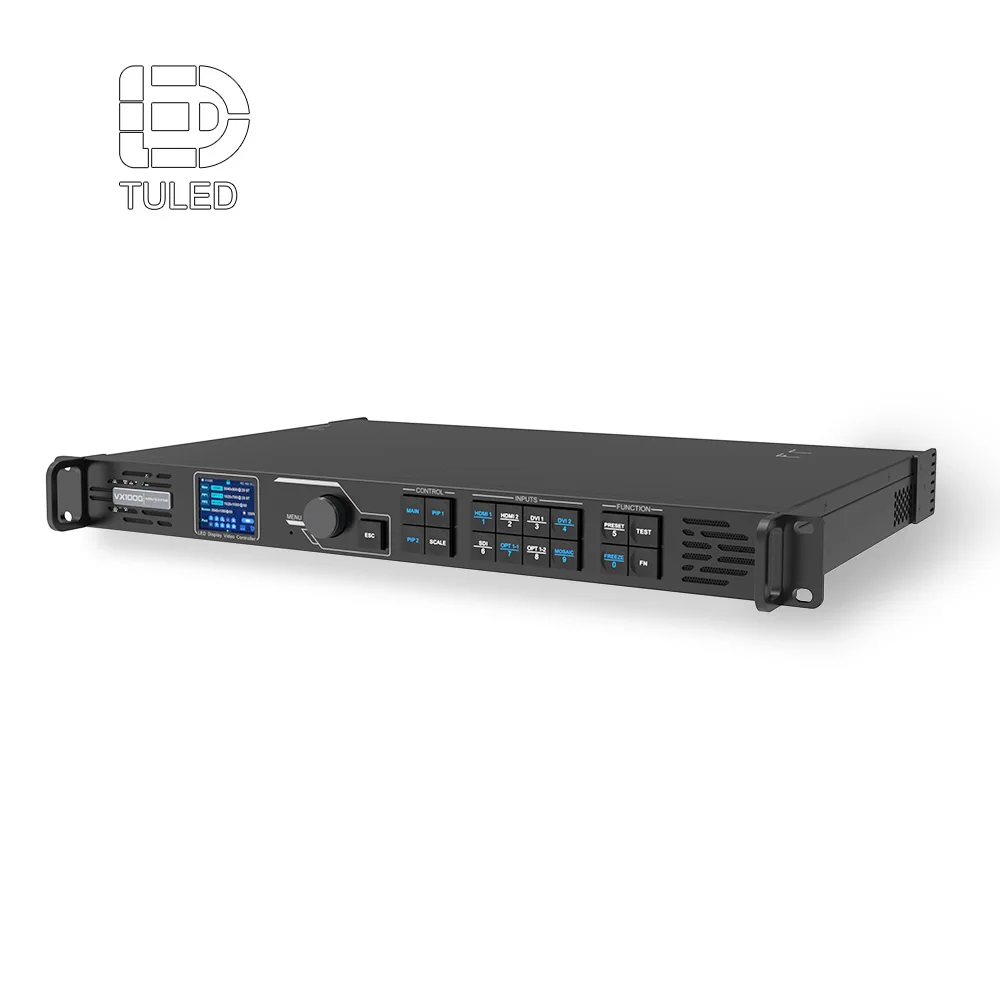
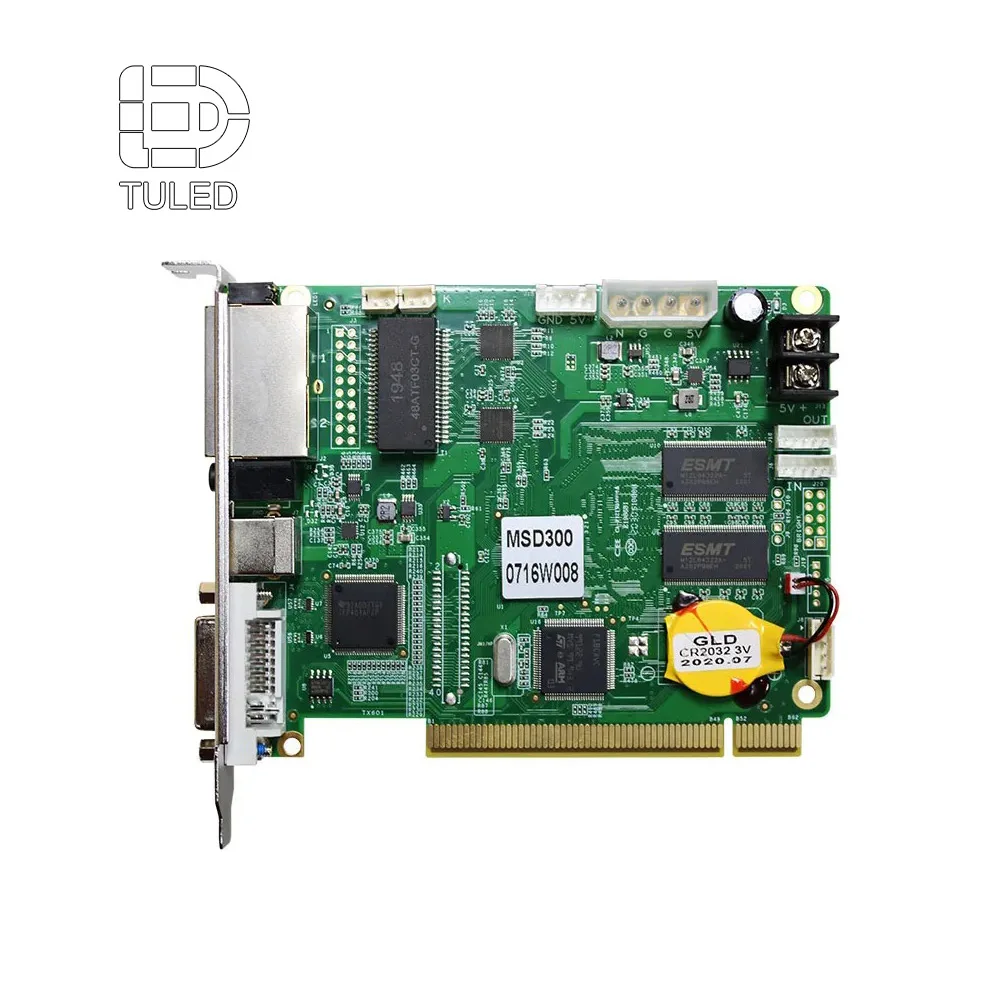
The control system should also be discussed in practical language. It affects how content is sent, scheduled, updated, and recovered if a device fails. This matters most for retail chains, event spaces, churches, transport displays, and any site where content changes often.
Refresh rate should be considered when the screen appears on camera. It affects filmed image cleanliness, so it matters most for stage, broadcast, worship, showroom, and social-media recording spaces. The supplier should explain whether sample content or camera testing can be checked before final acceptance.
This stage should end with a plain operating plan. The plan should explain who updates content, where the control device sits, how the signal reaches the screen, what happens during a restart, and how service access works without damaging the surrounding space.
 View Control Room LED Screen Solution
 Days 18–22: Compare Proposals by Scope, Not by Price Alone
Once the site, size, content, structure, and operation direction are clear, quotation comparison becomes more meaningful. However, the lowest number still may not be the most practical choice. A proposal should be judged by what it includes, what it excludes, and how well it explains risk.
A useful quote should clearly show display area, cabinet arrangement, installation method, control equipment, spare parts, packing method, production lead time, warranty terms, and after-sales support path. If those items are vague, two prices may describe very different projects.
At this stage, the decision team should look for reasoning. If pitch is recommended, the proposal should connect it to viewing distance and content detail. If brightness is recommended, the proposal should connect it to daylight, indoor lighting, or window exposure. If cabinet structure is recommended, the proposal should explain service direction and installation access.
For factory background and service capability, the about us page can support internal supplier review when engineering response, production control, testing, and support are part of the decision.
| Decision Area | Business Result Affected | Best-Fit Projects | Supplier Should Explain | Warning Sign |
|---|---|---|---|---|
| Viewing distance | Readability, image comfort, budget efficiency | Retail interiors, lobbies, meeting spaces | Why the pitch fits the real viewing distance | Pitch selected without scene logic |
| Brightness environment | Visibility, comfort, power use | Outdoor walls, windows, plazas | How light conditions affect operation | Same brightness suggested for every site |
| Cabinet and service | Repair speed, structure cost, installation work | Embedded walls, high locations, public venues | Front or rear service direction with drawings | No maintenance path after installation |
| Control workflow | Daily operation and content updates | Retail, events, public information, churches | Signal path, software method, backup idea | Hardware names listed without workflow |
| Testing and packing | Acceptance confidence and installation speed | Launch-driven projects and overseas delivery | Aging test, screen-on media, packing list | No test proof before shipment |
Drawing Approval Should Not Be a Formality
After proposal review, the project should move into drawing confirmation. This stage should include screen width, height, cabinet layout, mounting direction, wiring path, power points, control placement, and service access. For creative shapes, corner screens, or embedded displays, special edges should also be shown clearly.
In addition, content boundaries should be confirmed before production. The content team needs resolution, safe area, aspect ratio, and file format expectations. Otherwise, the screen can be physically correct but visually difficult to use.
Days 23–27: Prepare Production, Factory Testing, and Acceptance
When drawing approval is complete, production should begin with an acceptance standard. This prevents confusion later because the team already knows what proof should appear before delivery.
The standard may include cabinet photos, module photos, screen-on testing, aging test media, spare parts confirmation, packing list review, and short videos with real content. For large projects, cabinet numbering and wiring labels can also reduce site assembly pressure.
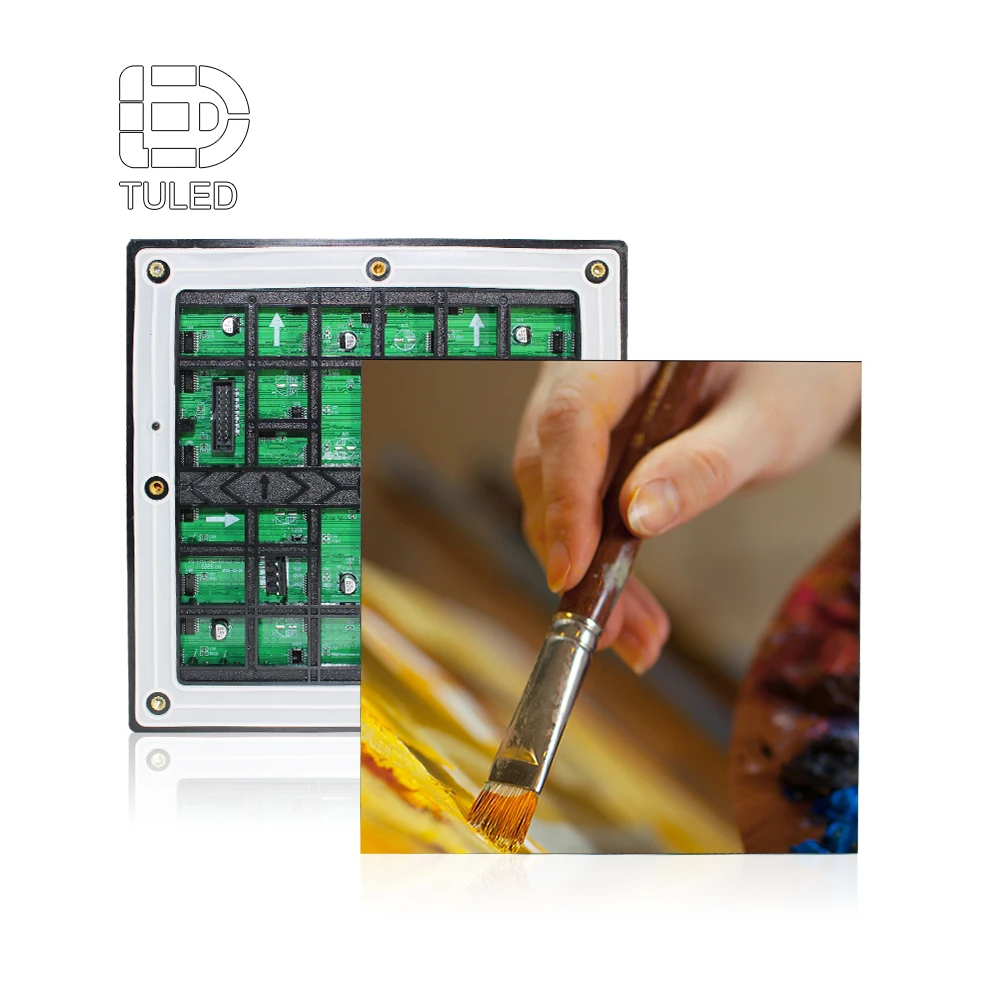
Color performance and grayscale should only be discussed in relation to the scene. They affect smooth image transitions, brand visuals, and dark-area detail. They matter most for premium retail, broadcast backgrounds, corporate lobbies, and close-viewing showrooms. The supplier should explain how the screen will be calibrated and what content will be used during testing.
This stage should also check packing. A strong packing plan protects the screen and helps the site team identify parts quickly. Numbered cabinets, labeled accessories, spare modules, and clear packing lists make installation calmer, especially when the launch date is close.
A factory-type workflow helps here because production, testing, packing, and after-sales support stay connected. LEDDisplayFactory’s known service directions include 10+ years of experience, OEM/ODM support, 2-year warranty, 100% test before delivery, and 24/7 support. These points matter most when they become visible in the project process.
 View LED Video Wall for Events
 Days 28–30: Make Installation and Handover Ready Before the Screen Arrives
The final days of the first month should focus on installation readiness. This does not always mean the screen has already shipped or arrived. Instead, it means the project is ready for a smooth handover when production and delivery move forward.
Installation planning should include access hours, power readiness, wall or frame preparation, lifting equipment, tool list, safety requirements, local installation crew, and communication path. For large displays, cabinet sequence and receiving inspection should also be clear.
Training should stay practical. Operators need to know how to start the system, update content, schedule playback, restart devices, and report problems. Maintenance staff need to know which parts can be replaced, where spare parts are stored, and how to avoid damaging the surrounding structure.
The handover file should include drawings, wiring notes, software instructions, spare list, warranty terms, test records, and support contacts. This file often becomes more useful than expected because it helps future team members understand the system after the original installation team leaves.
In short, installation should not be treated as a final separate task. It should be designed into the project from the first month.
Scenario Judgement: How Different Projects Should Be Planned
Different spaces create different priorities. Therefore, a 30-day timeline should not apply the same weight to every detail. The right planning focus depends on how the screen will be seen, operated, maintained, and judged after launch.
Retail Stores and Shopfronts
For retail spaces, the screen must attract attention without making the store feel visually chaotic. In the morning, sunlight may reduce visibility. At night, excessive brightness may feel harsh. Therefore, brightness planning should protect visibility and comfort at different times of day.
Content rhythm also matters. Promotions, seasonal campaigns, product launches, and window messages may change often. As a result, the control workflow should be easy enough for normal staff operation, not only for technical specialists.
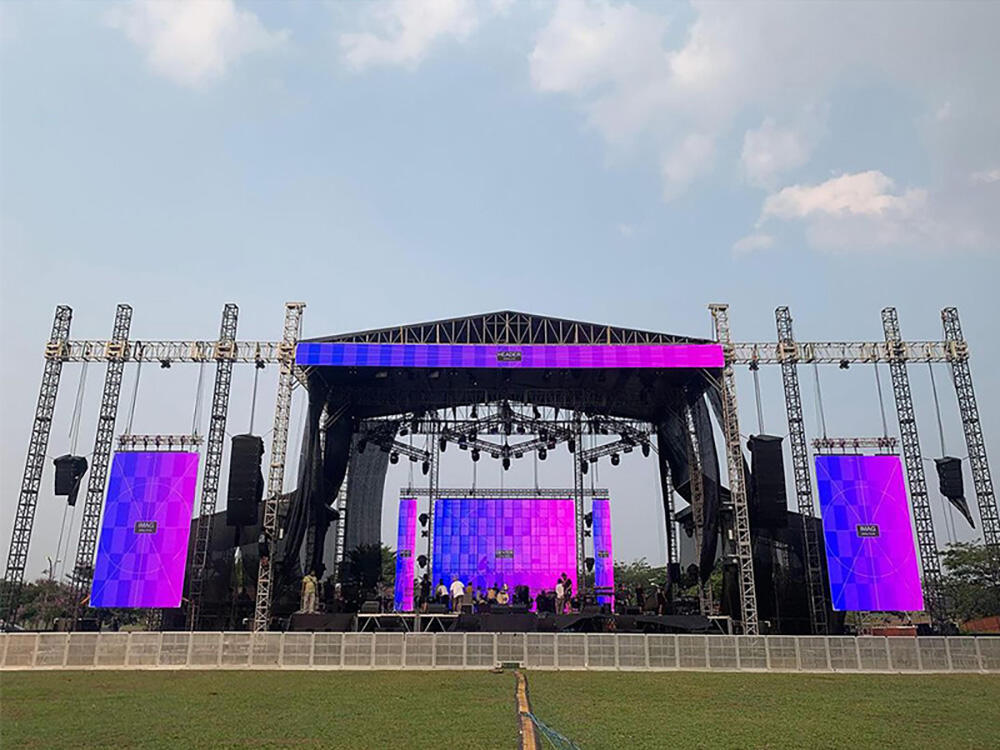
Outdoor Advertising and Building Façades
Outdoor projects need stronger early review of structure, weather, service, and power. A large screen may look simple in a rendering, yet the real site may involve wind load, wall strength, lift access, drainage, public safety, and municipal rules.
At the same time, long-distance viewing changes content logic. Large text, bold motion, and clean contrast usually matter more than fine detail. Therefore, the proposal should not over-invest in close-view specifications when the audience is far away.
Corporate Lobbies and Showrooms
Lobby and showroom screens should feel like part of the interior design. The screen may support brand films, product storytelling, reception messages, or event visuals. In these spaces, the edge finish, viewing comfort, and image smoothness often matter as much as size.
Because viewers stand closer, pitch choice and content detail should be reviewed carefully. However, the goal is not to choose the finest pitch automatically. The goal is to match image quality with normal viewing distance, content type, budget, and maintenance access.
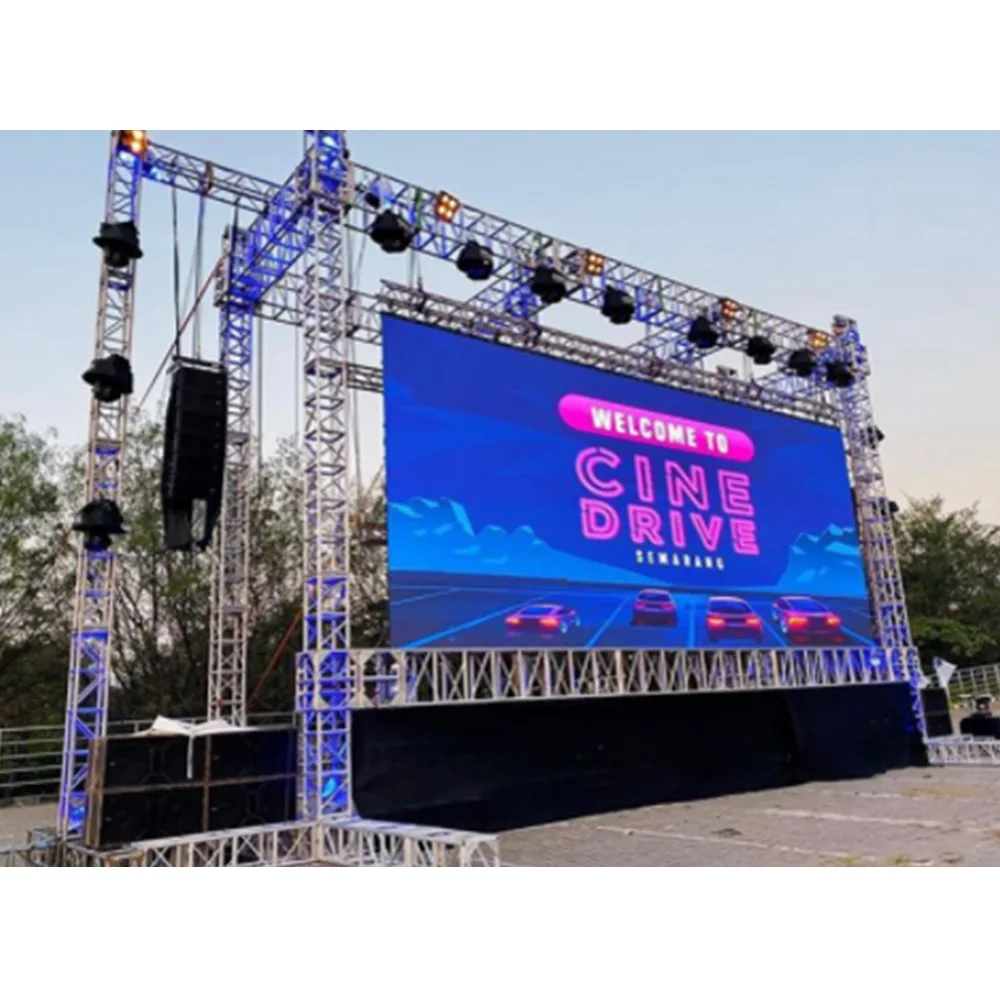
Events, Stage, and Temporary Spaces
Event screens need fast assembly, repeatable setup, and camera-friendly performance. The project should confirm rigging, ground support, signal flow, spare parts, and teardown process early. In addition, test content should include motion and camera checks when filming is important.
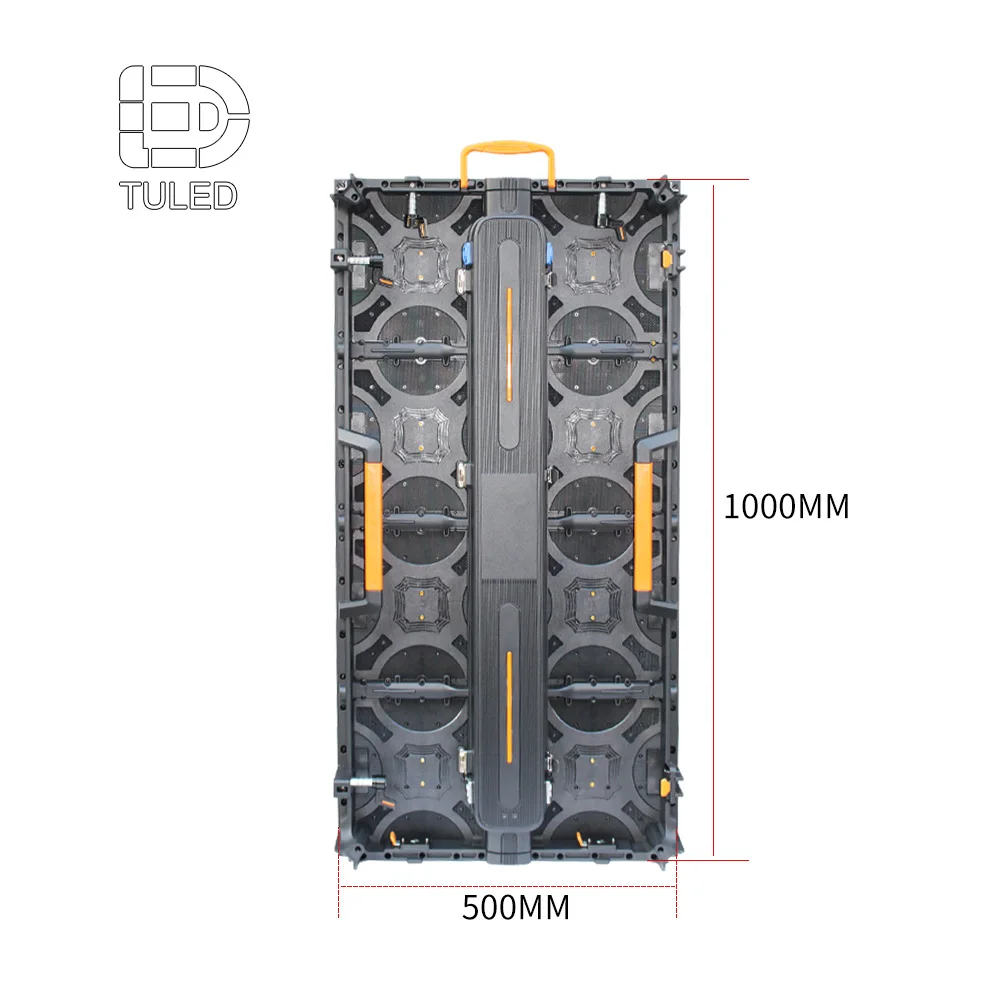
Unlike a permanent wall, an event screen may move through multiple venues. Therefore, packing, cabinet protection, quick locks, and crew workflow can affect value more than a single technical number.
Common Delay Points and How to Prevent Them
Most delays begin before production, not during production. Fortunately, many of them are preventable when the first 30 days are handled with discipline.
1. The Site Is Described Too Generally
A rough phrase like “indoor wall” or “outdoor billboard” leaves too much space for assumption. Instead, photos, dimensions, viewing distance, sunlight, access path, and wall condition should be shared early. This allows the supplier to make a project-specific recommendation.
2. Content Format Is Confirmed Too Late
Sometimes, the screen size is approved before the content team checks aspect ratio. Later, video looks stretched or text does not sit properly. To avoid this, safe area, resolution, aspect ratio, and content type should be part of the first design review.
3. Structure and Installation Are Treated as Separate Work
A screen cannot be separated from the surface that carries it. Wall strength, steel frame design, service direction, and tool access all affect the correct product configuration. Therefore, installation logic should be discussed before production approval.
4. The Quotation Hides Too Many Exclusions
A short quote can look clean, yet it may leave out control equipment, spare parts, freight, installation support, structure, taxes, or software details. A better quote makes scope visible. As a result, comparison becomes fairer and later cost surprises become less likely.
5. Testing Is Not Connected to Real Use
A factory demo video is useful, but it may not represent daily content. For a retail menu board, test real menu text. For a lobby screen, test brand colors and slow motion. For an event screen, test camera-facing content. Practical testing creates better confidence before delivery.
Custom LED Display Project Planning: What a Factory-Type Supplier Should Contribute
A factory-type supplier should do more than send a price. During the first month, the value should appear in questions, drawings, risk notes, practical recommendations, and production planning. This type of cooperation saves time because technical decisions stay connected to the site.
For example, the supplier should help translate a wall photo into a layout direction. It should also explain why a certain cabinet depth, service method, or control path suits the project. When the explanation uses business results, the decision team can compare options with more confidence.
In practice, a custom LED display project becomes easier to approve when the site file, drawings, control workflow, testing plan, and installation path are confirmed before production begins.
OEM/ODM support becomes useful when standard dimensions do not fit the space, when a brand environment needs a special finish, or when the structure requires a different approach. However, customization should always be controlled through drawings, approval records, and production notes.
For homepage-level brand and manufacturing context, LED Display Factory provides a useful reference point before a project moves into detailed quotation and approval.
The 30-Day Approval Checklist Before Production Starts
Before production starts, the project file should feel complete enough for execution. It does not need to answer every small on-site question. However, it should remove the main risks that change screen design, cost, or schedule.
Production-Ready File Should Include
- One-sentence project purpose and main use case.
- Site photos, measurements, viewing distance, and access notes.
- Confirmed screen width, height, aspect ratio, and content format.
- Cabinet layout, mounting direction, service method, and wiring path.
- Power route, heat consideration, and control system workflow.
- Clear quotation scope, exclusions, spare parts, and support terms.
- Testing plan with real content, test media, and acceptance expectations.
- Packing plan, delivery window, receiving contact, and installation support path.
This checklist also makes internal approval easier. Finance can see what is included. Design can see the content boundaries. Site teams can see access requirements. Operators can see how the screen will be managed after launch.
In other words, the first 30 days should create a project that is not only quoted, but also buildable, testable, and ready for installation.
Further Reading and Useful Project Pages
The following internal pages can support different stages of project planning. They are placed here to help teams move from checklist reading to product and supplier review without breaking the article flow.
Custom LED Display — suitable for projects requiring screen size, structure, content use, and installation planning in one solution.
Custom LED Screen — useful for design-led spaces, special dimensions, and content-sensitive visual environments.
LED Display Screen Supplier Guide — helpful during early factory communication and quotation comparison.
Contact Us — useful when site photos, dimensions, launch date, and application notes are ready for review.
FAQ: Custom LED Project Planning
What should happen in the first 30 days of an LED display project?
The first 30 days should turn the project from an idea into an approved production path. The project team should define the use case, collect site survey information, confirm size and viewing logic, review structure and operation, compare quotation scope, approve drawings, and prepare testing and installation requirements.
Which steps usually create delay if they are not handled early?
The most common delay points are missing site measurements, unclear installation access, late content format approval, unfinished structure review, vague quotation scope, and no agreed testing standard. These issues often appear after quote approval, which makes them more expensive to solve.
What information should be prepared before asking for a quote?
A useful inquiry file should include application, location, rough screen size, site photos, viewing distance, indoor or outdoor condition, content type, installation method, target launch date, and any access or approval limitations. This helps the supplier respond with a project plan instead of a generic price.
Should pixel pitch be selected before the site survey?
Pixel pitch should not be finalized before viewing distance and content type are understood. It affects image detail, readability, and cost. Close-viewing spaces need more careful pitch selection, while long-distance outdoor projects may need stronger focus on visibility, structure, and content scale.
Why is installation planning part of early project approval?
Installation planning affects cabinet direction, service access, frame design, power route, cable path, and on-site labor. If those details remain unclear, the screen may be produced based on assumptions. Later changes can increase cost and delay launch.
How should a proposal be compared fairly?
A proposal should be compared by scope, not price alone. The decision team should check screen size, cabinet layout, control equipment, spare parts, packing method, production time, warranty terms, exclusions, and support process. A clear scope reduces hidden cost risk.
Plan the Project Before Production Pressure Starts
A strong LED display project does not begin with a rushed quote. It begins with a clear scene, usable site information, practical design judgement, and a production path that the whole team can follow.
Before approving production, prepare three things: site photos and dimensions, content and viewing requirements, and installation or access notes. With those details, LEDDisplayFactory can review the project direction, suggest a workable custom LED display plan, and help identify schedule risks before they become expensive.
Contact Us for Project Planning