Eine Konzert-LED-Wand kann „gut“ aussehen, bis der Moment kommt, in dem eine saubere Linie auf dem Bildschirm erscheint und eine Naht wie ein Reißverschluss hervorspringt. Deshalb muss ein lED-Bildschirm-Testraster frühzeitig durchgeführt werden – noch vor dem Show-Inhalt, noch vor der Kameraabstimmung, noch bevor der Tag die Medienserver beschuldigt. In der Praxis ist es der schnellste Wahrheitsfinder auf einem hektischen Bühnenplatz: Fehlzuordnungen im Mapping, halb eingesetzte Gehäuse, gedimmte Module, ungleichmäßige Farbflecken und Timing-Probleme verstecken sich nicht hinter ansprechenden visuellen Effekten. Ein Raster bietet der Crew zudem innerhalb von weniger als fünf Minuten eine gemeinsame Referenz – eine Seltenheit, wenn der Aufbau bereits im vollen Gange ist. Und an Konzerttagen zählt Geschwindigkeit – denn der Zeitplan wartet nicht höflich.
Was ein Testraster tatsächlich beweist (und was nicht)
Ein Raster ist kein Schönheitswettbewerb für LED. Es ist ein kontrollierter Belastungstest für drei entscheidende Faktoren, die über Erfolg oder Misserfolg einer Konzertwand entscheiden:
Geometrie : Gehäuseausrichtung, Geradheit der Nähte, Gehäuseorientierung und ob die Wand eben steht.
Signallogik zuordnungsreihenfolge, Datenrichtung, Adressierung der Empfangskarte und Skalierungsgenauigkeit.
Bildstabilität aktualisierungsverhalten, Graustufenglättung und Kamera-Interaktion bei feinen Details.
Andererseits dient ein Raster nicht nicht dazu zu beweisen, dass kreative Inhalte „cool“ aussehen – das ist eine andere Diskussion. Die Aufgabe des Rasters ist einfacher: Es soll bestätigen, dass jeder Pixel an der richtigen Stelle erscheint, mit der richtigen Helligkeit und Farbe sowie einer zeitlichen Genauigkeit, die auch unter Kameraaufnahmen stabil bleibt.
Eine kleine Denkweiseänderung hilft hier weiter: Das Raster ist nicht etwas, das man „durchlaufen“ muss. Es ist vielmehr ein Messinstrument – wiederholbar, langweilig und schonungslos ehrlich.
Kontext ‚Konzerttag‘: Warum sich Grid-Tests anders anfühlen als Lager-QC-Tests
Die Qualitätskontrolle im Lager erfolgt unter kontrollierten Bedingungen. Bei Konzertaufbauten ist das nicht der Fall: Die Stromversorgung stammt von einer temporären Verteilung, die Rigging-Konstruktion befindet sich noch im Setzprozess, die Signalleitungen sind länger als erhofft, und die LED-Wand wird häufig unter Zeitdruck und mit vielen beteiligten Personen montiert.
Was normalerweise geschieht, ist Folgendes: Die Wand wird eingeschaltet, Inhalte werden rasch eingeblendet, um „etwas zu sehen“, und das Team diskutiert 30 Minuten lang, ob das Problem im Inhalt, in der Prozessor-Skalierung oder an der Wand selbst liegt. Ein Raster beendet diese Diskussion. Es reduziert das Bild auf die Grundlagen.
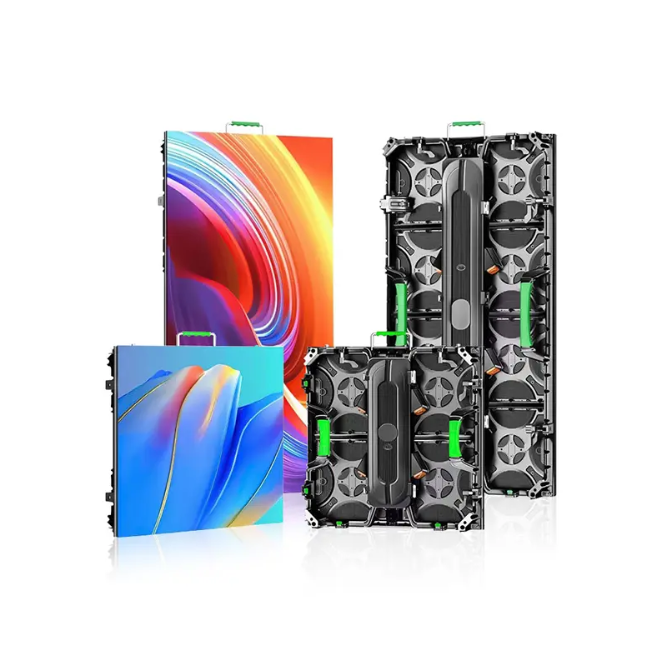
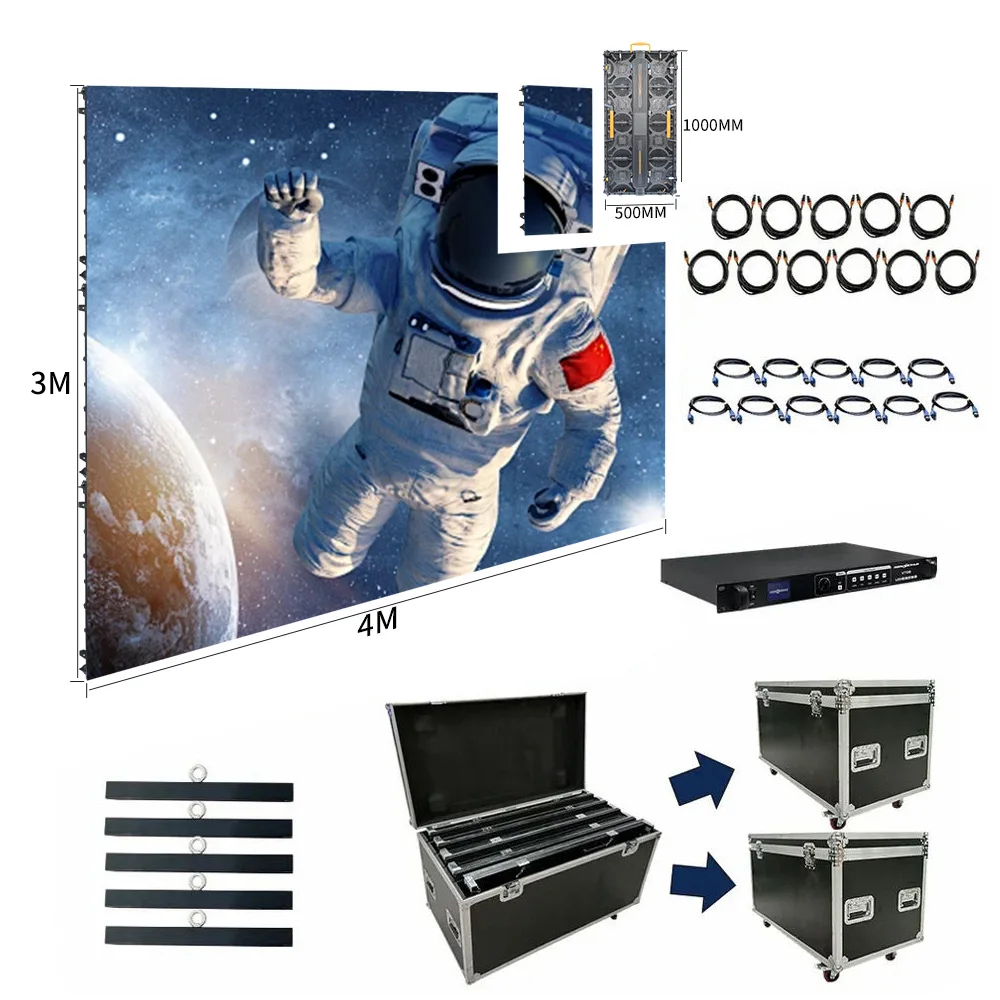
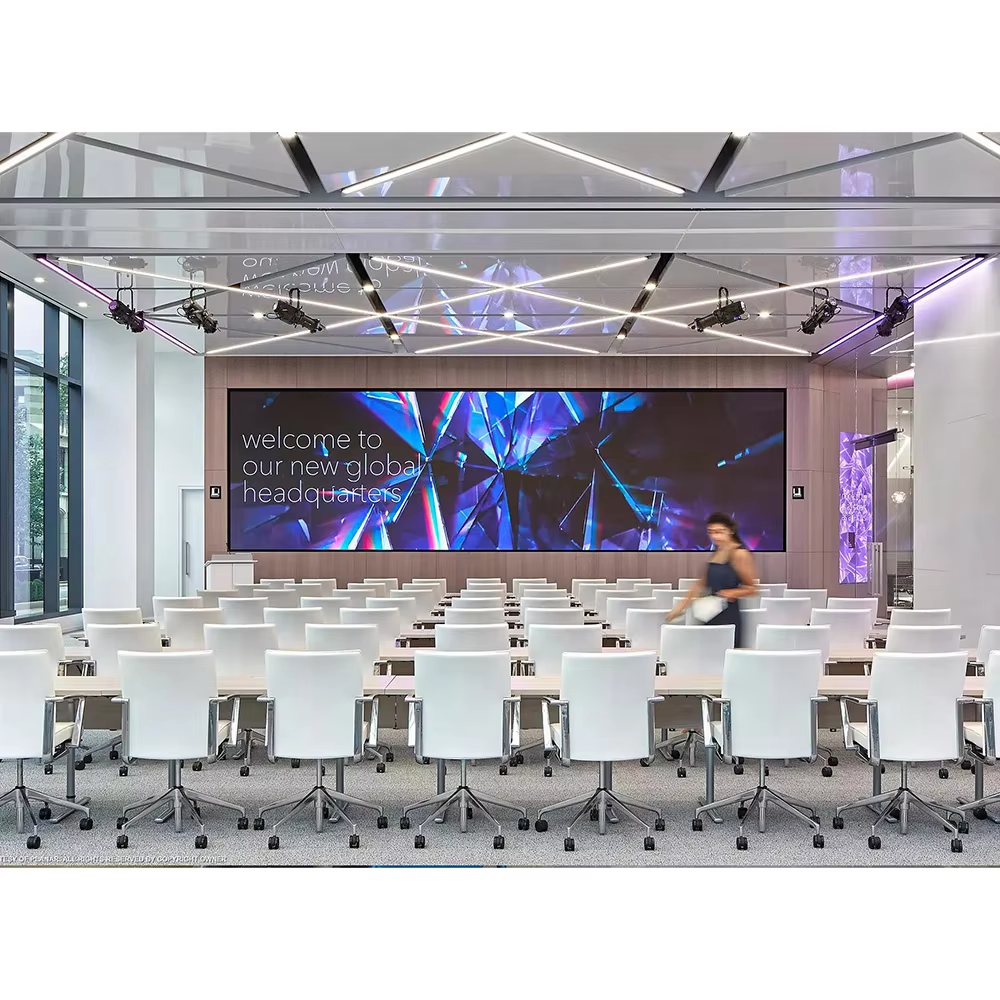
Außerdem sind Konzertwände von ihrer Konstruktion her modular. Gängige Touring-Formate wie 500 × 500 mm und 500 × 1000 mm existieren, weil sie sich schnell verriegeln lassen und sich gut transportieren. Doch Modularität hat ihren Preis: mehr Fugen, mehr Steckverbindungen, mehr Möglichkeiten dafür, dass eine einzelne Kabine leicht aus der Reihe tanzt. Ein Raster macht diese kleinen mechanischen Fehler sichtbar, solange die Korrekturen noch einfach durchzuführen sind.
Die Geräteentscheidungen, die Grid-Tests erleichtern (nicht erschweren)
Dieser Abschnitt konzentriert sich auf eine einzige Frage: trägt diese Entscheidung dazu bei, dass das Raster Probleme klar erkennbar macht und das Team sie schnell beheben kann?
Kabinettformat: Geschwindigkeit versus Flexibilität
500 × 1000 mm schränke reduzieren in der Regel die Bauzeit und verringern die Anzahl vertikaler Fugen. Das ist wichtig, weil weniger Fugen weniger Stellen bedeuten, an denen eine Rasterlinie „brechen“ kann.
500 × 500 mm schränke bieten mehr Flexibilität bei Kurven, Flügeln und ungewöhnlichen Bühnenformen. Auch das Raster profitiert davon: Kleinere Schränke erleichtern es, ein lokales Ausrichtungsproblem zu isolieren, ohne einen großen Bereich demontieren zu müssen.
Ein praktischer Ansatz auf vielen Bühnen besteht aus einer zentralen Wand mit den Abmessungen 500 × 1000 mm für Geschwindigkeit sowie Abschnitten mit 500 × 500 mm dort, wo das Design eine präzisere geometrische Kontrolle erfordert (Ecken, Flügel oder gekrümmte Bühnenelemente).
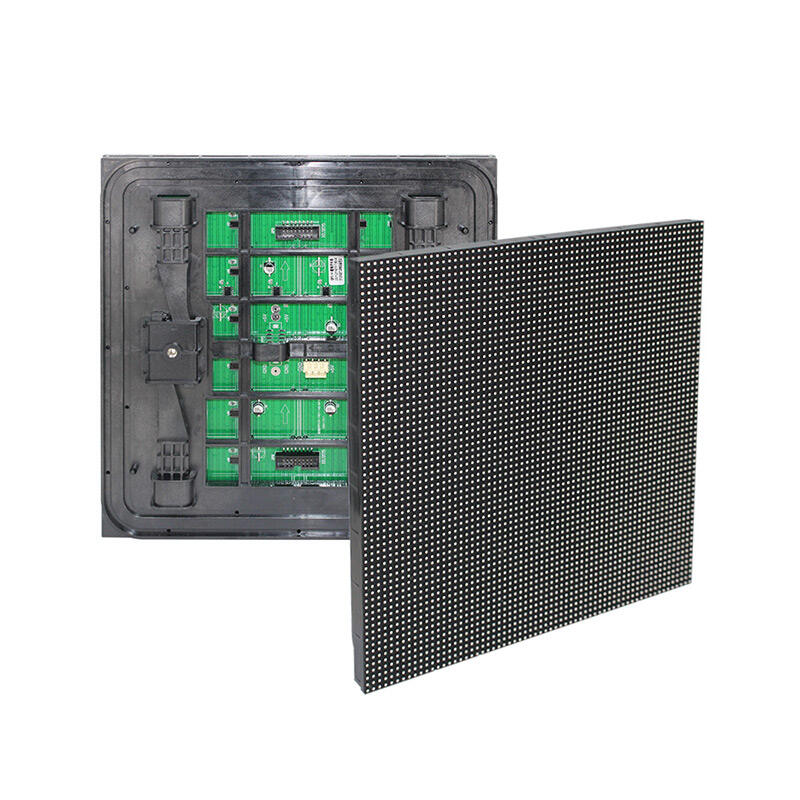
Pixelabstand: wie „hart“ das Raster wirkt
Pixelabstand-Optionen wie P2,604, P2,976, P3,91 und P4,81 sind bei Konzertbauten weit verbreitet. Ein geringerer Pixelabstand macht das Raster aus nächster Nähe anspruchsvoller – was jedoch ein gewolltes Merkmal und kein Mangel ist. Wenn eine Wand für IMAG und Sitzplätze in unmittelbarer Nähe vorgesehen ist, ist es besser, das Raster während der Aufbauphase bewusst „hart“ zu halten, als Risiken einzugehen, dass die Kamera Probleme erst während der Probe entdeckt.
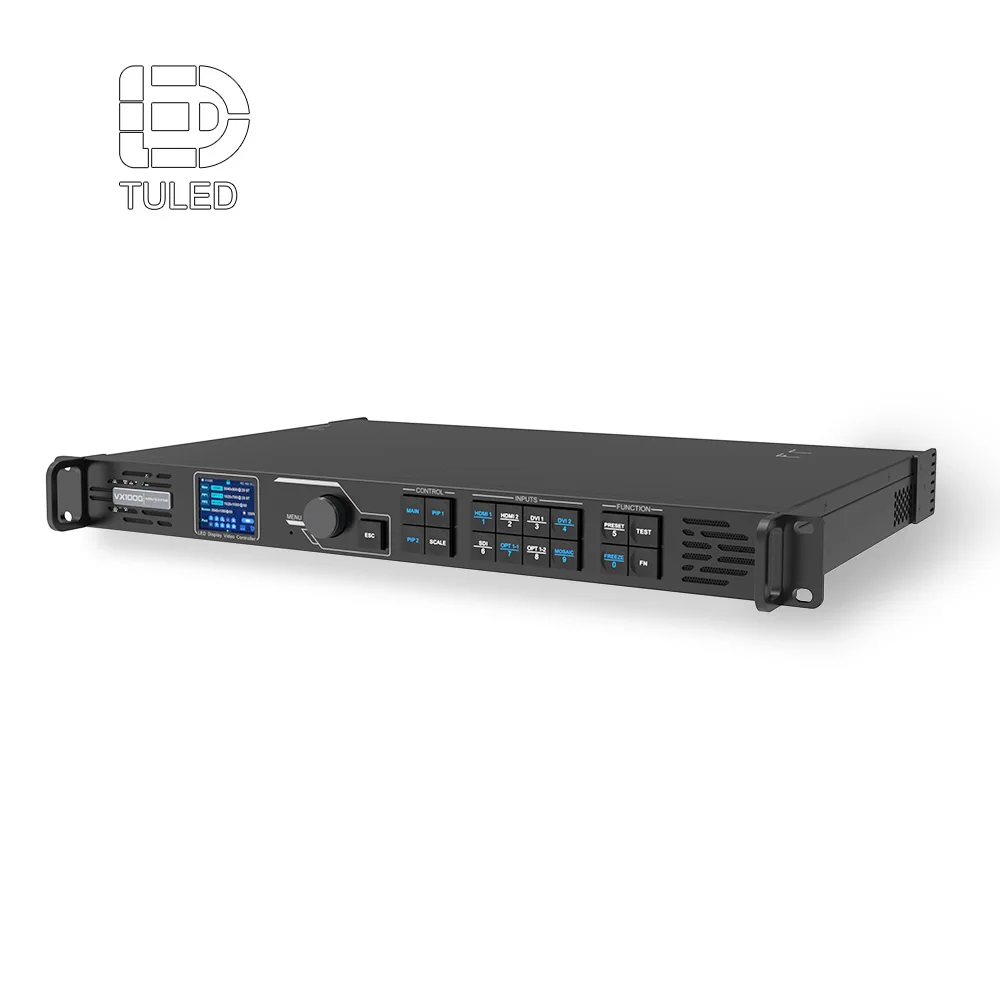
Prozessor und Skalierung: das Raster „ganzzahlig sauber“ halten
Ein Raster enthüllt Skalierungsprobleme schnell. Wenn die Ausgabauflösung des Prozessors nicht sauber mit der Wand-Leinwand übereinstimmt, können feine Linien flimmern oder ungleichmäßig erscheinen – selbst wenn die Wand-Hardware einwandfrei funktioniert. Das kostet Zeit, weil das Team beginnt, nach „Panel-Problemen“ zu suchen, die in Wirklichkeit gar nicht bei den Panels liegen.
Das Ziel ist daher langweilige Konsistenz: stabile Ausgabauflösung, vorhersehbare Skalierung und eine bekannte Testmuster-Wiedergabeliste, die immer identisch aussieht, sobald das System korrekt funktioniert.
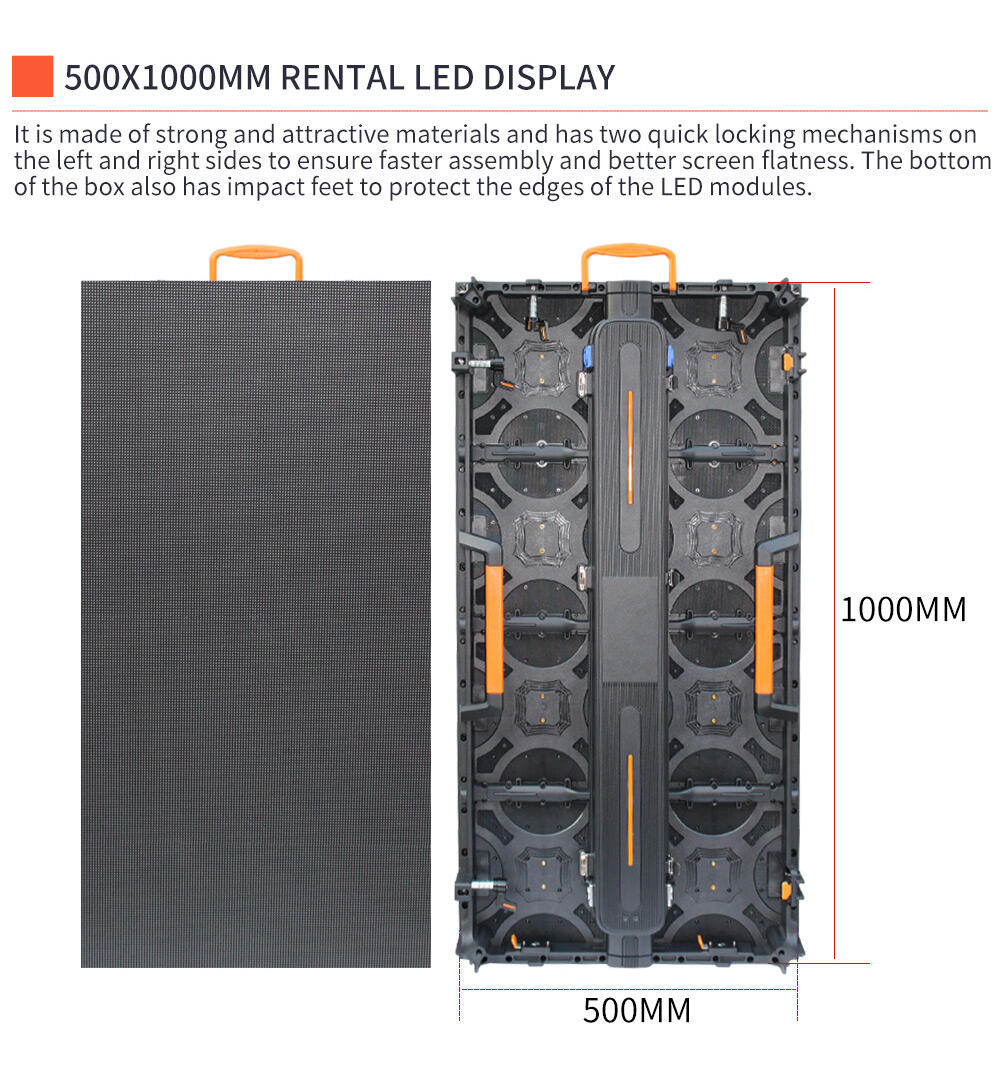
Witterungsschutz bedeutet mehr als nur Schutz vor Wettereinflüssen
Für den Außenbereich zugelassene Gehäuse und Dichtungen (häufig in IP-Klassen beschrieben) sind für mehr als nur Regen wichtig. An echten Außentagen können Feuchtigkeit und Staub Verbindungsprobleme verursachen; solche Verbindungsprobleme zeigen sich auf einem Raster als intermittierende Linienunterbrechungen, zufälliges Pixelrauschen oder als Bereich, der nur dann flackert, wenn sich die Traversen verschieben. Das Raster ist das Frühwarnsystem.
LED-Bildschirm-Testraster-Checkliste für den Aufbau
Eine Checkliste hilft, weil das Gehirn beim Aufbau nicht ruhig ist. Halten Sie diese so kurz, dass sie auch bei Zeitdruck genutzt werden kann.
Vorheriger Power-Walk (2 Minuten, keine Heldentaten)
Überprüfen Sie, ob die Schrankverschlüsse vollständig geschlossen sind und die Frontebene bündig sitzt.
Achten Sie auf eingeklemmte Datenkabel an den Schrankkanten.
Stellen Sie sicher, dass die Richtung des Stromsprungs mit der physischen Aufbaulogik übereinstimmt.
Führen Sie eine Stichprobe der Aufhängepunkte sowie aller Eckenschränke durch, die tendenziell verziehen.
Ein kleines, aber entscheidendes Detail: Ecken und die oberste Reihe versagen leise. Diese Bereiche sind stärker belastet und zeigen oft als Erstes ein Missverhältnis, sobald die Wand sich setzt.
Gesteuerter Stromanschluss (vermeiden Sie das chaotische „Alles auf einmal“)
Schalten Sie nach Möglichkeit abschnittsweise Strom ein. Wenn eine Wand über mehrere Stromkreise versorgt wird, ermöglicht ein gestufter Stromanschluss eine frühzeitige Isolierung einer fehlerhaften Stromversorgung – statt sie in einem größeren Fehlerkomplex zu verbergen.
Eine nützliche Gewohnheit ist es, die Wand während des ersten weißlichen Moments zu beobachten. Wenn die Helligkeit sichtbar „atmet“, ist dies ein Hinweis auf ein Problem bei der Stromverteilung – kein Kalibrierungsproblem.
Kartenbestätigung vor der Bildabstimmung
Hier vergeht wertvolle Zeit. Passen Sie die Farben nicht an, solange die Zuordnung fehlerhaft ist.
Führen Sie in diesem Fall ein einfaches blockartiges Muster aus:
Große Schachbrettmuster zur Bestätigung von Ausrichtung und Reihenfolge
Dicke vertikale Linien zur Bestätigung der Datenrichtung
Dicke horizontale Linien zur Bestätigung der Zeilenlogik
Falls ein Gehäuse gedreht oder gespiegelt ist, korrigieren Sie die Zuordnung unverzüglich. Andernfalls wird jeder spätere Schritt zur Ratenarbeit.
Muster-Wiedergabeliste: Die Reihenfolge, mit der Probleme schnell erkannt werden
Eine Wiedergabeliste verwandelt einen Gittertest von „zufälligen Mustern“ in einen reproduzierbaren Arbeitsablauf.
Hier ist eine Abfolge, die sich an Konzerttagen besonders bewährt, da sie jeweils nur eine Variable isoliert:
Einfarbig Rot (15–20 Sekunden)
Tote Subpixel und unregelmäßige Farbflecken werden schnell sichtbar.Einfarbig Grün (15–20 Sekunden)
Grün enthüllt Gleichmäßigkeitsschwächen, die Rot oft nicht offenbart.Einfarbig Blau (15–20 Sekunden)
Blau kann schwache Module aufdecken, die bei anderen Farben akzeptabel erscheinen.Mittlerer Grauton (20 Sekunden)
Gleichmäßigkeitsspezifikationen sind im praktischen Einsatz weitgehend irrelevant – mittlerer Grauton offenbart die Wahrheit schneller als ein Datenblatt.70 % Weiß (20 Sekunden)
Dies ist der Moment der Stromverteilung. Hier zeigt sich der Spannungsabfall sowie eine Helligkeitsungleichmäßigkeit zwischen einzelnen Modulbereichen. (Überprüfen Sie das zugehörige Datenblatt für Ihr genaues Gehäuse und den Pixelabstand – der Unterschied zwischen durchschnittlichem und Spitzenstromverbrauch beeinflusst das Verhalten Ihrer Stromversorgung. Daher deckt dieser 70-%-Weiß-Test realistische Stromversorgungsprobleme besonders schnell auf.)Feines Raster (30–45 Sekunden)
Dies ist die „Geometrie-Prüfung“. Nähte, Stufen und Schrankneigung werden deutlich sichtbar.Bewegter Linien-Scan (20–30 Sekunden)
Hilft dabei, Zeitinstabilitäten sowie einige Scan-/Refresh-Unregelmäßigkeiten zu erkennen.Zurück zu Mittelgrau (10 Sekunden)
Bestätigt, dass durch die Korrekturen keine neuen Banding-Effekte oder Farbflecken entstanden sind.
Diese Wiedergabeliste hält die Aufmerksamkeit gezielt fokussiert. Sie hilft zudem, den häufigen Fehler zu vermeiden, zehn Minuten lang auf ein feines Raster zu starren, ohne zu bemerken, dass ein Schrank schlicht falsch gemappt ist.
Die praktische Schritt-für-Schritt-Anleitung: Raster-Test während des Konzert-Setups
Dieser Abschnitt beschreibt den Ablauf vor Ort – speziell für Tage, an denen der Zeitplan wenig Spielraum lässt.
Beginnen Sie mit der „großen Wahrheit“, nicht mit der „kleinen Wahrheit“
Große Blöcke und dicke Linien kommen zuerst. Sie bestätigen, dass die Wand logisch korrekt ist. Sobald dies verifiziert ist, wird das feine Raster sinnvoll statt verwirrend.
Ein schneller Rhythmus hilft:
große Blöcke → dicke Linien → feines Raster
Das klingt grundlegend, verhindert aber die klassische Spirale aus der Frage „Warum sieht diese Linie seltsam aus?“, wenn das eigentliche Problem darin besteht, dass ein Modul bei der Zuordnung versehentlich gespiegelt wurde.
Führen Sie bei jeder Prüfung eine Zwei-Abstands-Inspektion durch
Ein Raster sollte aus zwei Entfernungen betrachtet werden:
Nahansicht (1–2 Meter) : Fugen, stumme Pixel, Modulfehler, Ebenheit der Modulfront
Fernansicht (10–25 Meter) : Gesamthomogenität, Geometrie sowie die Frage „Wirkt die Wand sauber?"
Es ist verlockend, nur von der Frontseite aus zu prüfen. Der Haken dabei ist: Ein naher Blick enthüllt physische Mängel, die aus der Ferne verborgen bleiben, während der Fernblick Unregelmäßigkeiten in der Gleichmäßigkeit aufdeckt, die aus der Nähe nicht sichtbar sind.
Ein weiteres kleines Detail: Ein kurzer schräger Blick (20–30 Grad außerhalb der Achse) kann subtile Helligkeitsunterschiede aufzeigen. Falls die technische Spezifikation Ihres Gehäuses einen weiten Betrachtungswinkel angibt (häufig mit ca. 140° bei 50 % Helligkeit angegeben), lohnt es sich dennoch, dies am tatsächlichen Aufbau zu überprüfen – insbesondere außerhalb der Achse bei 20–30°.
Korrigieren Sie die Geometrie manuell, bevor Sie sie per Software korrigieren
Wenn ein Raster einen Sprung zwischen den Gehäusen zeigt, lautet die erste Korrekturmaßnahme mechanisch:
setzen Sie das Gehäuse neu ein
überprüfen Sie die Verriegelungen
stellen Sie sicher, dass die Aufhängestange oder die Bodenstütze sich nicht verzieht
Software-Anpassungen sollten erst erfolgen, nachdem die Wand physisch korrekt montiert ist. Andernfalls wird das System so abgestimmt, dass es einen Montagefehler kompensiert – und bei einer erneuten Montage wird die Nachjustierung erschwert.
Verwenden Sie Mittelgrau als „Kalibrierungs-Realitätscheck“
Mittelgrau enthüllt:
schwache Bandbildung
ungleichmäßige Helligkeit
farbverschiebung zwischen Chargen
flecken, die bei Vollweiß nicht offensichtlich sind
Wenn eine Wand bei Mittelgrau inkonsistent wirkt, ist dies der Moment, um innezuhalten und zu entscheiden: schneller Austausch vs. tiefere Kalibrierung. Konzerttermine begünstigen oft den schnellen Austausch, da Stabilität Perfektion übertrifft.
Kamera-Funktionsprüfung (der Schritt, der spätere Probleme verhindert)
Falls IMAG oder Broadcast zum Einsatz kommen, richten Sie eine Kamera auf die Muster. Tun Sie dies, bevor die Probe die Zeit auffrisst.
Ein einfacher Ansatz:
stellen Sie die Kamera auf eine für die Show übliche Verschlusszeit und Bildfrequenz ein
führen Sie ein feines Raster und Mittelgrau aus
achten Sie auf sich bewegende Balken, Schimmer oder Stufenbildung bei Übergängen
Wenn sich sich bewegende Balken zeigen, ändern Sie jeweils nur eine Einstellung: Verschlusszeit, Bildwiederholrate und anschließend Einstellungen im Zusammenhang mit Bildwiederholung/Abtastung. Willkürliches Umschalten verschwendet Zeit und führt zu verwirrenden Ergebnissen.
Wenn Ihre Wand eine hohe Bildwiederholrate unterstützt (häufig 3.840 Hz oder höher), zeigt der Raster- und Kamera-Test hier tatsächlich seinen Wert – insbesondere bei mittlerem Grau und feinen Linien.
Speichern Sie einen „bekanntermaßen korrekten“ Zustand und dokumentieren Sie ihn
Sobald die Wand korrekt eingestellt ist, erfassen Sie, was „korrekt“ in Bezug auf die Einstellungen bedeutet:
helligkeit %
gamma- oder Kurvenwahl
ziel-Farbtemperatur
ausgangsresolution
sicherungskopie der Zuordnungsdatei/Konfiguration
Ein schnelles Handy-Foto der Prozessoreinstellungen und des Wandlayouts kann viel Verwirrung am späten Tag verhindern. Es wirkt nicht besonders glamourös, ist aber durchaus praktisch.
Kamera-sichere Rastereinstellungen: Was in realen Räumen zählt
Verhalten, das für Kameras sicher ist, wird oft wie ein Mysterium behandelt. Es ist jedoch nichts Mystisches daran. In der Regel geht es um Konsistenz und das Vermeiden unbeabsichtigter Fehlanpassungen.
Halten Sie die Bildrahmen-Taktfrequenz vorhersehbar
Eine stabile Videopipeline ist wichtiger als eine aufwendige Pipeline. Wenn sich die von dem Prozessor ausgegebene Bildfrequenz während des Tages ändert, treten Kameraprobleme auf, die wie „LED-Flimmern“ erscheinen – selbst wenn die Wand einwandfrei ist.
Ein praktischer Arbeitsablauf besteht darin, Folgendes festzulegen:
eine Ausgabe-Bildfrequenz
einen Auflösungsplan
eine Testmuster-Wiedergabeliste, die stets mit diesem Plan übereinstimmt
Vermeiden Sie extreme Helligkeit während der Kameratests
Maximale Helligkeit kann Banding verbergen und zu instabilen Belichtungsentscheidungen führen. Mittelgraue und moderate Weißtöne eignen sich besser als Kameratests. Anschließend kann ein kurzer Test mit hoher Helligkeit die Stromversorgungsstabilität bestätigen, ohne dass man dauerhaft in diesem Bereich arbeiten muss.
Gleichmäßiges Dimmen und sauberes Grauton-Tracking sind bei Übergängen am wichtigsten. Führen Sie eine langsame Graustufenrampe von 10 % → 40 % durch (oder wechseln Sie schrittweise zwischen 10 % / 20 % / 30 % / 40 %) und achten Sie auf Stufenbildung, Banding oder Farbverschiebungen.
Achten Sie auf das Verhalten feiner Raster
Feine Raster können je nach Kameradistanz und Objektivwahl Moiré-Muster hervorrufen. Das ist normal. Entscheidend ist, ob die Wand sich bewegende Balken oder Schimmer zeigt, die sich mit den Verschluss-/Bildrateinstellungen ändern. Diese Symptome deuten auf Timing-Probleme und nicht auf Moiré hin.
Fehlerbehebungskarte für LED-Bildschirm-Testraster
Unten finden Sie die Tabelle mit der Devise „schnell handeln, keine Panik“. Sie wurde für einen Konzerttag konzipiert, an dem die Lösung wiederholt angewendet werden muss.
| Was im Raster sichtbar wird | Wahrscheinliche Ursache | Schnellchecks (in dieser Reihenfolge) | Typische Lösung |
|---|---|---|---|
| Ein Modul zeigt ein gedrehtes oder gespiegeltes Muster | Abweichung bei Zuordnung/Ausrichtung | Vergleichen Sie die Position des Gehäuses mit dem Zuordnungslayout; überprüfen Sie die Datenrichtung | Korrigieren Sie die Reihenfolge der Zuordnung oder die Einstellung der Gehäuseausrichtung |
| Senkrechte Linienunterbrechungen an einer Nahtstelle | Gehäuse nicht eingerastet; Problem mit dem Datenanschluss | Gehäuse andrücken/einklicken; Datenkabel neu einstecken; kurzes Überbrückungskabel austauschen | Gehäuse neu einrasten, Überbrückungskabel ersetzen, Spannung der Verriegelung prüfen |
| Horizontale Linienunterbrechungen über eine Zeile hinweg | Fehler in der Reihenfolge der Datenkette | Verfolgen Sie den Datenfluss in der Zeile; prüfen Sie, ob ein Gehäuse übersprungen wurde | Korrekte Daisy-Chain- oder Empfängerkarten-Adressierung |
| Abschnitt ist bei mittlerem Grau und 70 % Weiß abgedunkelt | Spannungseinbruch oder ungleichmäßige Stromversorgung | Überprüfen Sie die Länge der Stromversorgungsleitung; prüfen Sie die Schaltkreislast; suchen Sie nach locker sitzenden Stromanschlüssen | Stromversorgung neu ausbalancieren, Ketten verkürzen, Stromanschlüsse neu einstecken |
| Zufällige „Funken“-Pixel bei feinen Mustern | Signalintegrität oder Massestörgeräusch | Datenkabel austauschen; lange Kupferleitungen reduzieren; Anschlüsse überprüfen | Kabel austauschen, Routing verbessern, bei langen Strecken Glasfaser in Betracht ziehen |
| Banding-Effekt bei mittlerem Grau sichtbar | Verarbeitung/Skalierung oder Kalibrierungsfehler | Ausgabedatenauflösung bestätigen; Skalierungsmodi umschalten; Cabinet-Batches vergleichen | Auflösung ausrichten; Verarbeitung anpassen; gegebenenfalls nicht kompatible Cabinets/Module austauschen |
| Rolling Bars nur auf der Kamera sichtbar | Kameraverschluss-/Bildraten-Fehler; Timing-Probleme | Verschluss einstellen; Ausgabe-Bildrate bestätigen; Einstellungen im Zusammenhang mit der Bildwiederholrate überprüfen | Kameraeinstellungen abgleichen; Ausgabe stabilisieren; Controller-Einstellungen anpassen |
| Nahtstellen sehen wie Stufen aus, obwohl die Mapping-Korrektur abgeschlossen ist | Mechanisches Flachheitsproblem | Verriegelungen prüfen; Spannung der Aufhängung prüfen; Cabinet-Gestell inspizieren | Neu einsetzen und erneut verriegeln; richtige Zugspannung einstellen; verbogene Gehäuse ersetzen |
Hier kommt die lED-Bildschirm-Testraster rentiert sich. Es zeigt nicht nur das Problem auf – es weist auch auf die typ des Problems hin, wodurch Zeit gespart wird.
Die Zwei-Minuten-Mini-Schleife (nach jedem Austausch)
Austausche finden statt. Eine Empfangskarte wird ausgetauscht. Ein Gehäuse wird gewechselt. Ein Modul wird entfernt. Der Fehler besteht darin, einen Austausch als „klein“ einzustufen und den Neutest zu überspringen.
Eine Mini-Schleife hält das Risiko gering und den Zeitaufwand angemessen:
Mittleres Grau (10 Sekunden)
70 % Weiß (10 Sekunden)
Feines Raster (20 Sekunden)
Durchgängig rot (10 Sekunden)
Zurück zu mittelgrau (10 Sekunden)
Das sind zwei Minuten. Damit werden 80 % der Fälle erfasst, in denen durch den Austausch ein neues Problem entsteht – Probleme, die andernfalls während der Türöffnungen oder beim ersten Cue auftreten würden.
Stilgestaltung, bei der das Raster-Testverfahren am meisten Zeit spart
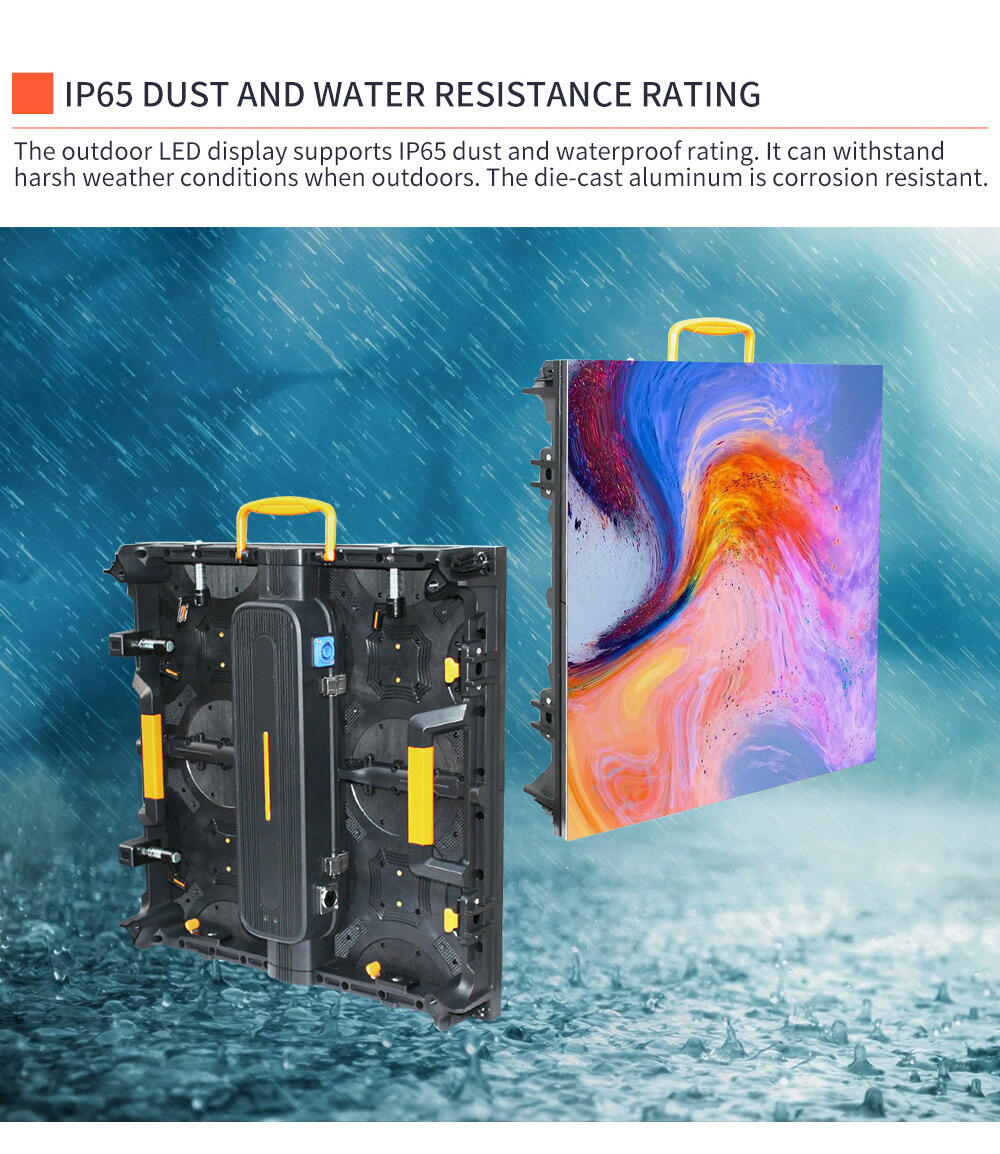
Das Raster-Testverfahren ist bei jeder Wand relevant, doch besonders wertvoll wird es bei einigen gängigen Konzertlayouts.
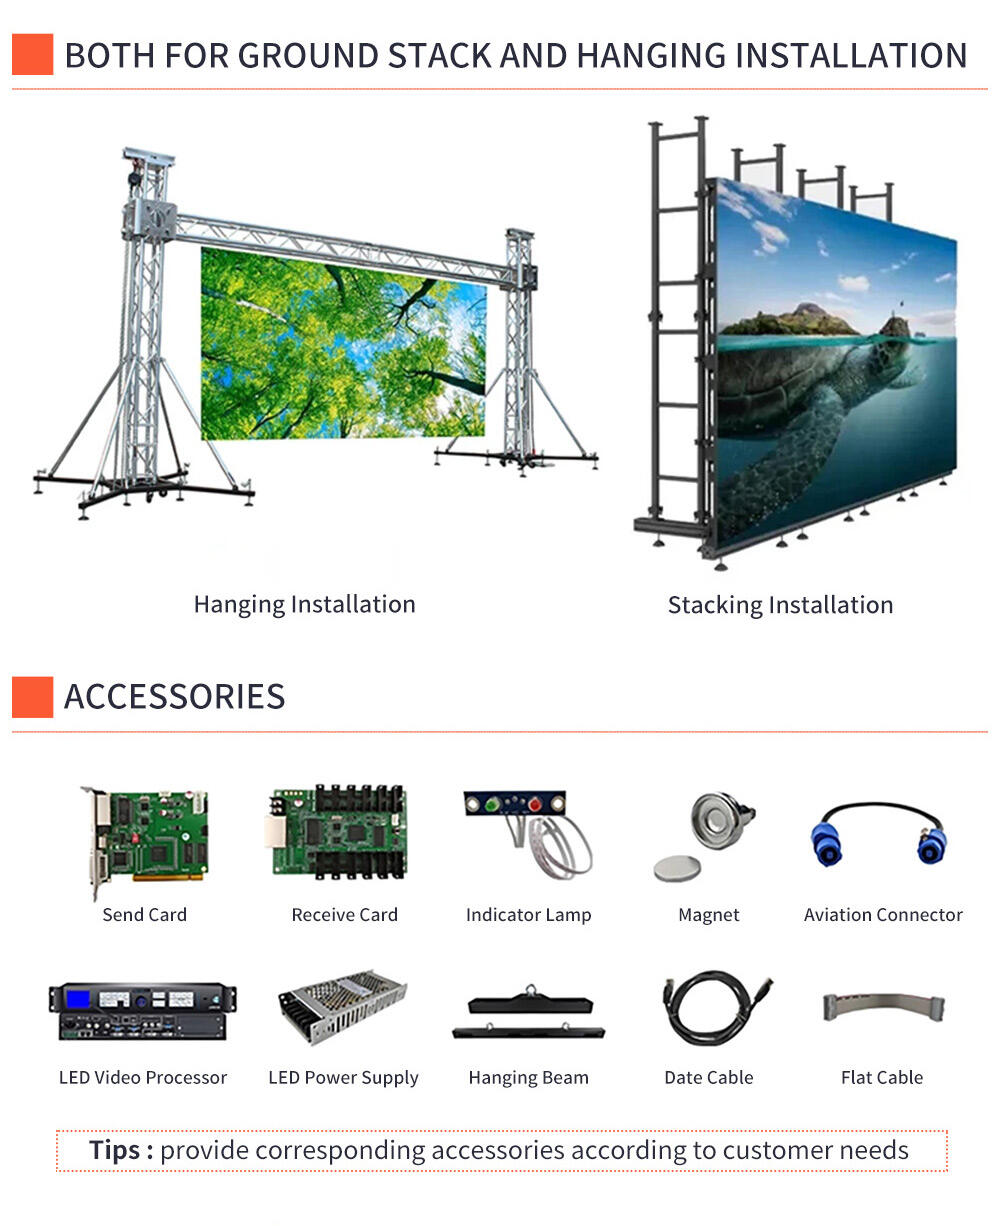
Aufgehängte Hauptwand mit Seitenflügeln
Seitenflügel neigen dazu, zu driftieren. Geringfügige geometrische Veränderungen treten auf, wenn die Aufhängung sich setzt oder wenn eine Wand auf ihre endgültige Höhe zugeschnitten wird. Ein kurzer Raster-Test nach dem endgültigen Zuschnitt enthüllt Nahtstufen bereits vor der Probe.
Außerdem ist die Helligkeitsanpassung zwischen Zentrum und Flügeln auf mittelgrau einfacher als bei vollständigem Inhalt. Das Raster macht Unstimmigkeiten früh deutlich.
Bodenstapel-Aufbauten
Bei Bodenstapel-Aufbauten kann es zu einer subtilen Neigung kommen, falls die Basis nicht vollständig waagerecht steht. Das feine Raster enthüllt „Neigung“ und Gehäusestufen rasch. Es ist einfacher, früh auszugleichen, als eine wellenförmige Linie den ganzen Abend hinweg hinzunehmen.
Gekrümmte Abschnitte und Bühnenrahmen
Die Kurven sehen großartig aus, aber sie bestrafen eine ungenaue Ausrichtung. Feine Gitterlinien „wackeln“, wenn die Winkel der Gehäuse nicht konsistent sind. Dieses Wackeln fällt bei der Kamera stärker auf als im Raum, weshalb es sich lohnt, es bereits während des Gittertests zu erkennen.
Schnelle Umrüstungen
Kurze Umrüstungen profitieren von wiederholbaren Gewohnheiten. Eine Gitter-Wiedergabeliste, die jedes Mal auf dieselbe Weise abläuft, erzeugt Geschwindigkeit durch Vertrautheit. Die Wand wird entweder schnell freigegeben oder scheitert auf vorhersehbare Weise – was einfacher zu beheben ist.
Kombinations- und „Stapelungs“-Ideen, die gitterfreundlich bleiben
Konzerthintergründe leben selten allein. Die Kombination von Bildschirmen kann die Sichtverhältnisse verbessern und zusätzliche kreative Flexibilität bieten, erhöht jedoch auch die Komplexität. Das Gitter hilft dabei, diese Komplexität unter Kontrolle zu halten.
Hauptwand + IMAG-Bildschirme
IMAG-Bildschirme erfordern ein stabiles Kameraverhalten und saubere Mitteltöne. Der Gittertest sollte speziell für die Kameraüberprüfung – nicht nur für die Hardwareüberprüfung – Mittelgrau und feine Gitterlinien umfassen.
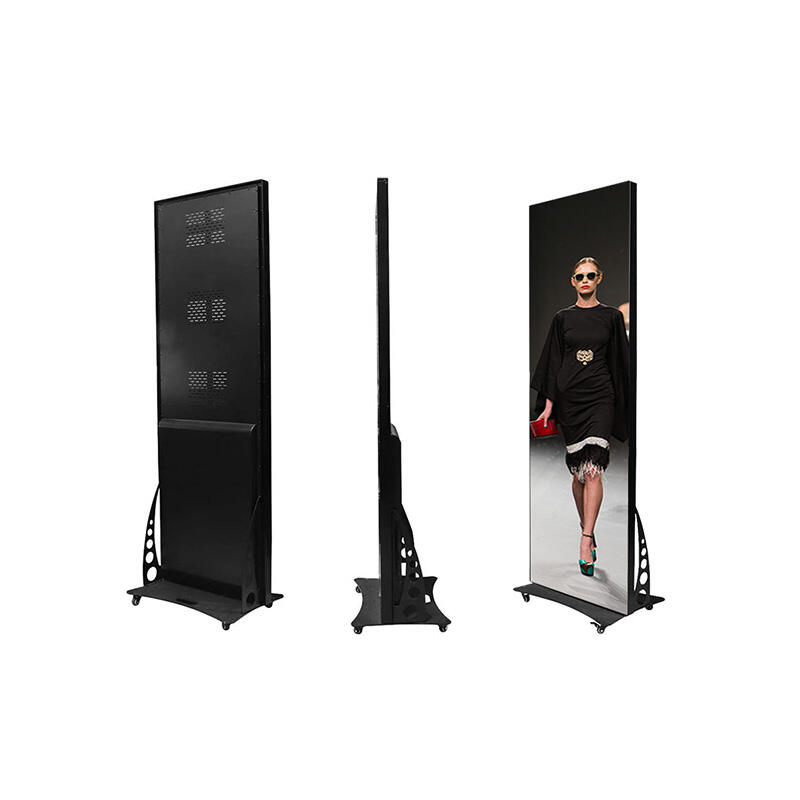
Fassaden- oder Podest-LED-Streifen
LEDs in niedriger Position werden häufiger beschädigt – durch Gehäuse, Füße oder Bewegungen auf der Bühne. Ein schneller Rasterdurchlauf in diesem Bereich kann Schäden erkennen, die sonst vom Inhalt verdeckt würden.
Aufhängung vs. Bodenstapelung
Sowohl Aufhängung als auch Stapelung sind möglich, doch unterscheiden sich die Belastungspunkte. Bei aufgehängten Konstruktionen treten häufig Ausrichtungsverschiebungen nach dem Trimmen auf. Bei gestapelten Konstruktionen zeigen sich häufig Neigungs- und Grundebenenprobleme. Der Raster erkennt beide Arten.
Auswahl eines Konzert-LED-Bildschirms unter Berücksichtigung des Raster-Workflows
Die Auswahl ist hier nicht das Hauptthema, spielt aber eine Rolle, wenn das Ziel ein schneller Aufbau und stabile Ergebnisse sind.
Einige Merkmale, die den Erfolg mit dem Raster direkt beeinflussen:
Schnellverschlusssysteme : schnellere Ausrichtungskorrekturen, weniger Nahtprobleme im Laufe der Zeit.
Hohe Bildwiederholfrequenz : verringert das Risiko von Kamerablitzern bei praktischen Kameratests.
Servicefreundlichkeit : Zugang von vorne/hinten beeinflusst, wie schnell ein defektes Modul während des Aufbaus ausgetauscht werden kann.
Angemessenes Leistungsverhalten : Der 70-%-Weiße-Schritt des Rasters zeigt sofort eine schwache Stromversorgung auf, daher ist ein vorhersehbarer Stromverbrauch entscheidend.
Seite ist die zuständige interne Anlaufstelle für tourentaugliche Gehäuseformate und typische Konzertkonfigurationen. Und für eine umfassendere Übersicht zum Thema „Welcher Typ eignet sich für welchen Anwendungsfall?“, ohne sich in Fachjargon zu verlieren, ist konzerthalle LED-Leinwände warum LED-Display – Welcher LED-Display-Typ ist der Beste? Warum LED-Display – Welcher LED-Display-Typ ist der Beste? eine hilfreiche ergänzende Lektüre.
Einfache Vor-Ort-Aufzeichnungsvorlage (kopier- und einfügefreundlich)
Das Führen eines kurzen Protokolls hilft, wenn sich am späten Nachmittag noch etwas ändert.
Wand-ID / Bühne:
Datum / Stadt:
Gehäuseformat: 500×500 / 500×1000
Pixelabstand:
Auflösung der Prozessorausgabe:
Bildwiederholrate der Prozessorausgabe:
Helligkeit % während der Darstellung:
Verwendete Muster (Wiedergabelistenname):
Festgestellte Probleme:
(Beispiel) Gehäuse 7 in Reihe 3 im Mapping gedreht
(Beispiel) Abgedunkelter Bereich bei mittlerem Grau, Modul ausgetauscht
Angewendete Korrekturen:
Mini-Loop nach dem Austausch erfolgreich durchlaufen: Ja / Nein
Zeit für die endgültige Vor-Türen-Gitterprüfung:
Dieser Eintrag muss nicht perfekt sein. Er muss lediglich existieren.
Häufig gestellte Fragen
Was ist ein Testgitter in einfachen Worten?
Es ist eine Reihe von Mustern – Linien, Flächen und Füllungen –, die Probleme bei der Abbildung, der Nahtausrichtung und der Stabilität schnell sichtbar machen.
Wie lange sollte das Gitter bei einem Konzert-Load-in laufen?
Eine vollständige Playlist kann 4–8 Minuten dauern. Der zweiminütige Mini-Loop reicht nach Austauschvorgängen aus.
Warum sieht die Wand bei Inhalten gut aus, aber bei einem Gitter schlecht?
Inhalte verdecken Probleme mit Bewegung und Textur. Ein Gitter entfernt diese Tarnung und enthüllt geometrische und Abbildungsfehler.
Welche Muster decken die meisten Probleme am schnellsten auf?
Einfarbiges RGB, mittelgrau und ein feines Raster erfüllen den größten Teil der Arbeit. Ein kurzer bewegter Sweep hilft dabei, Timing-Unstabilitäten aufzudecken.
Wie unterstützt das Raster die Kameraarbeit?
Feine Raster und mittelgraue Flächen machen Rollbalken, Flimmern und Banding früher sichtbar als Bildinhalte selbst. Dadurch können Kamera- und Wand-Einstellungen frühzeitig abgestimmt werden.
Was verursacht üblicherweise eine einzelne durchgebrochene vertikale Linie?
Häufig liegt dies daran, dass ein Modul nicht eben sitzt oder ein defekter Datenkabel-Stecker vorliegt. Ein erneutes Einstecken und Austauschen des Steckers ist eine schnelle erste Maßnahme.
Wann sollte die Kalibrierung während des Tages erfolgen?
Die Kalibrierung ist sinnvoll, nachdem die Mapping- und mechanische Ausrichtung korrekt durchgeführt wurden. Falls Zeit knapp ist, kann der Austausch eines eindeutig defekten Moduls die stabilere Entscheidung sein.
Sollte während der Tests Vollweiß eingeschaltet sein?
Ein kurzer, moderater Weißwert (z. B. 70 %) reicht in der Regel aus, um Stromversorgungsprobleme aufzudecken, ohne das Display über längere Zeit mit extremer Helligkeit zu belasten.
Ist es normal, dass feine Raster bei der Aufnahme mit einer Kamera Moiré-Muster erzeugen?
Je nach Objektiv und Entfernung kann es zu Moiré-Effekten kommen. Das eigentliche Problem sind jedoch sich rollende Balken oder Flimmern, deren Verhalten sich unvorhersehbar mit Verschluss- und Bildfrequenzeinstellungen ändert.
Wie oft sollte das Raster wiederholt werden?
Nach dem ersten Aufbau, nach der endgültigen Trimhöhe und nach jedem wesentlichen Austausch. Eine kurze Überprüfung unmittelbar vor der Türöffnung ist ebenfalls eine gute Gewohnheit.
Abschluss: Was als Nächstes zu tun ist (ohne zusätzlichen Stress zu erzeugen)
Ein Konzerttag belohnt Routinen, die langweilig und wiederholbar sind. Der Raster-Workflow ist genau das. Wenn die Playlist jedes Mal auf dieselbe Weise abläuft, wird die Fehlersuche schneller, weil die Symptome konsistent bleiben. Noch wichtiger ist, dass die Wand vorhersehbar wird – und das wünscht sich jede Abteilung.
Drei praktische Maßnahmen, die auf echten Bühnen funktionieren:
Speichern Sie eine „Muster-Playlist“ und führen Sie sie bei jedem Aufbau auf dieselbe Weise aus.
Führen Sie die Zwei-Entfernungs-Überprüfung durch (nah + fern), bevor jemand die Wand freigibt.
Führen Sie die zweiminütige Minischleife durch nach dem Tausch, auch wenn der Zeitplan eng wird.
Führen Sie vor der endgültigen Vor-Türen-Überprüfung die lED-Bildschirm-Testraster noch einmal durch und achten Sie wie ein Falke auf Nähte und mittelgraue Bereiche. Wenn die Wand dort ruhig wirkt, bleibt sie in der Regel auch ruhig, sobald der erste Cue ertönt.