
Understanding the Core Components of an LED Display
Essential equipment and components for building an LED display
A functional LED display relies on six core components:
- LED modules with densely packed RGB diodes forming the visible surface
- Power supplies delivering stable 5V DC output with surge protection
- Controller boxes housing sending and receiving cards for signal processing
- Structural frames made of steel or aluminum for secure module mounting
- Data cables enabling Ethernet or HDMI signal transmission
- Driver ICs regulating voltage and refresh rates at the pixel level
Together, these elements convert electrical signals into high-fidelity visuals. Advanced systems achieve sub-1ms latency, ensuring smooth video playback even in real-time applications.
Role of LED display modules in modular construction
Standardized LED modules—commonly 320x160mm—enable scalable designs through seamless tiling. Their front panels feature IP65-rated seals to resist dust and moisture, while rear-mounted magnetic connectors allow quick, tool-free replacements. This modular design streamlines maintenance; individual units can be swapped within minutes without disrupting the entire display.
Power supply configuration for large LED arrays
For big installations, engineers typically go with distributed power systems that incorporate several 40A at 5V switched mode power supplies or SMPS for short. When figuring out how much power we need overall, most folks use this rough calculation method: take the number of modules multiplied by the wattage each one draws, then throw in a 20% safety margin just to be safe. Outdoor equipment really shines when connected to three phase power supply lines equipped with residual current devices (RCDs) since these help manage those pesky voltage spikes and drops. Grounding is another critical aspect too. Most electricians will tell you that keeping ground resistance under four ohms makes a huge difference in reducing electrical noise and interference problems down the line.
Control system breakdown: Controller box, sending card & receiving card
The control system ensures synchronized performance across all modules:
- Controller box: Converts incoming video signals into display-specific formats
- Sending card: Transmits processed data via Ethernet or fiber-optic cables
- Receiving card: Installed in each module to decode and execute instructions locally
High-end systems utilize PWM (Pulse Width Modulation) technology to sustain 16-bit color depth at refresh rates up to 3,840Hz, eliminating visible flicker—even under high-speed camera capture.
Choosing the Right Pixel Pitch for Image Quality and Viewing Distance
How Pixel Pitch Affects Image Clarity and Resolution
The pixel pitch basically refers to how far apart those LED clusters sit from each other, and it makes a big difference in how clear and sharp images appear. When we talk about smaller pitches like 1.2mm through 3mm, what happens is there are simply more LEDs packed into every square meter of screen space. This results in much better details and those smooth color transitions that look great when someone is standing right in front of the display. Take a 2.5mm pitch for instance, which gives around 160k pixels per square meter versus only about 28k at 6mm spacing. That's why broadcast studios need those tight pitches for reading news headlines clearly, and why stores want them too for showcasing products attractively. Meanwhile outdoor billboards can get away with bigger gaps between LEDs since people usually view them from quite a distance away anyway.
Matching Pixel Pitch to Viewing Distance for Optimal Visual Experience
The 10x Rule provides a reliable guideline: Optimal Viewing Distance (feet) = Pixel Pitch (mm) — 10.
| Pixel Pitch | Ideal Viewing Range | Common Applications |
|---|---|---|
| 1.5mm | 5–15 ft | Control rooms, luxury retail |
| 4mm | 15–40 ft | Conference halls, trade shows |
| 10mm | 50+ ft | Stadiums, transportation hubs |
Industry research confirms audiences achieve 20/20 visual acuity within these ranges, avoiding pixelation while preventing over-investment in unnecessary density. Outdoor displays typically use pixel pitches 2–3 larger than indoor equivalents due to greater viewing distances.
Balancing Content Quality with Budget Constraints
When pixel pitches get tighter, the price tag goes up around 30% for every millimeter we cut down on. This happens because there are simply more LEDs packed together and they draw more power too. For most mid size venues though, people tend to settle on a 3mm pitch as their sweet spot. At about 20 feet away, viewers still see something close to 4K quality without needing nearly as many modules as would be required for a 1.8mm configuration. Looking at what works best in practice, text based displays generally need pitches no bigger than 2.5mm. But when it comes to showing videos or dynamic content, folks can actually get away with going all the way up to 5mm pitches without losing much visual quality. And this makes a real difference in budget terms too, cutting overall costs between 18 and 22 percent depending on specifics. Rather than chasing after maximum possible resolution numbers, smart installers focus first on what kind of content will be shown most often and where people will actually be watching from. This approach usually delivers better returns on investment in the long run.
Designing Custom Dimensions, Aspect Ratios, and Modular Layouts
Calculating LED Wall Dimensions and Aspect Ratios (e.g., 16:9)
When planning display dimensions, start with what size and clarity are needed for the space. Most common screens follow the 16:9 ratio, so take the diagonal length and figure out height by multiplying with around 0.49, while width comes from multiplying by approximately 0.87. Some industries need different proportions though. Industrial control panels often go for steeper ratios like 6:1 or 4:1, whereas stage lighting setups typically work best with something closer to 3:1. Research published in Nature last year looked at how using consistent aspect ratios across modular components actually cut down mistakes during assembly by roughly one third when compared to random measurements. This makes sense since standardized dimensions just make everything fit together better in practice.
Planning Layout Based on Installation Location and Space Constraints
Use 3D modeling software to map installation areas and identify spatial limitations. In spaces with ceilings under 2.5m, vertical column arrangements improve viewer engagement by 19% (AVIXA 2024). Recessed walls require 15–20cm of clearance for airflow, while outdoor unipole mounts benefit from a 10° downward tilt to shed rainwater effectively.
Designing Modular LED Panels for Scalable and Flexible Displays
Modern LED panels connect like building blocks, achieving ±0.2mm alignment precision. Research in automation-ready systems indicates hexagonal modules enable 27% faster reconfiguration than square units. Magnetic quick-connect backplates support tool-free swaps—essential for rental displays needing setup times under 15 minutes.
Power, Data Infrastructure, and Signal Management for Stable Performance
Power Requirements and Safe Electrical Configurations for LED Displays
Consistent brightness depends on precise power distribution. Industrial-grade supplies must meet total wattage demands, calculated as (LED module count — 12V) + 30% buffer. Circuit breakers and surge protectors are essential, as overloaded circuits cause 42% of display failures (Ponemon 2023). For large deployments, split-phase configurations help balance loads across multiple circuits, enhancing reliability.
Data Cabling Strategies Using Ethernet and HDMI for Signal Integrity
Cat6 or higher Ethernet cables form the backbone of high-resolution LED arrays. Shielded twisted-pair variants reduce electromagnetic interference by up to 60% versus standard cabling. HDMI-over-Ethernet extenders support 4K transmission over 100 meters without latency—critical for synchronized video walls. Modular cabling trays simplify future maintenance and upgrades.
Signal Transmission Through Processors and Control Software
Processors like the NovaStar MX40 decode and distribute signals across display zones while correcting color inconsistencies. Integrated control software enables real-time adjustments to:
- Refresh rates (1,920Hz–7,680Hz)
- Gamma correction profiles
- Pixel-level diagnostics
Embedded error-checking protocols automatically reroute data through redundant pathways during transmission issues, ensuring uninterrupted operation.
Installation, Configuration, and Control of Custom LED Walls
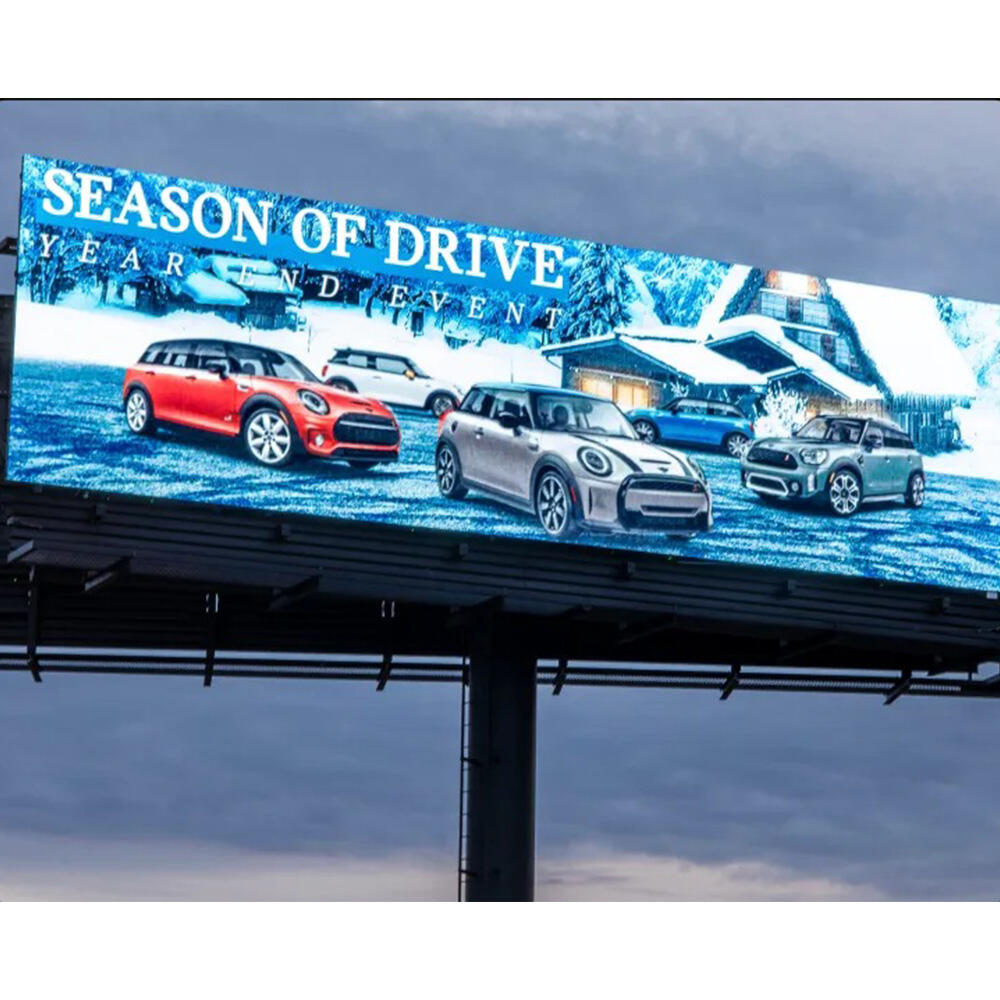
Wall-Mounted, Truss, Hanging, Bracket, and Unipole Installation Techniques
The choice of installation depends largely on where it goes and what it needs to do. For indoor spaces that will have equipment permanently installed, like meeting rooms or office areas, wall mounts are typically best. These systems rely on steel frames attached securely to load bearing walls. When setting up something temporary for events or pop-up displays, truss systems or hanging mounts work better since they can be moved around easily depending on space requirements. Outdoor signs need special consideration though. Unipole brackets offer good resistance against wind forces, making them suitable for exterior applications. Before drilling into any surface though, make sure to check if the wall can actually support the weight. Many people overlook this step only to find out later that their non load bearing drywall just isn't strong enough and requires extra bracing.
Framing, Alignment, and Flush Mounting Best Practices
Precision is critical during framing. Use laser levels to align cabinet rails within 1/16" tolerance, ensuring seamless module joints. Flush mounting eliminates shadows but demands exact spacing. For curved displays, test angles incrementally with temporary fasteners before final locking to maintain uniform curvature.
On-Site Assembly of DIY LED Display Modules
Assemble modules sequentially, connecting power and data cables as you progress. Fast-lock connectors simplify linking cabinets, but test each module immediately after connection. Label both ends of every cable to prevent confusion—industry surveys indicate mislabeled connections account for 38% of post-installation faults.
Programming LED Walls with Controller Software and ESP8266/WiFi Integration
Modern control systems combine wired reliability with wireless convenience. Begin by loading controller software to map pixel layouts accurately. Integrate ESP8266 chips for WiFi-based brightness scheduling or content updates. In outdoor settings, rely on wired links for mission-critical operations while using WiFi for secondary functions like remote diagnostics.
Frequently Asked Questions (FAQ)
What are the main components of an LED display?
An LED display comprises LED modules, power supplies, controller boxes, structural frames, data cables, and driver ICs. These components work together to transform electric signals into visual displays.
How important is pixel pitch in an LED display?
Pixel pitch is crucial as it affects the clarity and resolution of the display. A smaller pixel pitch implies more LEDs per square meter, enhancing detail and smooth color transitions, especially important for close-up viewing.
What is the significance of modular design in LED displays?
Modular design in LED displays allows for scalability and ease of maintenance. Individual modules can be replaced quickly without affecting the entire display, streamlining both setup and repair processes.
How do you determine the correct pixel pitch for a given space?
The ideal pixel pitch is often determined by the 10x rule, where the optimal viewing distance is ten times the pixel pitch. This formula aligns the viewing distance with image clarity.
What are common installation techniques for LED displays?
Installation techniques for LED displays include wall-mounted frames, truss systems, hanging mounts, and unipole brackets, each suited for different environments such as indoor, outdoor, and temporary setups.
Table of Contents
- Understanding the Core Components of an LED Display
- Choosing the Right Pixel Pitch for Image Quality and Viewing Distance
- Designing Custom Dimensions, Aspect Ratios, and Modular Layouts
- Power, Data Infrastructure, and Signal Management for Stable Performance
- Installation, Configuration, and Control of Custom LED Walls
- Frequently Asked Questions (FAQ)
