LED ցուցիչի տեխնոլոգիայի և հիմնական բաղադրիչների մասին հասկացություն
Ինչ է LED ցուցիչի մոդուլը և ինչպես է այն աշխատում
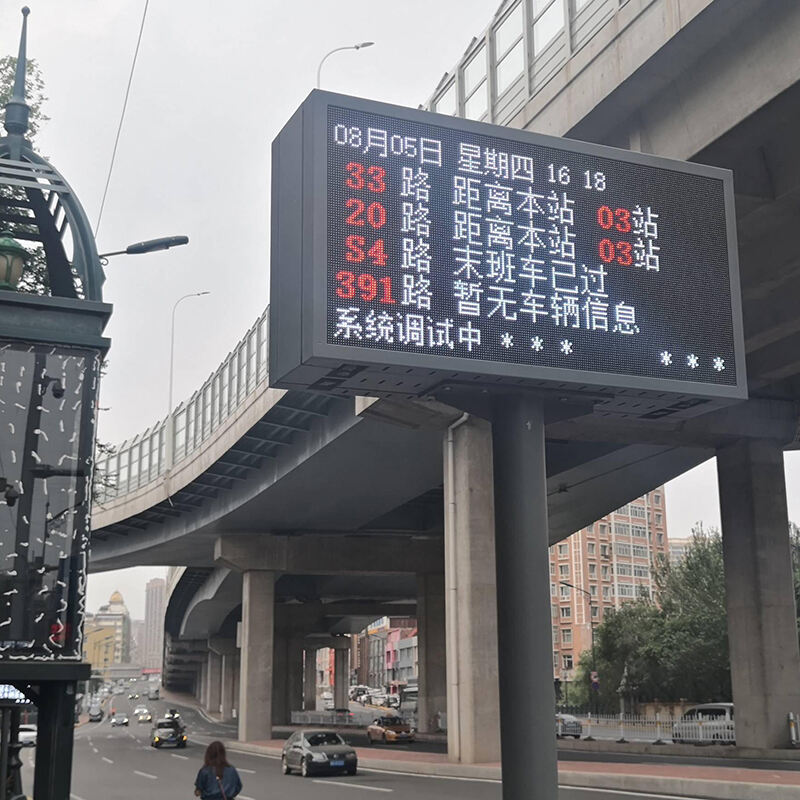
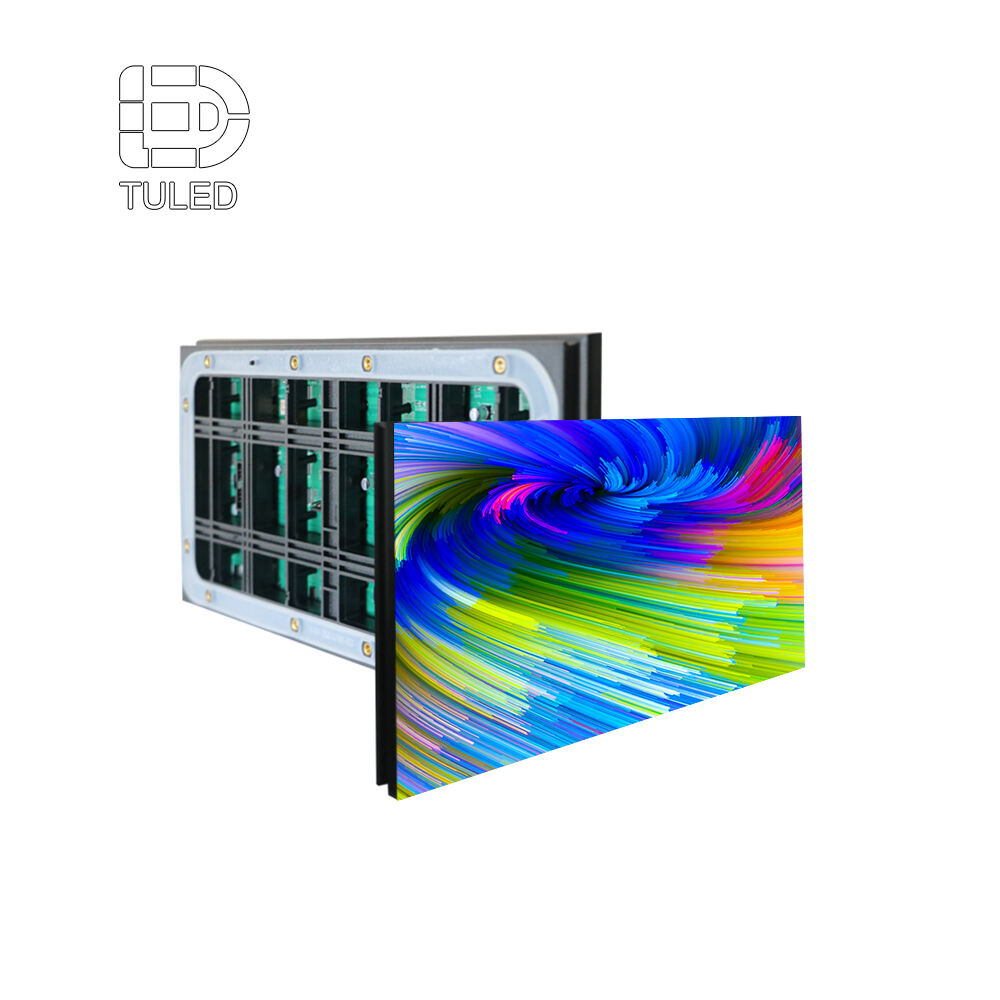
LED ցուցիչի մոդուլը հանդիսանում է այսօրվա թվային էկրանների հիմնական կառուցման տարր: Ըստ էության, այն պարունակում է փոքր ի փոքր LED-ների խմբեր, որոնք դասավորված են ցանցային ձևավորմամբ: Երբ էլեկտրականությունն անցնում է այդ կիսահաղորդչային նյութերով, նրանք արտադրում են գունավոր լույս՝ էլեկտրալուսարձակման գործընթացի միջոցով: Սա ամբողջովին տարբերվում է LCD տեխնոլոգիայից, որին անհրաժեշտ է առանձին լուսավորության աղբյուր: LED մոդուլները ստեղծում են իրենց սեփական լուսավորությունը, ինչը նշանակում է, որ դրանք կարող են հասնել շատ բարձր լուսարդյունավորության՝ մոտ 10,000 նիտ, և դա դրանք տեսանելի է դարձնում նույնիսկ արտաքին տարածքներում՝ ուժեղ արևի լույսի տակ: Այս մոդուլները հեշտությամբ միանում են մեկը մյուսին՝ ստեղծելով ավելի մեծ ցուցիչներ, և նրանք շատ երկար են տևում: Շատերի կյանքի տևողությունը գերազանցում է 100,000 ժամը, ինչը նշանակում է մոտ 11 տարի՝ անընդհատ ամեն օր աշխատելու դեպքում:
Հիմնական բաղադրիչներ՝ LED-ներ, վահանակներ, տպագրված շղթաներ և սնուցման աղբյուրներ
Յուրաքանչյուր LED էկրան կազմված է չորս հիմնական տարրերից՝
- LED-ներ կարմիր, կանաչ և կապույտ դիոդներ, որոնք համատեղվելով առաջացնում են ավելի քան 16 միլիոն գույն
- Drivers ինտեգրված միկրոսխեմաներ, որոնք կարգավորում են լարումը և ապահովում են մակույկի առանց աշխատանք (պատասխանման ժամանակ ₤1 մվրկ)
- PCB-ներ տպագրված շղթաներ, որոնք ապահովում են էլեկտրական ճանապարհներ սիգնալի հաղորդման համար
- Էլեկտրամատակարարման աղբյուրներ արդյունավետ սարքեր, որոնք տրամադրում են կայուն 5Վ տեղական հոսանք 90%+ արդյունավետությամբ
SMD ընդդեմ DIP ընդդեմ COB՝ LED համարվածքի տեխնոլոգիաների համեմատություն
| Տեխնոլոգիա | Լավագույն է համարվում | Մշակման կայունությունը | Պիքսելային խտություն |
|---|---|---|---|
| SMD | Ներքին էկրաններ | Միջավոր | Բարձր (₤1մմ քայլ) |
| DIP | Մեծ արտաքին էկրաններ | Բարձր | Ցածր (₤10մմ քայլ) |
| COB | Բարձր երթեւեկության տարածքներ | Արտահայտ | Ուլտրաբարձր (0.7մմ քայլ) |
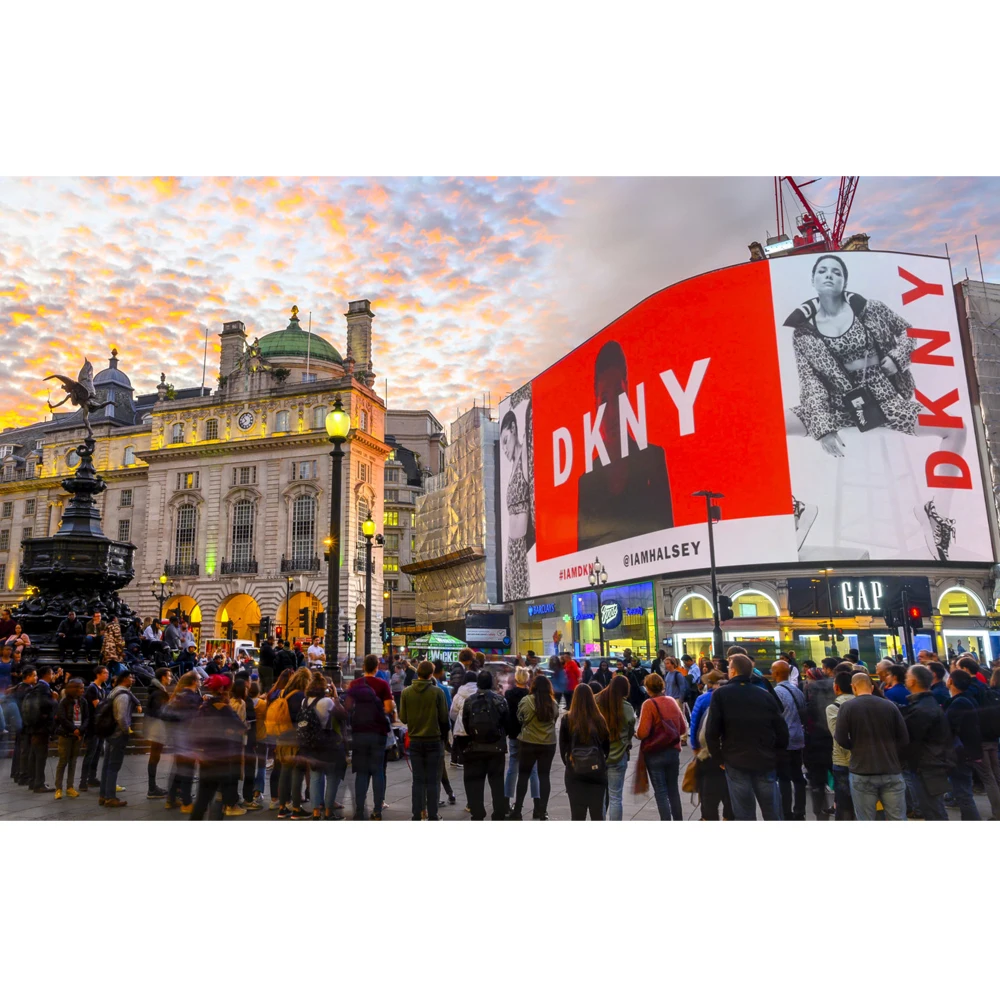
Սենսորային մոնտաժման սարք (SMD) տեխնոլոգիան գերակշռում է ներքին կիրառություններում՝ իր բարձր պիքսելային խտության շնորհիվ: Չիփը սովորականի վրա (COB) առաջարկում է գերազանց տևողականություն՝ էպոքսիդային խեժով պաշտպանության շնորհիվ, ինչը դարձնում է այն իդեալական ստադիոնների և տրանսպորտային հանգույցների համար: Ուղղակի շարքային փաթաթումը (DIP) շարունակում է լինել տարածված հին արտաքին վիտրիններում, որտեղ ամրությունը ավելի կարևոր է, քան լուծաչափը:
Կարևորագույն արդյունավետության գործոններ՝ թարմացման հաճախականություն, պայծառություն և գունային ճշգրտություն
Շուկայի լավագույն դիսփլեյները հիմա հասնում են մոտ 3,840 Հց թարմացման հաճախականության, ինչը էապես վերացնում է շարժման անհարթությունը՝ դիտելիս արագ ընթացող իրադարձություններ, ինչպես օրինակ սպորտային մրցումներ կամ ակցիոն ֆիլմեր: Արտաքին տարածքներում՝ արևի տակ, էկրաններ տեղադրելիս մասնագետների մեծ մասն առաջարկում է ընտրել առնվազն 5,000-ից 8,000 նիտ լուսայնություն ունեցող վահանակներ, որպեսզի մարդիկ իրոք կարողանան տեսնել, թե ինչ է ցուցադրվում էկրանին: Ներքին տարածքներում՝ գրասենյակներում կամ հանդիպումների սրահներում, սովորաբար բավարար է 1,500-ից 2,500 նիտ լուսայնություն: Նաև caորակյալ դիսփլեյներ ստեղծող ընկերությունները շատ շատ ժամանակ են ծախսում գույների ճշգրտությունը ապահովելու համար: Նրանք ձգտում են Delta E արժեքներին 3-ից ցածր, քանի որ դա հիմնականում անտեսանելի է մարդու աչքի համար: Սա իրականացնելու համար հաճախ օգտագործվում է 12 բիթանոց սերնդաբանական մշակում, որը դարձնում է լույսի և ստվերի նուրբ փոփոխությունները հանդիսատեսի համար ավելի հարթ:
Ձեր կիրառման համար ճիշտ պիքսելի քայլի և լուծաչափի ընտրություն
Ինչպես է պիքսելի քայլը ազդում պատկերի հստակության և օպտիմալ դիտման հեռավորության վրա
Պիքսելների տարածությունը ցույց է տալիս, թե ինչ հեռավորության վրա են տեղադրված LED խմբերը մեկը մյուսից՝ միլիմետրերով չափված, և մեծ դեր է խաղում նրանում, թե ինչպես կուղղակի կեղծվի պատկերը: Երբ պիքսելները խիտ են տեղադրված՝ օրինակ՝ 1,5-ից 3 մմ հեռավորությամբ, դա ստեղծում է սրածայր մանրամասներ, որոնք հիանալի աշխատում են, երբ մարդը կանգնած է մոտավորապես 20 ֆուտ հեռավորության վրա: Ընդ հակառակը, 6-ից 10 մմ հեռավորությամբ LED-ների միջև ավելի մեծ տարածությունը դեռևս թույլ է տալիս մարդկանց կարդալ այն, ինչ ցուցադրվում է, նույնիսկ երբ նրանք հեռու են՝ 50 ֆուտից ավելի հեռավորության վրա, ինչը դա հիանալի դարձնում է գործարանների և այլ արտաքին նշանների համար: Այս ոլորտի շատ մարդիկ խոսում են այնպիսի բանի մասին, ինչպիսին 10x կանոնն է՝ որպես հարմար ուղեցույց: Պարզապես վերցրեք պիքսելի տարածության թիվը միլիմետրերով և բազմապատկեք տասնով, և դա կտա մոտավորապես այն հեռավորությունը, որից մարդը պետք է գտնվի, որպեսզի ամեն ինչ հստակ տեսնի՝ առանց աչքերը լարելու:
| Պիքսելային հեռավորություն | Իդեալական հեռավորություն | Օգտագործման դեպքեր |
|---|---|---|
| 1,5–2,5 մմ | 6–25 ֆուտ | Կառավարման սենյակներ, մանրածախ առևտուր |
| 35 մմ | 30–50 ֆուտ | Կոնֆերանս դահլիճներ, հանդիպումների սրահներ |
| 6–10 մմ | 60–100+ ֆուտ | Մարզադաշտեր, գովազդային սյուներ |
Պիքսելների տարածության և դիտման հեռավորության անհամապատասխանությունը կարող է նվազեցնել հանդիսատեսի ներգրավվածությունը 34% -ով ներքին տարածքներում (Digital Signage Institute 2023): Բարդ տեղադրումների դեպքում տեխնիկական բնութագրերը տարածական պահանջների հետ համընկնելու համար օգտագործվում են օրինակ՝ դիտման հեռավորության եռափուլ վերլուծության մեթոդներ:
Էկրանի չափի և լուծաչափի հաշվումը՝ կախված կիրառման դեպքից
Ներքին ցուցադրումներում հաճախ օգտագործվում է 2,5–4 մմ պիքսելային տարածություն՝ լուծաչափի և արժեքի հավասարակշռություն ստանալու համար: Արտաքին կառույցները առաջնահերթություն են տալիս պայծառությանը և տևողականությանը՝ նախընտրելով 6–10 մմ տարածություններ, որոնք 22% -ով կրճատում են էներգասպառումը՝ մնալով ընթեռնելի երկար հեռավորություններից (Outdoor Media Group 2023): Լուծաչափը որոշելու համար՝
- Հորիզոնական լուծաչափ = Դիտման լայնություն (ֆուտ) × 12 / պիքսելի տարածություն (մմ)
- Ուղղահայաց լուծաչափ = Հորիզոնական լուծաչափ × (էկրանի բարձրություն/լայնություն հարաբերակցություն)
Օրինակ՝ 80 ֆուտ հեռավորությունից դիտվող 20 ֆուտ լայնությամբ արտաքին գովազդանիշ՝ 6 մմ տարածությամբ.
(20 × 12)/6 = 40 պիքսել մեկ ֆուտի վրա , ինչը 16:9 ձևաչափի դեպքում տալիս է մոտավորապես 800×450 թույլատրելիություն:
Էկրանի որակի և ծախսերի հավասարակշռումը թույլատրելիության ընտրության ժամանակ
1920x1080 կամ ավելի բարձր թույլատրելիությամբ էկրանների դեպքում անհրաժեշտ է գրեթե 50% ավելի շատ LED մոդուլ և շատ ավելի զգող հավաքաման, ինչը գինը մեծացնում է ստանդարտ HD կառույցների գնից մոտ երեք անգամ: Սակայն հետաքրքիր է այն, որ վերջերս կատարված փորձարկումները ցույց են տվել, որ երբ մարդիկ էկրանից հեռու են 50 ֆուտից ավել, նրանք իրականում չեն տարբերում 4մմ և 8մմ պիքսելային քայլերի տարբերությունը: Սա հնարավորություն է տալիս խնայել մոտ 18% ծախսերից՝ առանց որևէ տարբերություն նկատելու: Այն վայրերում, որտեղ կարևոր է տեքստի ընթերցումը, ինչպես օրինակ կառավարման սենյակներում, տրամապատկերման քայլը 2,5մմ-ից ցածր ընտրելը տրամաբանական է: Իսկ ստադիոններում և այլ մեծ հարթակներում, որտեղ կենտրոնացումը տեսանյութերի ցուցադրման վրա է, օպտիմալ տիրույթը 6-ից 8մմ պիքսելային քայլերի սահմաններում է: Մարդիկ այդ կառույցներով մոտ 92% դեպքում մնում են հաճախորդներ, իսկ դրանց արժեքը կազմում է մոտ մեկ երրորդը այն գնից, որ առաջարկվում է ամենաբարձր թույլատրելիության տարբերակների համար:
Ձեր LED էկրանի դասավորության և կառուցվածքի նախագծում
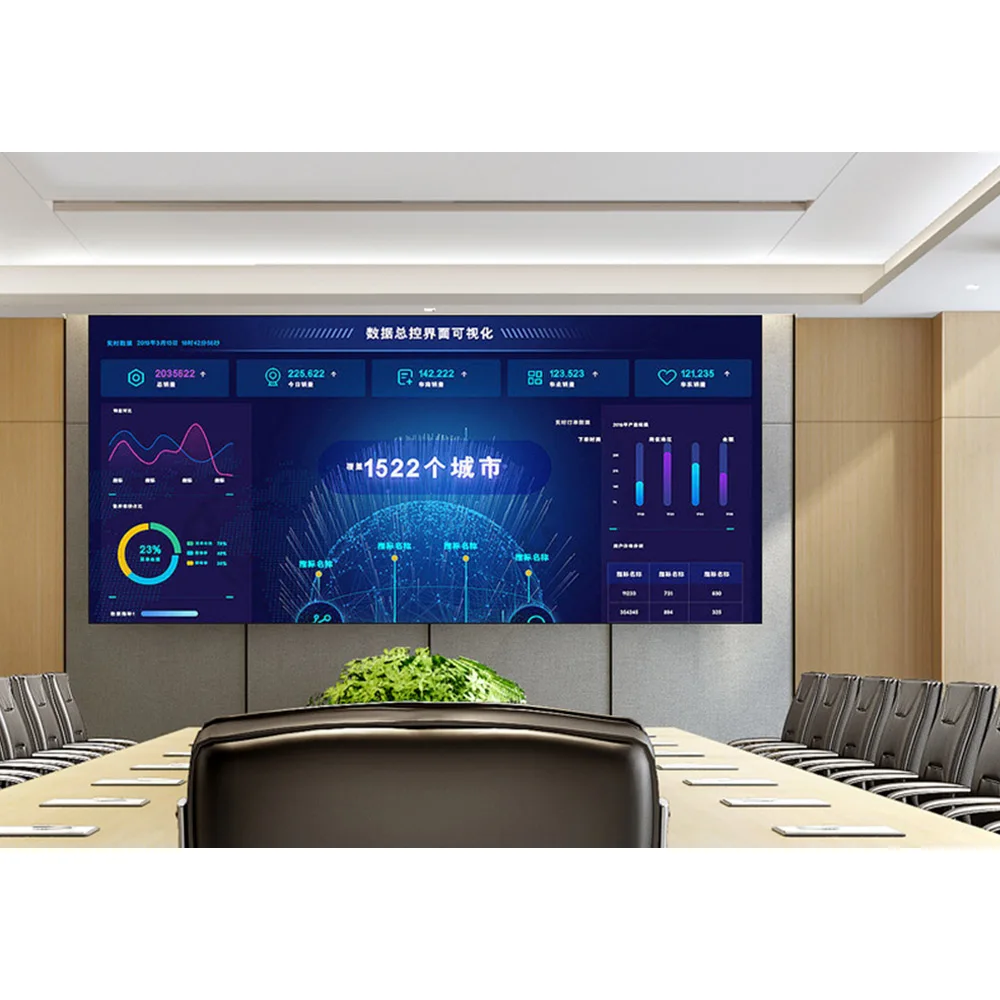
Նախագծի պահանջների սահմանում. Ներքին տարածք ընդդեմ Արտաքին տարածք, Կայուն контент ընդդեմ Շարժական կոնտենտ
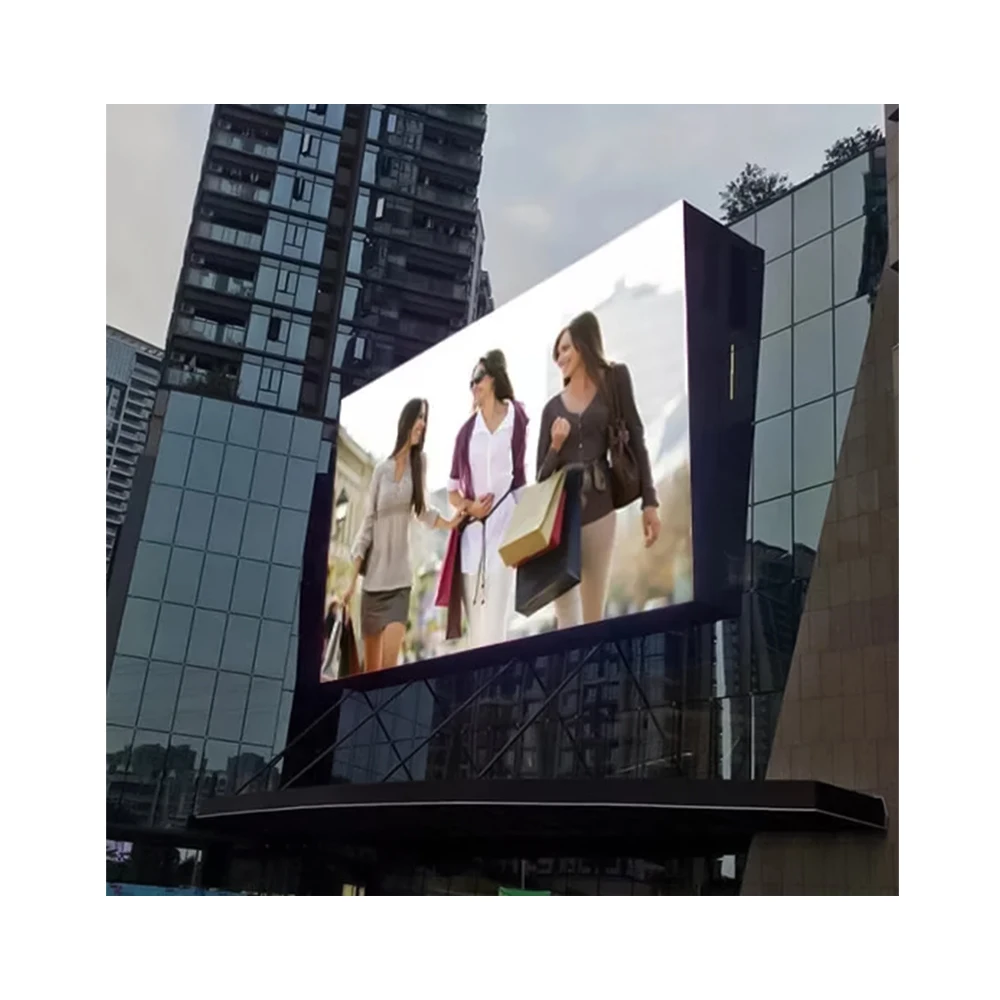
Երբ դիտարկում ենք ցուցադրման լուծումները, ամեն ինչ սկսվում է հասկանալով, թե որտեղ կտեղադրվեն դրանք և ինչ տեսակի կոնտենտ կցուցադրվի դրանց վրա: Արտաքին տեղադրումների համար սովորաբար խորհուրդ ենք տալիս ընտրել այնպիսիներ, որոնք ունեն IP65 պաշտպանություն փոշուց և ջրից, ինչպես նաև՝ առնվազն 2500 նիտ լուսայնություն, որպեսզի մարդիկ անմիջական արևի լույսի ներքո իրոք կարողանան տեսնել ցուցադրվողը: Ներքին էկրանները ավելի լավ են աշխատում 110 աստիճանից ավել դիտման անկյուններով և այնքան բարձր լուսայնության կարիք չունեն՝ հարմար դիտում ապահովելու համար բավարար է մոտ 800 նիտ կամ նրանից ցածր մակարդակը: Իսկ երբ խոսքը գալիս է կոնտենտի տեսակների մասին, պահանջներում մեծ տարբերություն կա: Շարժվող պատկերները, ինչպես օրինակ՝ տեսանյութերը, իրականում շահում են 3840 Հց-ից բարձր թարմացման հաճախականությունից՝ ցանկացած մակարդակի կամ անհարմար էֆեկտներ խուսափելու համար: Սակայն, եթե էկրանը մեծամասամբ ցուցադրում է տեքստ կամ պարզ գրաֆիկա, 960 Հց-ի շուրջ թարմացման հաճախականությունը բավարար կլինի: Մյուս տարի տարբեր քաղաքների հանրային տարածքներում հրապարակված վերջերս հետազոտության համաձայն՝ բոլոր ներդրումների մոտ երկու երրորդ խնամքի խնդիրները իրականում պայմանավորված են տեղադրման վայրի և կոնտենտի բնութագրերի սխալ համապատասխանությամբ՝ սկսած նախագծի պլանավորման սկզբից:
Մոդուլային ցանցի կառուցում՝ հարթ մոդուլների դասավորման համար
Կառուցվածքային համապատասխանության համար օգտագործեք ստանդարտացված պահարանների չափսեր՝ սովորաբար 500-500 մմ կամ 1000-1000 մմ: Լազերային ուղղորդմամբ համակարգերի միջոցով պահպանեք հավասարեցման հանդուրժողականությունը 0.15 մմ-ից ցածր, հատկապես կարևոր է P2.5 և ավելի նուրբ քայլերի համար: Ապահովեք համատեղելիություն էլեկտրական և մեխանիկական միջերեսների միջև. պահպանեք ±5% լարման տատանման սահմանները և պահեք տպատախտակի ծռվածությունը 0.2 մմ-ից ցածր՝ կասկադային խափանումները կանխելու համար:
Նախագծում մասշտաբման և ապագայի ընդլայնման համար
Նախագծեք կառավարման համակարգերը 15–20% լրացուցիչ հզորությամբ և պատճենահանման տվյալների ալիքներով: Գործիքների առանց ամրացման մեխանիզմներով շրջանակները թույլ են տալիս վահանակների ավելացում 35% ավելի արագ, քան պտուտակներով կառուցվածքները: Պահեք 150 մմ հետևի ազատ տարածք ապագայի ջերմային արդիականացումների համար, քանի որ էկրանի պայծառության և խտության միտումները շարունակում են աճել:
Հավաքման համար գործիքների և նյութերի հավաքագրում
Անհրաժեշտ գործիքներ՝ փողրակ, մուլտիմետր, պտուտակահարներ և համաձայնեցման շաբլոններ
Ճշգրիտ փորձարկման երկաթ (40–60Վտ) ապահովում է հուսալի միացումներ մոդուլների միջև: Թվային մուլտիմետրը ստուգում է լարման կայունությունը շղթաներում, իսկ հակաէլեկտրոստատիկ բարանդները պաշտպանում են զգայուն էլեկտրոնիկան: Մասնագիտացված համակենտրոնացման սարքերը ապահովում են տեղադրման ճշգրտություն 5%-ի սահմաններում՝ ապահովելով անընդհատ տեսանելիություն ցուցադրման մակերևույթի վրա:
Հիմնական նյութեր՝ LED մոդուլներ, կառավարման համակարգեր և սնուցման բաշխման միավորներ
Ընտրեք առևտրային դասի LED մոդուլներ IP65 աստիճանի կողպվածությամբ և 5000 նիտ լուսային հզորությամբ՝ արտաքին օգտագործման համար դիմացկունության համար: Մոդուլային կառավարման համակարգերը թույլ են տալիս իրական ժամանակում թարմացումներ Ethernet կամ Wi-Fi-ով: Կրկնօրինակված սնուցման բաշխման միավորները (PDU), որոնք ունեն 20% ավելցուկային հզորություն, կանխում են լարման անկումները խոշոր տեղադրումներում:
Դիմացկուն շրջանակների և կապույտների ընտրություն կառուցվածքային ամրության համար
| Շրջակա միջավայր | Խորհուրդ տրվող շրջանակի նյութեր | Հիմնական առանձնահատկություններ |
|---|---|---|
| Ներքին | Փոշիային պատվաստված ալյումին | Թեթև, կոռոզիայի դիմադրուն, աջակցում է կորացված դիզայններին |
| Արտաքին | Նավաշինարարական ստանդարտի ստենդայն պողպատ | Դիմադրում է քամու բեռներին՝ մինչև 110 մղոն/ժամ, ներառյալ ինտեգրված ջրահեռացման համակարգ |
Առաջնային մուտք ունեցող կաբինետները, որոնց դռները հնարավոր է հեռացնել առանց գործիքների, սպասարկման ժամանակը կրճատում են 40%-ով: Այս կաբինետներն օժտված են անձրևակային պատվաստաներով և պասիվ սառեցման օդափոխման համակարգով, որոնք թույլ են տալիս աշխատել -30°C-ից մինչև +60°C (-22°F-ից մինչև 140°F) ջերմաստիճանների դեպքում:
Ձեր սովորական LED էկրանի հավաքումն ու կարգավորումը
Քայլ առ քայլ հավաքում. Կառուցել շրջանակը և ճիշտ տեղադրել մոդուլները
Կառուցեք ամուր շրջանակ՝ օգտագործելով ալյումին կամ պողպատ, որը համապատասխանում է ձեր դիսփլեյի կառուցվածքի չափսերին: Օգտագործեք լազերային մակարդակներ՝ հորիզոնական գծերի ճշգրտությունը ստուգելու համար: Նույնիսկ փոքր թեքություն, մոտ 1 աստիճան, կարող է խանգարել տեսողական ընկալմանը, հատկապես մեծ կառուցվածքների դեպքում: Մոդուլները միասին տեղադրելիս օգտագործեք արագ ամրացման կապալներ և տեղադրեք մեկ շարք անգամ՝ ապահովելով, որ բոլոր մասերը ճիշտ են համատեղված և միմյանցից հեռավորված են 0.1-ից մինչև 0.3 միլիմետրով: Արդյունաբերության մեծ մասն առաջարկում է ամրացնելուց առաջ կատարել արագ ստուգում՝ օգտագործելով բարձրորակ լուսաչափ:
Սարքավորման լավագույն պրակտիկաներ՝ սնուցման բաշխում և տվյալների սիգնալի միացումներ
Միացման գծերը տվյալների գծերից առանձին տարածեք (18-12 AWG), որպեսզի խուսափեք էլեկտրամագնիսային միջամտությունից: Իրականացրեք աստղաձև կոնֆիգուրացիայի հոսանքի բաշխում՝ յուրաքանչյուր կաբինետ ուղղակի սնուցելով կենտրոնական PDU-ից: Տվյալների համար օգտագործեք էկրայավորված Cat6 միացման գծեր daisy-chain կոնֆիգուրացիայով, երկարությունը պահելով 15 մետրից պակաս՝ ազդանշանի կորուստը կանխելու համար:
Համակարգին միացումից առաջ առանձին բաղադրիչների ստուգում
Ստուգեք յուրաքանչյուր մոդուլի ելքը մուլտիմետրով՝ համոզվելու համար 5Վ/12Վ սնուցման կայունության մեջ: Կատարեք 72-ժամյա ստուգման թեստ՝ անցնելով լիակադր գունային նախշերով՝ վաղաժամկետ անսարքությունները հայտնաբերելու համար: Այս նախնական ստուգումը համակարգին միացնելուց հետո սպասարկման կոչերը կրճատում է 63%-ով (Display Technology Journal, 2023):
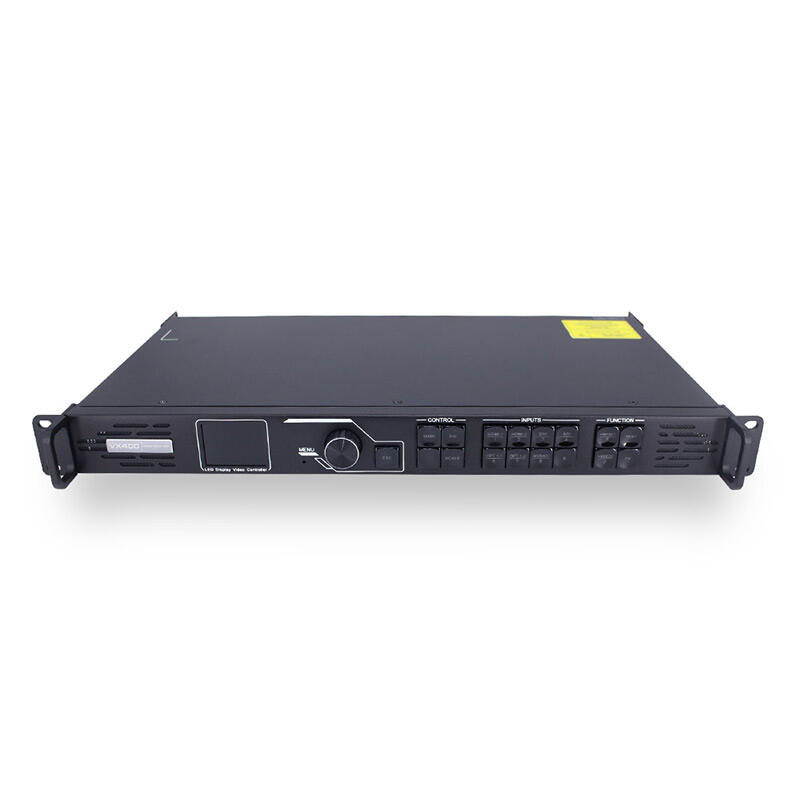
Կառավարման համակարգի ստեղծում. սինքրոն և ասինքրոն տարբերակներ
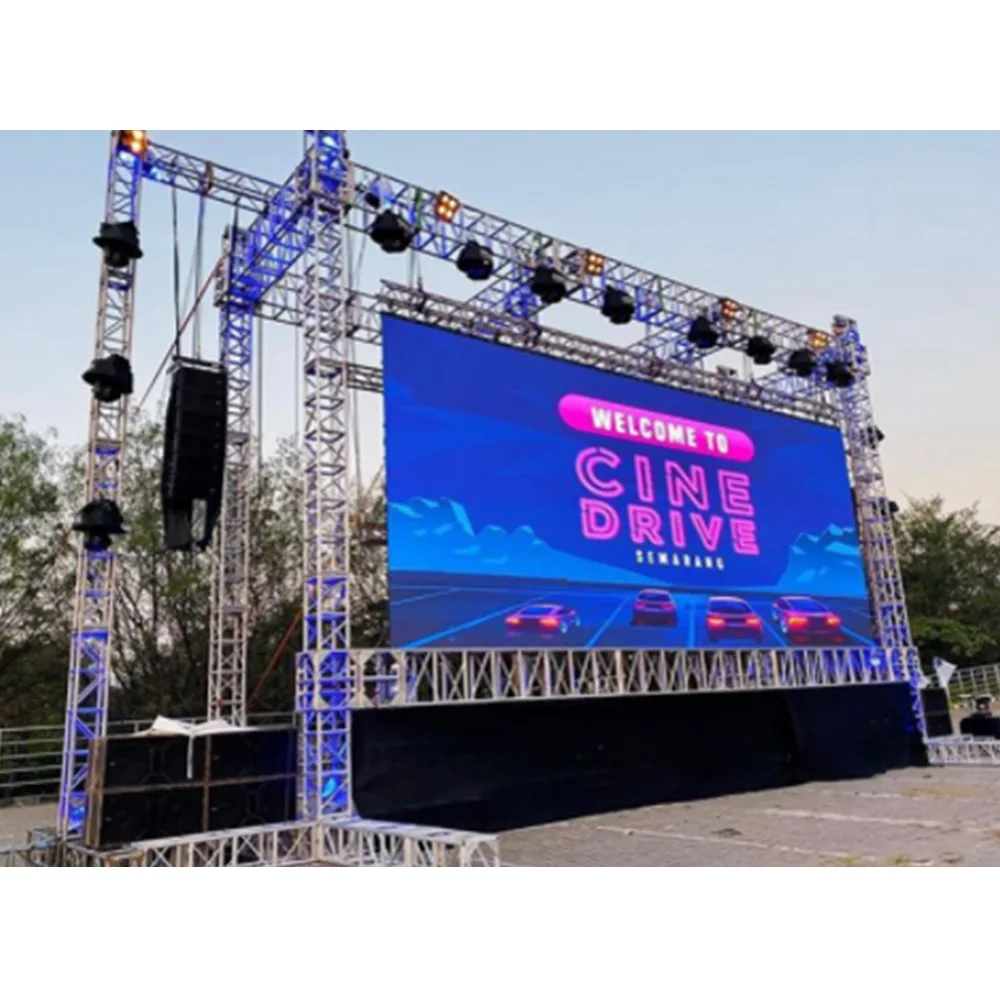
Ընտրեք համաժամանակյան կառավարման համակարգեր՝ ուղիղ եթերում տեսահոսքերի համար, օրինակ՝ ստադիոններում օգտագործվողները, որոնք պահանջում են մանրաթելային կապ՝ բարձր թարմացման հաճախականություններ պահպանելու համար: Խանութներում կամ կորպորատիվ միջավայրերում նախատեսված նյութերի համար անկախ կառավարիչները (512 ԳԲ–2 ՏԲ ներքին հիշողությամբ) ապահովում են անկախ աշխատանք՝ առանց անընդհատ կապի:
Ծրագրային կազմաձևում, նյութերի կառավարում և էկրանի կալիբրացում
Վերբեռնեք պիքսել-մապինգի պրոֆիլներ, որոնք արտացոլում են ձեր ֆիզիկական դասավորությունը՝ պատկերի դեֆորմացիան կանխելու համար: Կատարեք սերնդի և գունային տիրույթի կալիբրացում՝ օգտագործելով սպեկտրոֆոտոմետրեր. մասնագիտական տեղադրումներում սովորաբար ձեռք են բերվում ΔE <2՝ ճշգրիտ վերարտադրություն ապահովելու համար: Օպտիմալացրեք նյութը՝ տեսանյութերը կոդավորելով 1,5 անգամ ավելի բարձր լուծաչափով, քան էկրանի սկզբնական լուծաչափը, օգտագործելով սուպերնմանականացում՝ սրությունը բարելավելու և ալիասինգը նվազեցնելու համար:
Հաճախ տրվող հարցեր
Ինչ են LED ցուցիչների մոդուլները:
LED ցուցիչների մոդուլները թվային էկրանների հիմնական կառուցվածքային տարրերն են, որոնք կազմված են ցանցի ձևով դասավորված փոքր ԼԵԴ-ներից, որոնք էլեկտրալուսարձակմամբ ստեղծում են գունավոր լույս:
Ինչ բաներ են ազդում LED ցուցիչների պայծառության վրա
LED ցուցիչի պայծառությունը կախված է LED-ների ներքին հատկություններից, սնուցման աղբյուրի արդյունավետությունից և ցուցիչի մոդուլի նախագծումից:
Ինչպե՞ս որոշել ճիշտ պիքսելային քայլը
Ճիշտ պիքսելային քայլը կախված է դիտման հեռավորությունից: Մոտիկ դիտման համար փոքր քայլ է ավելի լավ, իսկ մեծ հեռավորությունների համար բավարար է մեծ քայլ: