EN
EN

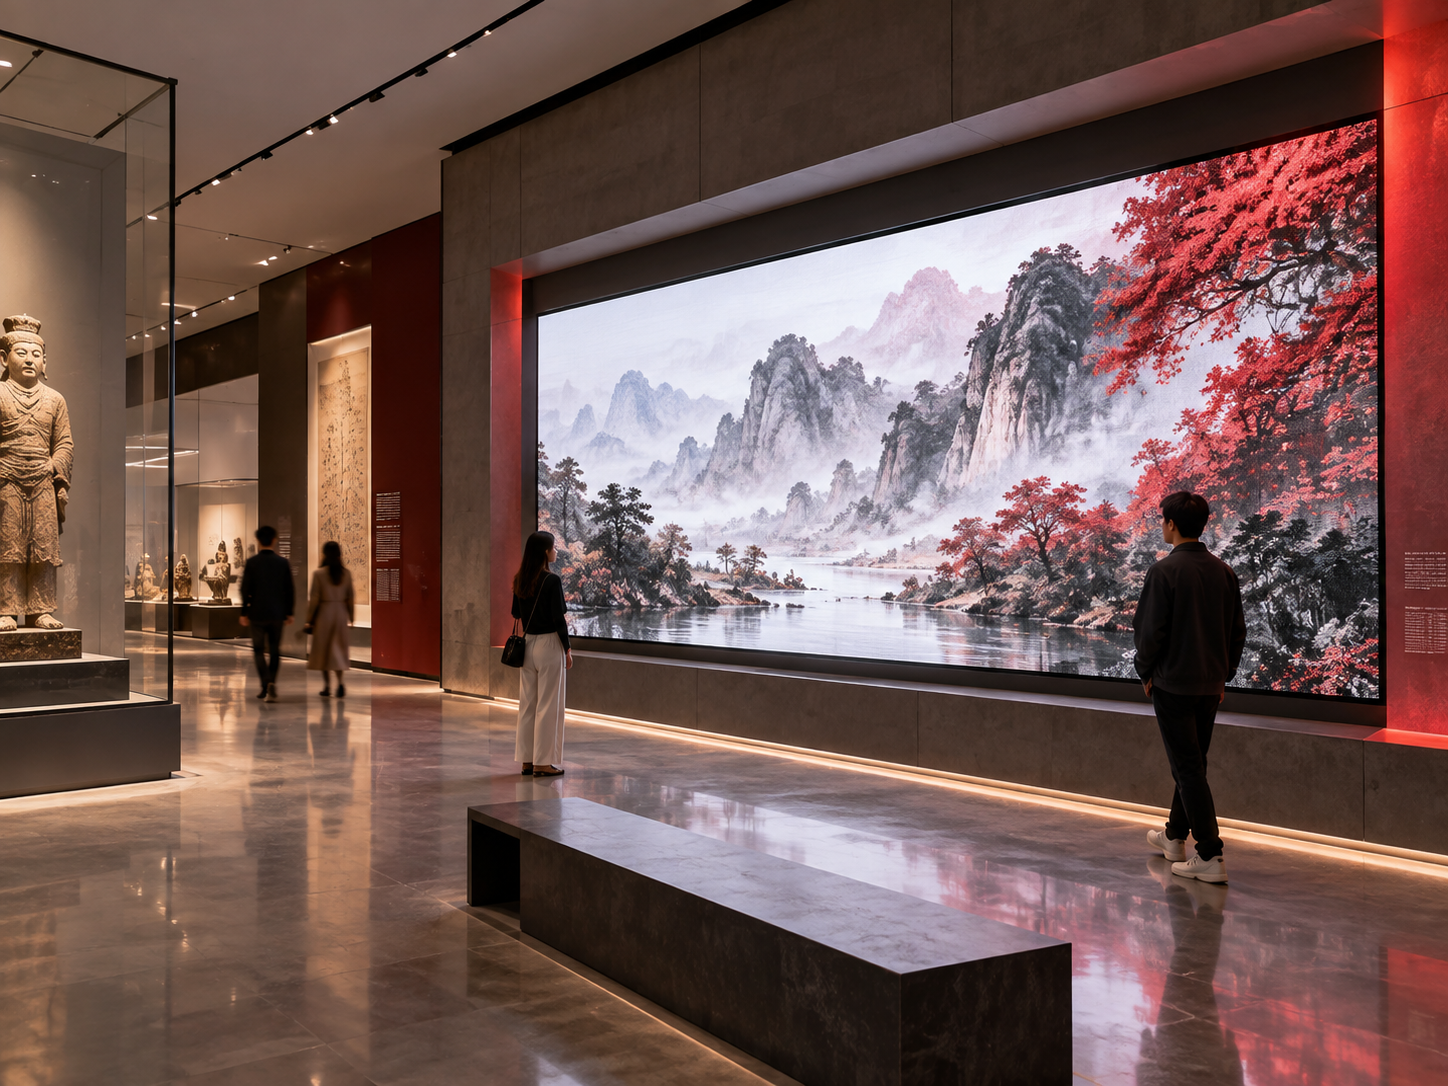
A custom size LED screen in a museum is rarely an isolated display decision. Its dimensions sit inside a larger exhibit system shaped by architecture, visitor movement, content composition, wall finishes, technical access and the way the space has to operate after opening day.
Consider an exhibit wall with a defined architectural opening, a circulation route crossing in front of it and several physical and digital elements competing for attention. A screen can fit the available wall perfectly and still create a poor exhibit if visitors first encounter important content from the wrong angle, the active area conflicts with surrounding graphics, or routine service requires dismantling finished panels.
For that reason, planning a custom size LED screen for a museum should begin with the exhibit rather than with a preferred width and height. The practical question is not simply how large the display can be. It is which dimensions allow the architecture, content, visitor path and service strategy to work together.
Start With the Exhibit Context, Not the Screen
Two museum projects can reserve almost the same wall area for an LED display and still need very different screen proportions. An immersive background, a digital artwork, a historical timeline and an information-led exhibit each ask visitors to use the wall differently.
The first discussion should therefore establish the role of the digital surface inside the exhibition. Does it attract visitors into the gallery? Does it support a physical artefact? Is it intended for a longer pause, or is the audience expected to absorb the main message while continuing through the space?
The visitor path deserves particular attention. A display facing a straight approach behaves differently from one beside a turning route, opposite a narrow corridor or partially screened by another exhibit. Museum teams should identify where the screen first enters the visitor's field of view and where people are likely to stop without blocking circulation.
The architectural context then establishes the physical envelope: wall and opening dimensions, adjacent finishes, floor and ceiling relationships, built-in exhibit structures and the usable installation depth. For indoor projects, the Indoor LED Display category can be reviewed as the broader display direction, while the final museum layout should still be driven by the exhibit conditions.
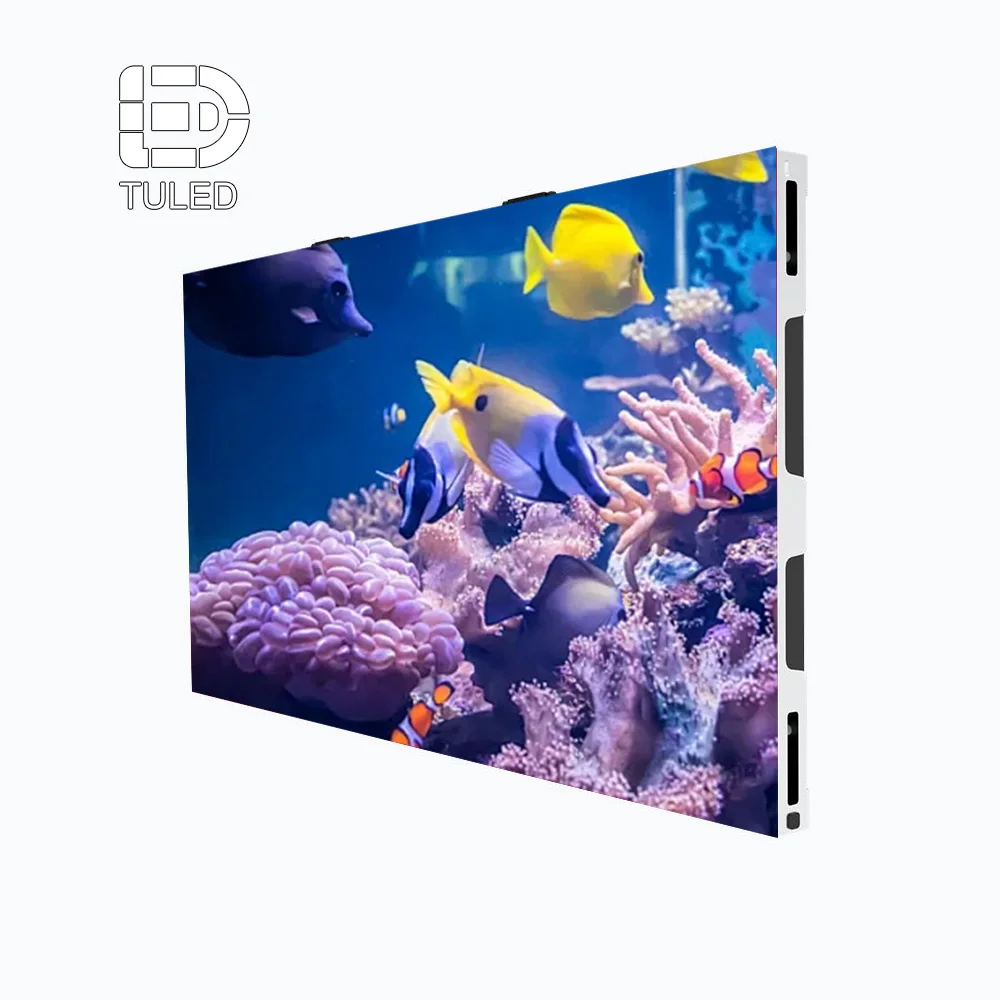 Indoor LED display product reference for coordinating the active display area with the finished exhibit wall.
Review the LED Surface as Part of the Finished Wall
A museum project is rarely deciding on a screen in empty space. The visible LED area has to sit beside wall finishes, display cases, interpretive graphics and other exhibit elements. That relationship should be reviewed before the final opening dimensions are treated as fixed.
The product image is useful for discussing the physical display itself, but the project decision still starts with the architectural elevation and the visitor experience.
View Indoor Fine-Pitch LED ScreenOperating conditions deserve attention as well. A technically valid layout can become inconvenient if maintenance access is only possible through a public gallery during opening hours or if the people responsible for servicing cannot reach the relevant area without disturbing other exhibit components.
The useful starting question: what must remain true after the screen is installed? The exhibit should still read correctly, visitors should still move naturally through the space, and the display should remain reachable without turning ordinary maintenance into an exhibition rebuild.
Let Exhibit Integration Determine the Final Size
In a museum, “custom size” should not mean selecting an arbitrary width and height and asking every other discipline to adapt around it. The visible display is one layer within a finished exhibit, so its dimensions need to be resolved against the wall opening, decorative treatment and intended content composition.
A common source of confusion is treating the architectural opening, visible display area and content canvas as though they were the same measurement. They are related, but they answer different questions.
Using every available centimetre of an opening can appear efficient during early procurement, but a larger surface is not automatically the stronger exhibit decision. Important text may be pushed too close to an architectural edge, a dominant image may compete with an artefact beside the screen, or an extremely wide composition may make the digital feature feel detached from the rest of the gallery.
The reverse problem also occurs. Choosing familiar media proportions first can leave awkward unused areas that then have to be hidden or redesigned by the exhibition team. The screen size has solved the content-format problem but created an architectural one.
The better choice is usually the size that makes the complete elevation work. Once the visible area is understood, it still has to translate into complete modules or cabinets, a workable support layout and the intended maintenance approach. If the opening does not divide cleanly, compare a balanced reveal, another supported panel format or a small adjustment to the active area before assuming a special edge solution is necessary. The custom size LED screen cabinet-grid planning guide covers that production step in more detail.
For example, an exhibit designer may have room to adjust the border around the display even when the outer wall opening cannot move. That flexibility can be more useful than forcing the active screen to occupy the entire opening. It gives the content and architecture teams a controlled area in which to reconcile the visual composition with the physical display arrangement.
Design for the Visitor Journey, Not One Ideal Viewing Position
Museum visitors rarely behave like an audience sitting on a fixed centreline. They enter from different directions, look past other people, move between objects and often encounter the display well before they stand directly in front of it.
That makes sightline planning less about finding one “correct” position and more about deciding what the screen must communicate at different moments in the visitor journey.
Think about three moments in front of the same exhibit
The dominant visual or exhibit theme should be recognisable before the visitor reaches the main stopping area.
More detailed material can occupy zones that make sense from the intended engagement position.
Important information should not depend on people standing in a route that other visitors need to use.
This is where content zoning becomes part of the physical sizing discussion. A wide museum LED screen may include a dominant visual field, supporting interpretation and peripheral visual material, but not every part of that canvas has equal importance.
Critical labels or interaction prompts should not be pushed into peripheral zones that are regularly seen at an oblique angle. Conversely, a visually expressive edge area can tolerate less precise viewing because its job is atmosphere or continuity rather than detailed reading.
A practical review uses the actual gallery plan. Mark the principal approach route, likely pause positions and circulation paths, then consider what each visitor can reasonably understand from those positions. Nearby cases, structural columns, interactive exhibits and expected visitor clustering can all change the useful sightline.
A better sightline review asks these questions
This approach avoids turning the project into another generic viewing-distance exercise. The relevant museum question is not simply where somebody can see the screen. It is where the exhibit needs specific information to remain meaningful.
Plan Service Access Before the Finished Wall Hides the Problem
Maintenance access is easy to underestimate because it is mostly invisible to visitors. Yet the consequences of getting it wrong usually appear after the decorative wall, graphics and surrounding exhibit elements have already been completed.
A screen may fit perfectly within an elevation but still be awkward to maintain if decorative panels, display cases or structural features close off the intended access route.
That question should be answered while the wall section can still change—not after the gallery finish has been approved.
The project does not need a full maintenance manual at concept stage. It does need agreement on the basic access strategy. If service is expected from the front, the surrounding treatment should not turn routine access into a sequence of removing unrelated finishes. If the concept relies on space behind the display, that area cannot simultaneously be treated as leftover space for framing, storage or other building services.
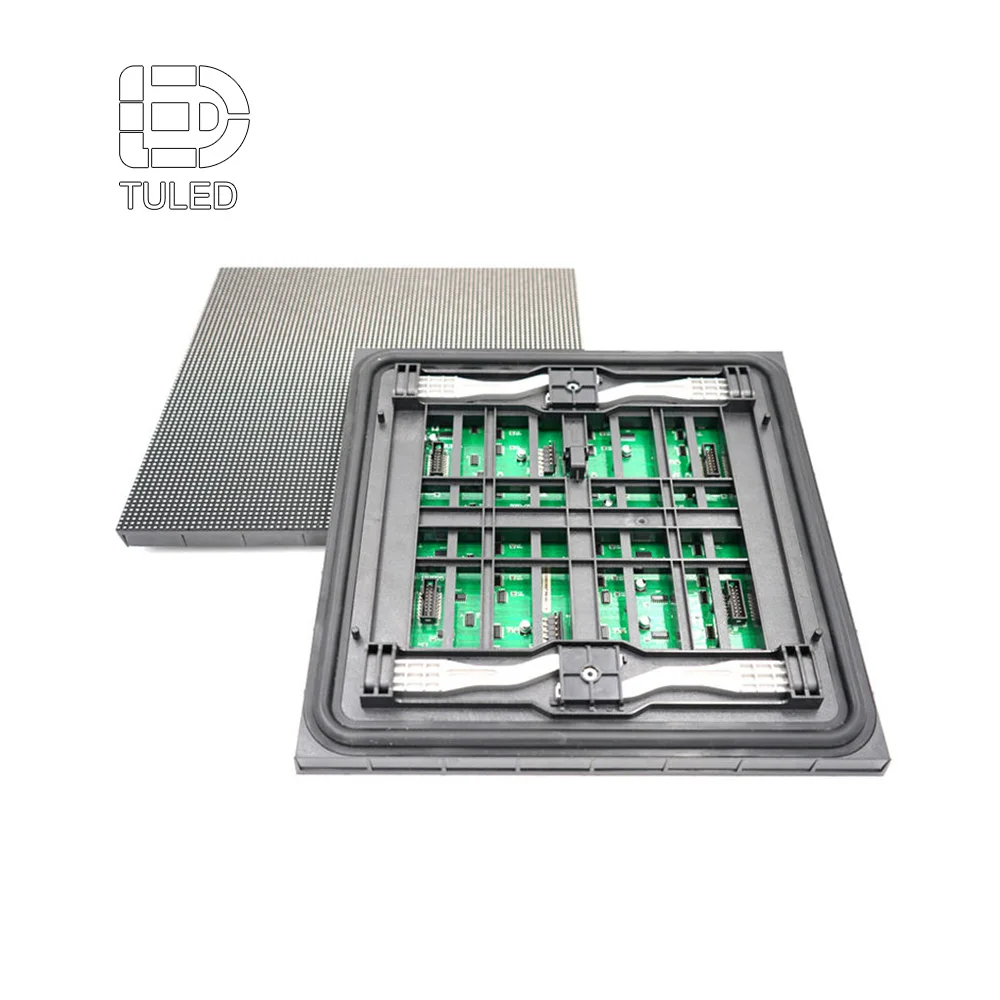
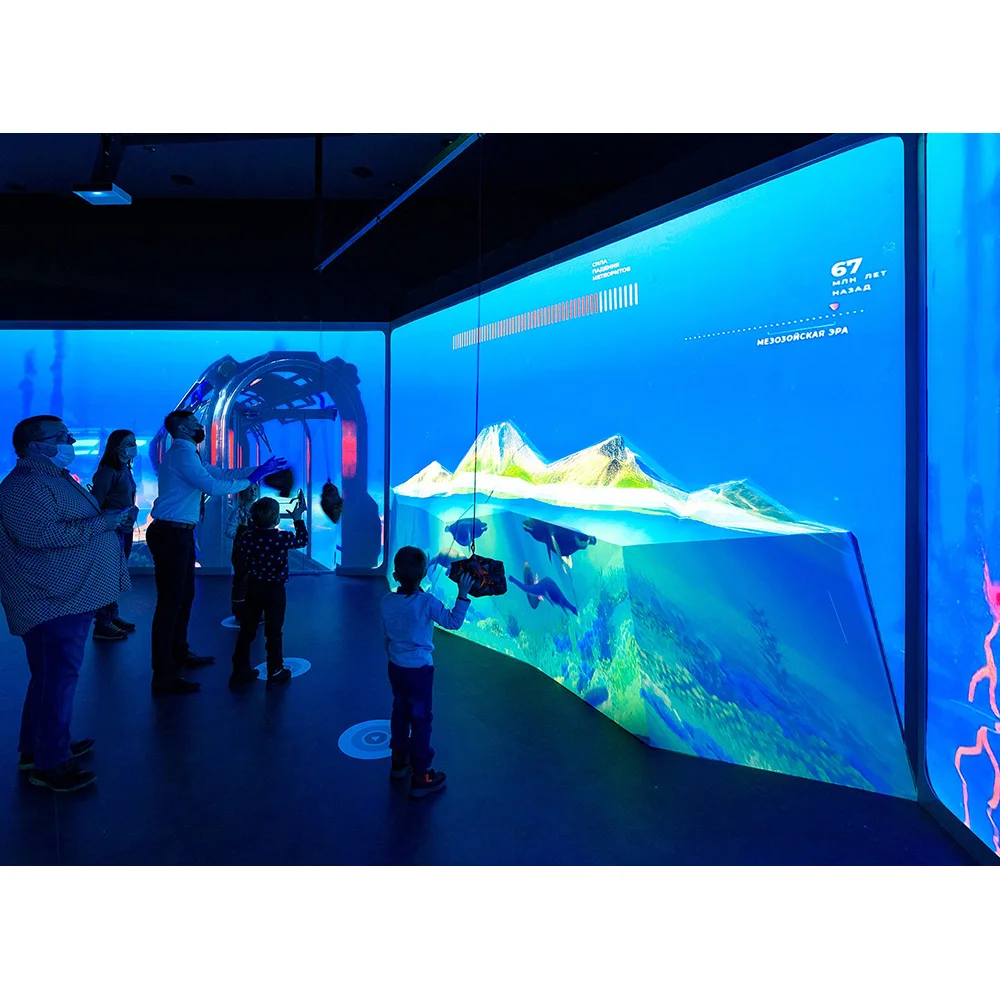 LED display panel reference for discussing the physical layer, installation envelope and service route behind the finished display surface.
The Finished Screen Is Only One Side of the Installation
From the gallery, visitors mainly see one continuous visual surface. Behind that surface, the panel arrangement still has to fit the available installation envelope and remain compatible with the intended access strategy.
This is why wall depth and service planning should be reviewed alongside the screen dimensions rather than after decorative finishes have been approved.
Explore LED Screen PanelThe usable installation depth therefore affects more than whether the screen physically fits. It also affects what remains possible after the exhibition is operational.
Responsibility should be considered at the same time. Museum facilities staff, an audiovisual integrator and a specialist service team may not perform the same tasks. A sensible exhibit layout gives the appropriate people a defined way to reach the display without introducing unnecessary work for the rest of the exhibition.
There is also a sequencing issue. An access concept that appears workable on an early drawing may disappear once framing, cladding, nearby cases or other technical systems occupy the same area. Service access should therefore be checked again before surrounding finishes become difficult to change.
What to Send Before Asking for a Final Screen Size
A useful museum enquiry does more than provide an approximate width and height. The supplier needs enough context to understand how the display relates to the exhibit, while the design team needs to make clear which project decisions are already fixed and which still have room to move.
General site-measurement details still matter, but they do not need to be repeated here. Depth limits, power and signal routes, access direction, site photos and other standard quotation inputs are covered in the custom size LED screen measurement guide. For a museum project, the additional value is showing how those measurements relate to the exhibit and the visitor journey.
Not every input has to be final before discussion begins. Early drawings are useful because they can expose conflicts while there is still time to change them. The important distinction is between confirmed constraints and working assumptions.
For example, the wall opening may already be fixed while the visible border is adjustable. On another project, the content treatment may be approved but the surrounding joinery is still being developed. Making that status clear prevents a provisional dimension from quietly becoming a purchasing assumption.
Useful project habit: mark every important dimension in the enquiry as fixed, preferred or still under review. That gives the screen supplier, exhibit designer and integrator a clearer basis for discussing what can still change without reopening approved work.
Where Factory Coordination Adds Value
Factory coordination should support the museum design process, not replace the responsibilities of the architect, exhibition designer, content team or integrator.
Once the project provides its target dimensions and constraints, drawings and dimensional confirmation can be used to compare the proposed display with the architectural opening and finished elevation. Panel or cabinet coordination can then test whether the physical arrangement supports the intended visible area and service strategy.
Service planning belongs in that same conversation. A dimension that looks correct on a front elevation should also make sense when the project is considered in section and from the access side.
A custom LED display still has to reconcile the desired visible size with the physical display arrangement, surrounding construction, content layout and maintenance route. The purpose of early coordination is to expose conflicts while the responsible design discipline can still resolve them.
This is particularly important in museums because the display is often expected to appear integrated into the exhibition rather than added as a separate commercial object. The technical package should therefore respond to an already understood exhibit concept instead of forcing the exhibit to follow a screen selected in isolation.
For procurement teams, that changes the quality of the enquiry. Instead of asking only for a screen at a nominal size, the project can send the actual opening, the intended visible area and the restrictions around service. That gives dimensional confirmation a direct relationship to the finished exhibit.
A Practical Museum Exhibit Approval Flow
Screen approval becomes more reliable when the decisions happen in the right order. Each stage should give the next discipline enough information to make its own decision without reopening work that has already been built around an assumption.
Confirm the wall, opening, surrounding exhibit elements and available installation envelope.
Place dominant imagery, supporting information and edge-sensitive content within the proposed visible area.
Review the content from the main approach, intended pause points and circulation positions.
Check that the screen can still be reached after the surrounding exhibition finishes are installed.
Approve the coordinated screen dimensions only after the preceding constraints have been reconciled.
Changing this order can create avoidable rework. Confirming the screen before content zoning may leave the creative team with an awkward canvas. Freezing the finished wall before the access review can hide a maintenance problem behind an otherwise polished elevation.
The sequence is not administrative formality. It is simply a way to prevent one discipline from making a decision that quietly creates a problem for another.
FAQ
Should a museum LED screen fill the entire architectural opening?
Not necessarily. The architectural opening, visible LED area and content canvas should be reviewed separately. A balanced reveal or a slightly smaller active area can be the better choice when it improves content composition, preserves a complete cabinet grid or keeps service access practical.
Is front maintenance always the best choice for a built-in museum LED display?
No. Front maintenance is useful when the project cannot provide a practical rear service route, but the surrounding finish still has to allow modules or panels to be removed. Rear access can work well where a dedicated service space exists. The correct choice is the access method that remains usable after the exhibition is fully finished.
Confirm the Exhibit Conditions Before Locking the Screen Size
Before the wall opening and finishes are locked, share the exhibit elevation, target visible area, main visitor approach and service-access restrictions. Those four inputs give the screen-size discussion a clear architectural, content and maintenance context.
Discuss Your Museum Screen Size